


Create your very own stickers using the EMOTT and Uni-Pin felt tips

Create your very own stickers using the EMOTT and Uni-Pin felt tips
Stick, unstick, repeat to your heart’s content! To kick off the new school year in style, this month we are offering you the chance to create your very own stickers! This fun and creative tutorial will guide you step-by-step through the process to create stickers to brighten up your school supplies and other objects to make them your very own. The perfect way to liven up the new school year with colour and style!
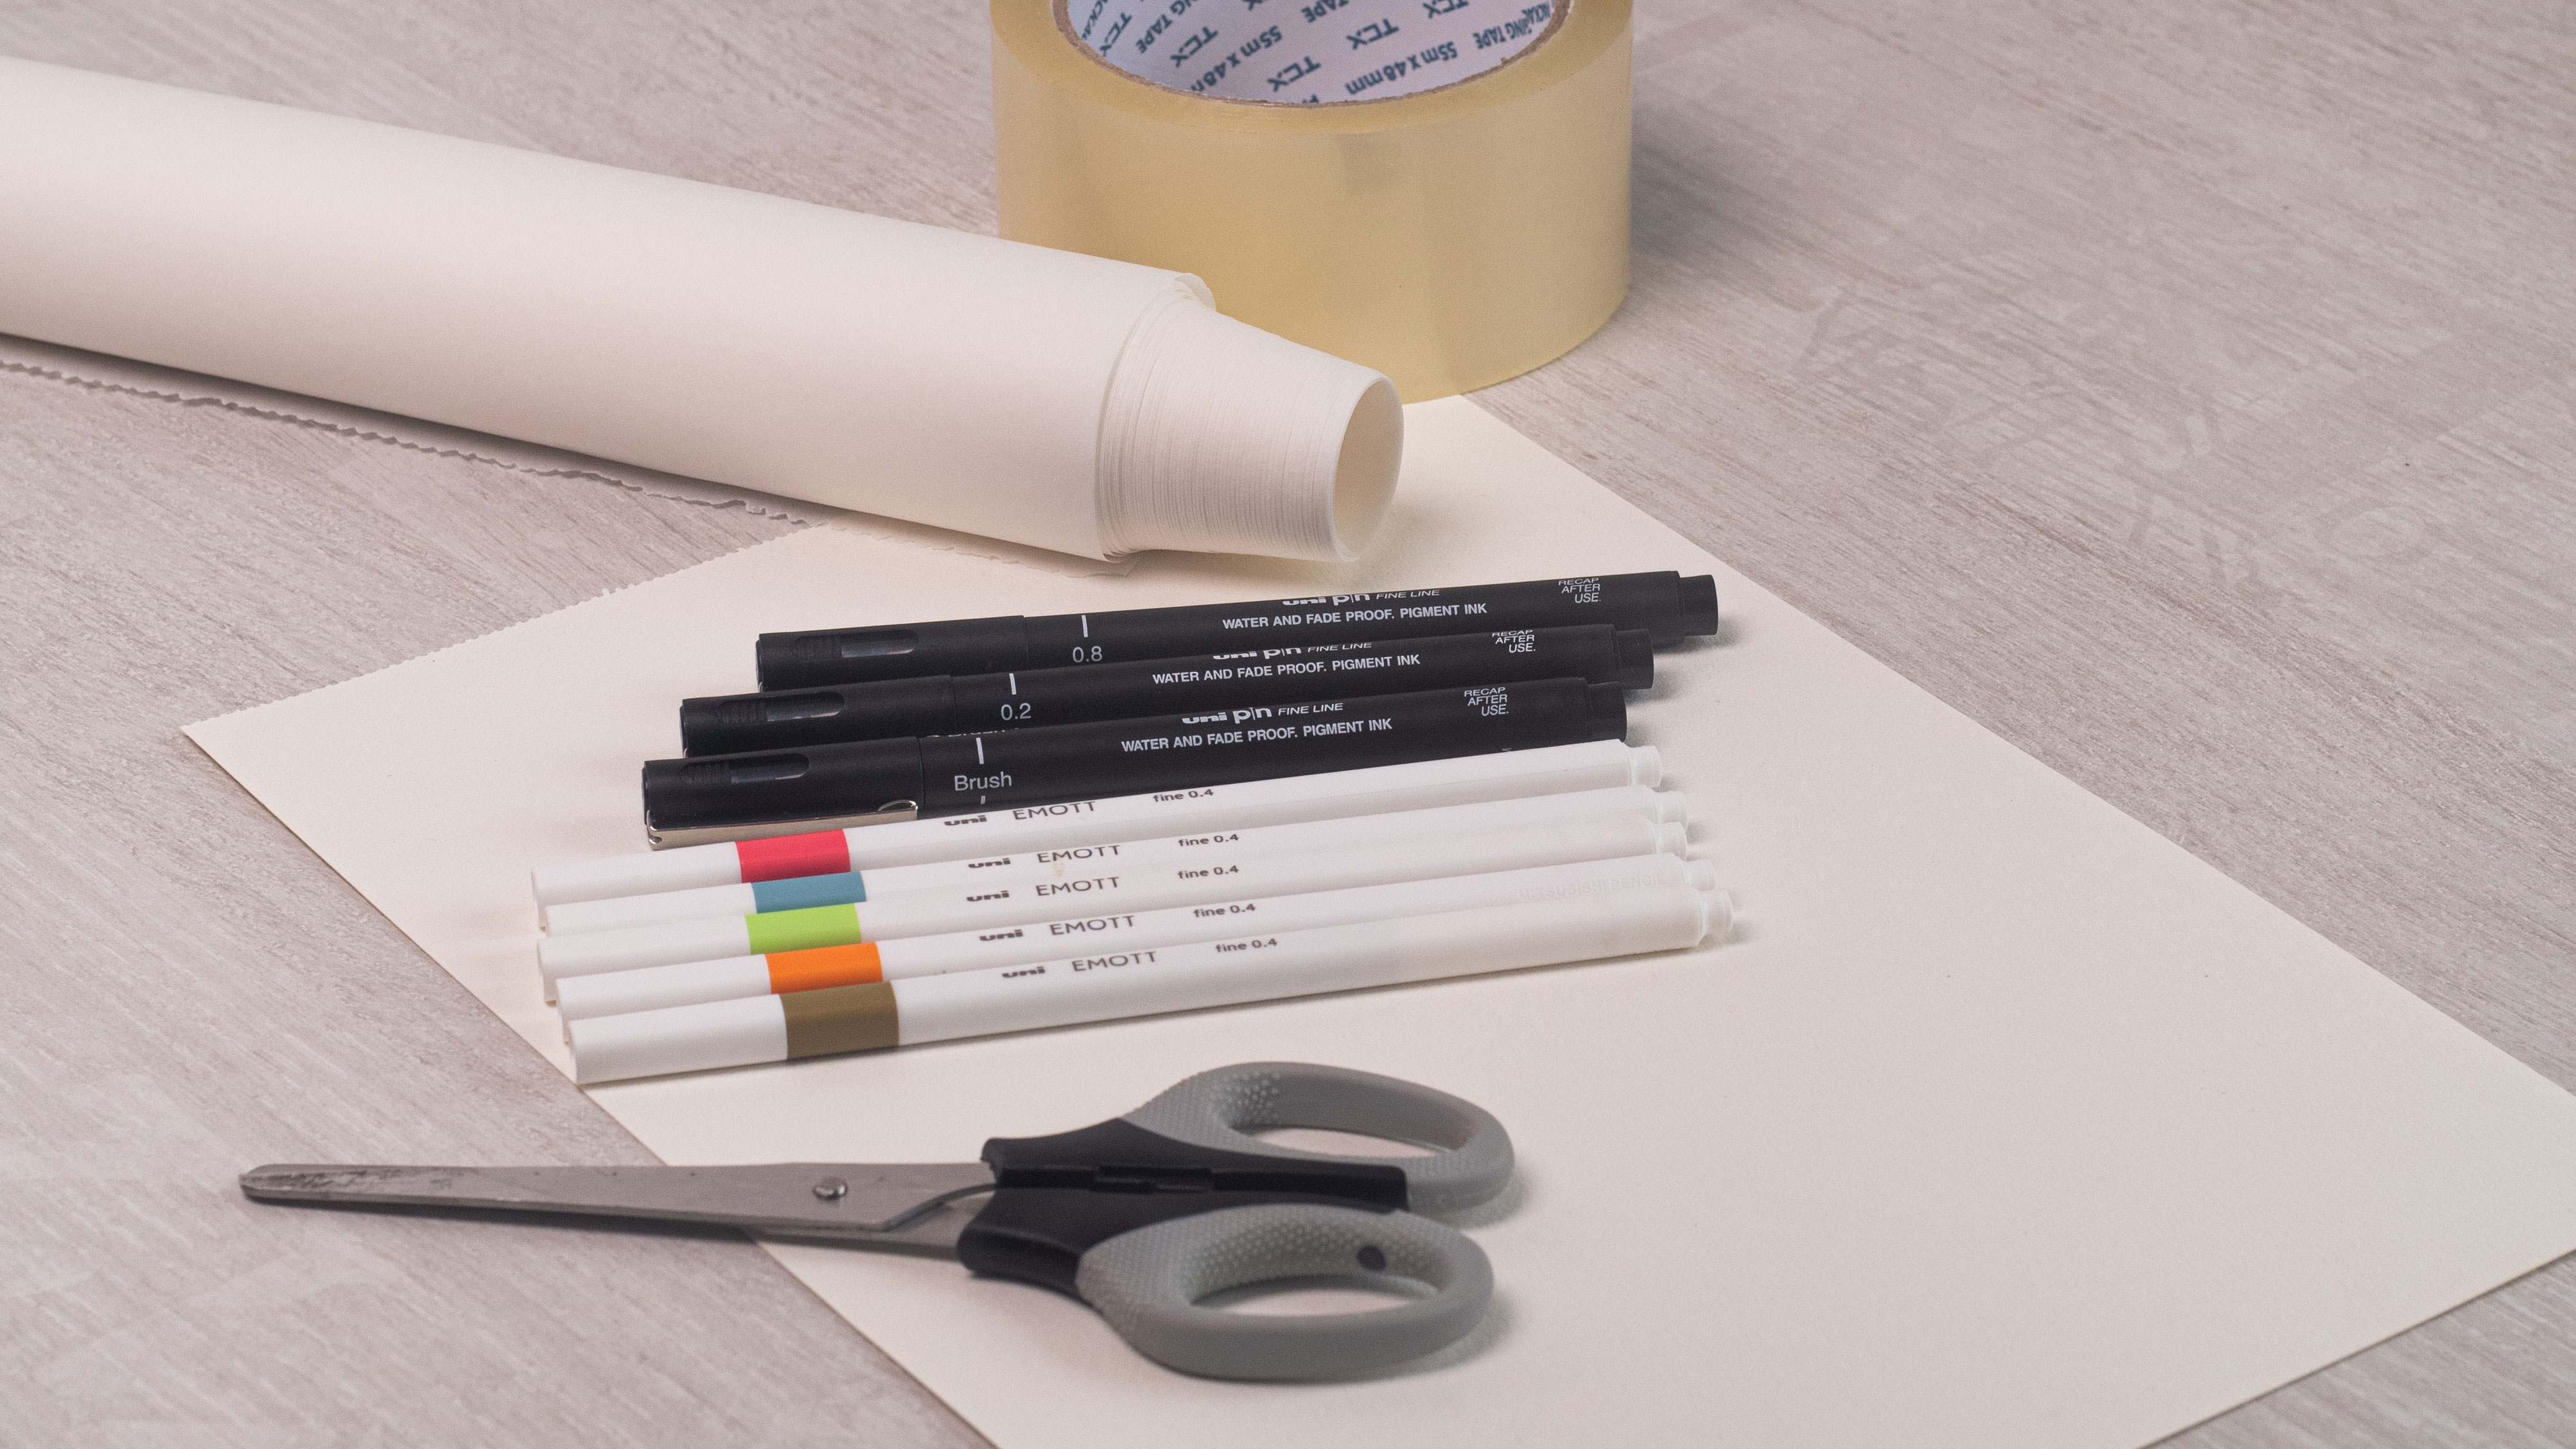
For this tutorial, you will need:
- A blank sheet of paper
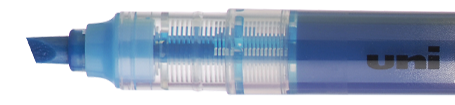
- EMOTT felt tips
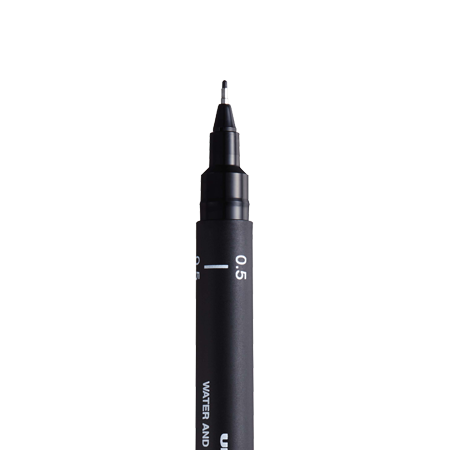
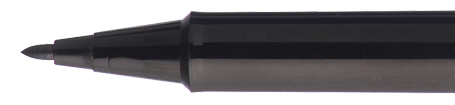
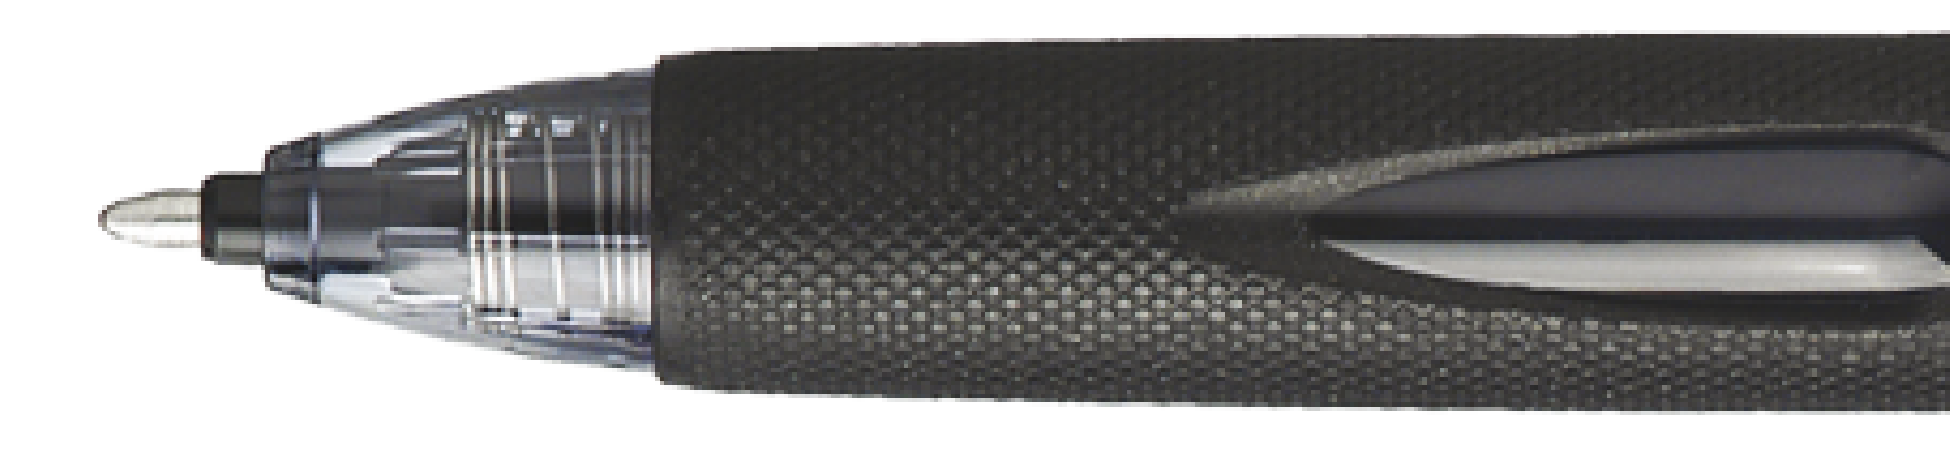
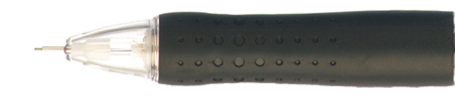
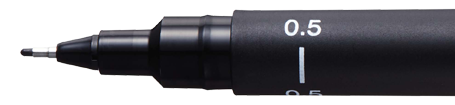
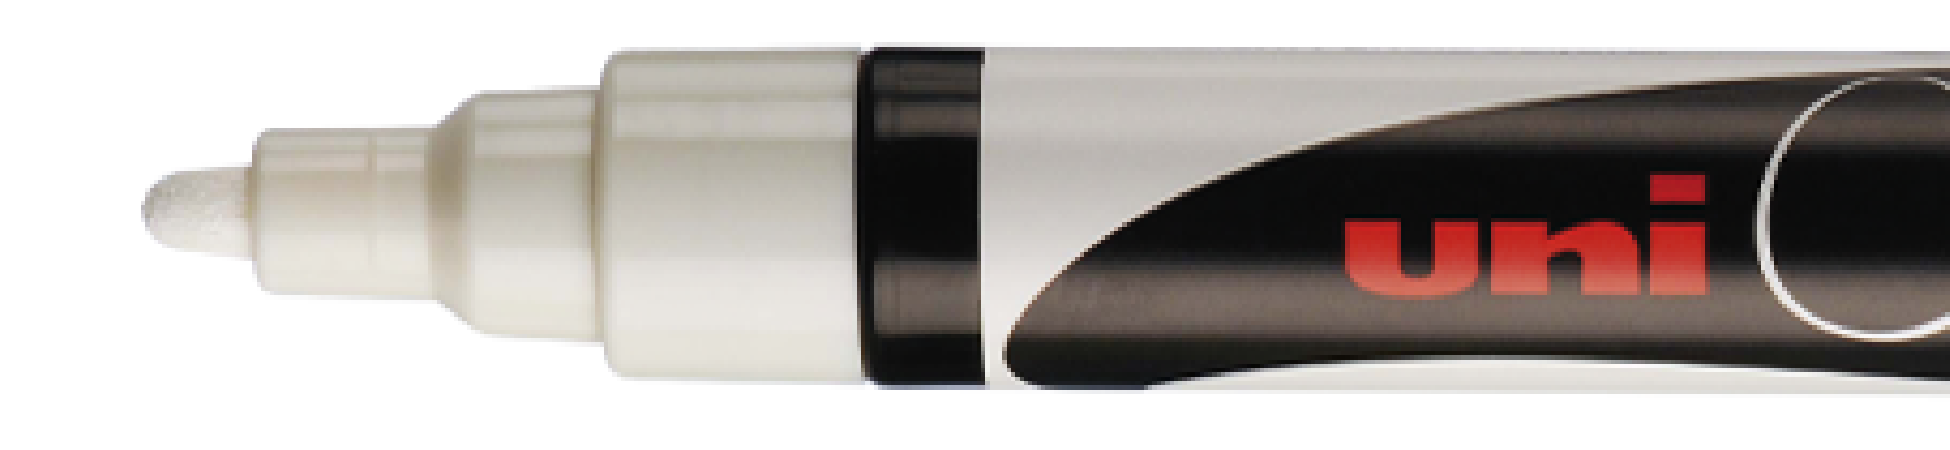
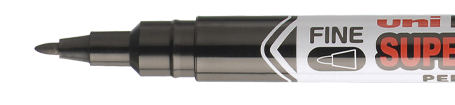
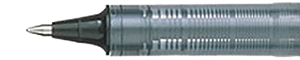
- Uni-Pin felt tips (Brush tips, 0.8mm, 0.2mm)
- Greaseproof paper
- Transparent adhesive ribbon
- A pair of scissors
Step 1: What you need
To start, take a sheet of blank paper to use as a base on which to design your stickers.
Then take a pair of scissors and transparent adhesive ribbon (this will make sure your stickers stick!).
To draw the outline of your stickers, take Uni-Pin felt tips (Brush, 0.2mm and 0.8mm). Then bring some life to your designs, taking the EMOTT felt tips in a range of different colours.
And last, but by no means least, do not forget the greaseproof paper which will allow you to easily detach your stickers once complete.
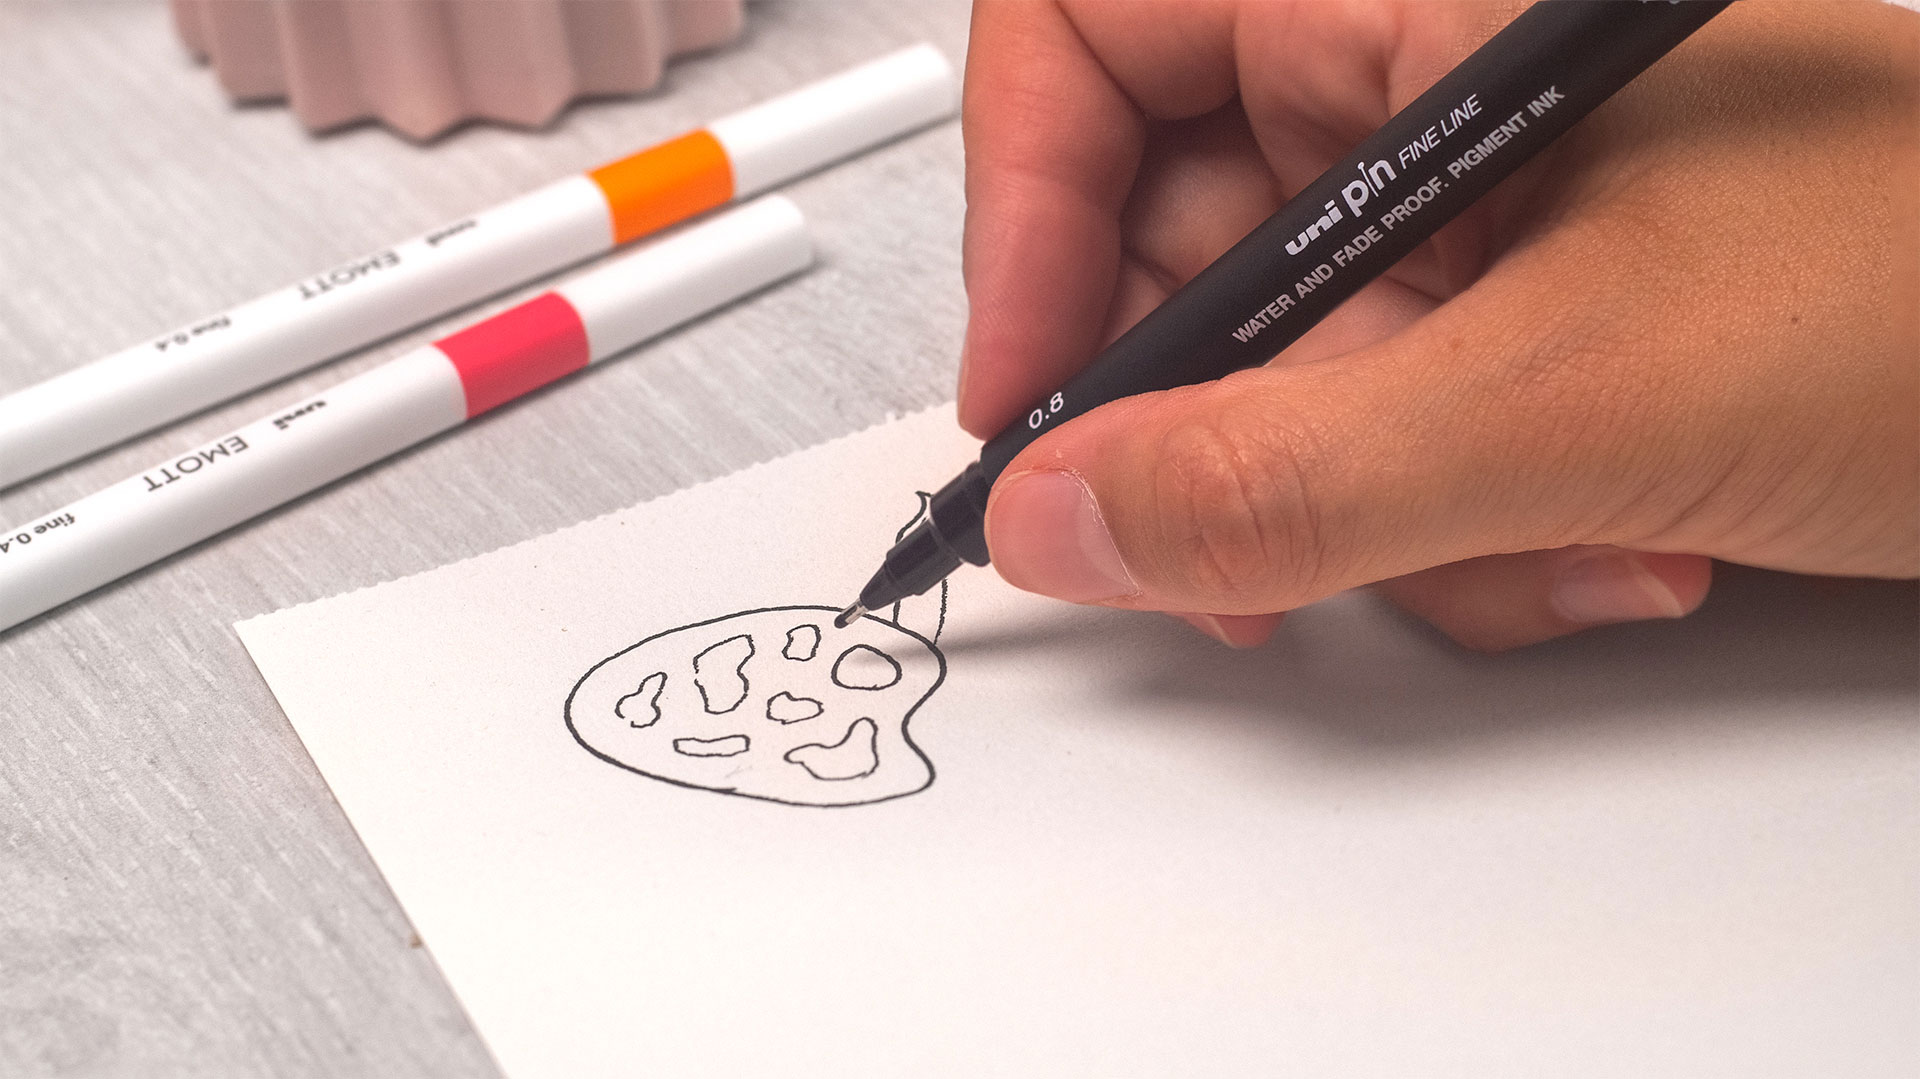
Step 2: Design and colour in your stickers
We are now ready to move on to the second step! Now you have everything you need in easy reach, take your Uni-Pin flet tip (0.8 mm tip) and start by designing the outline of your sticker.
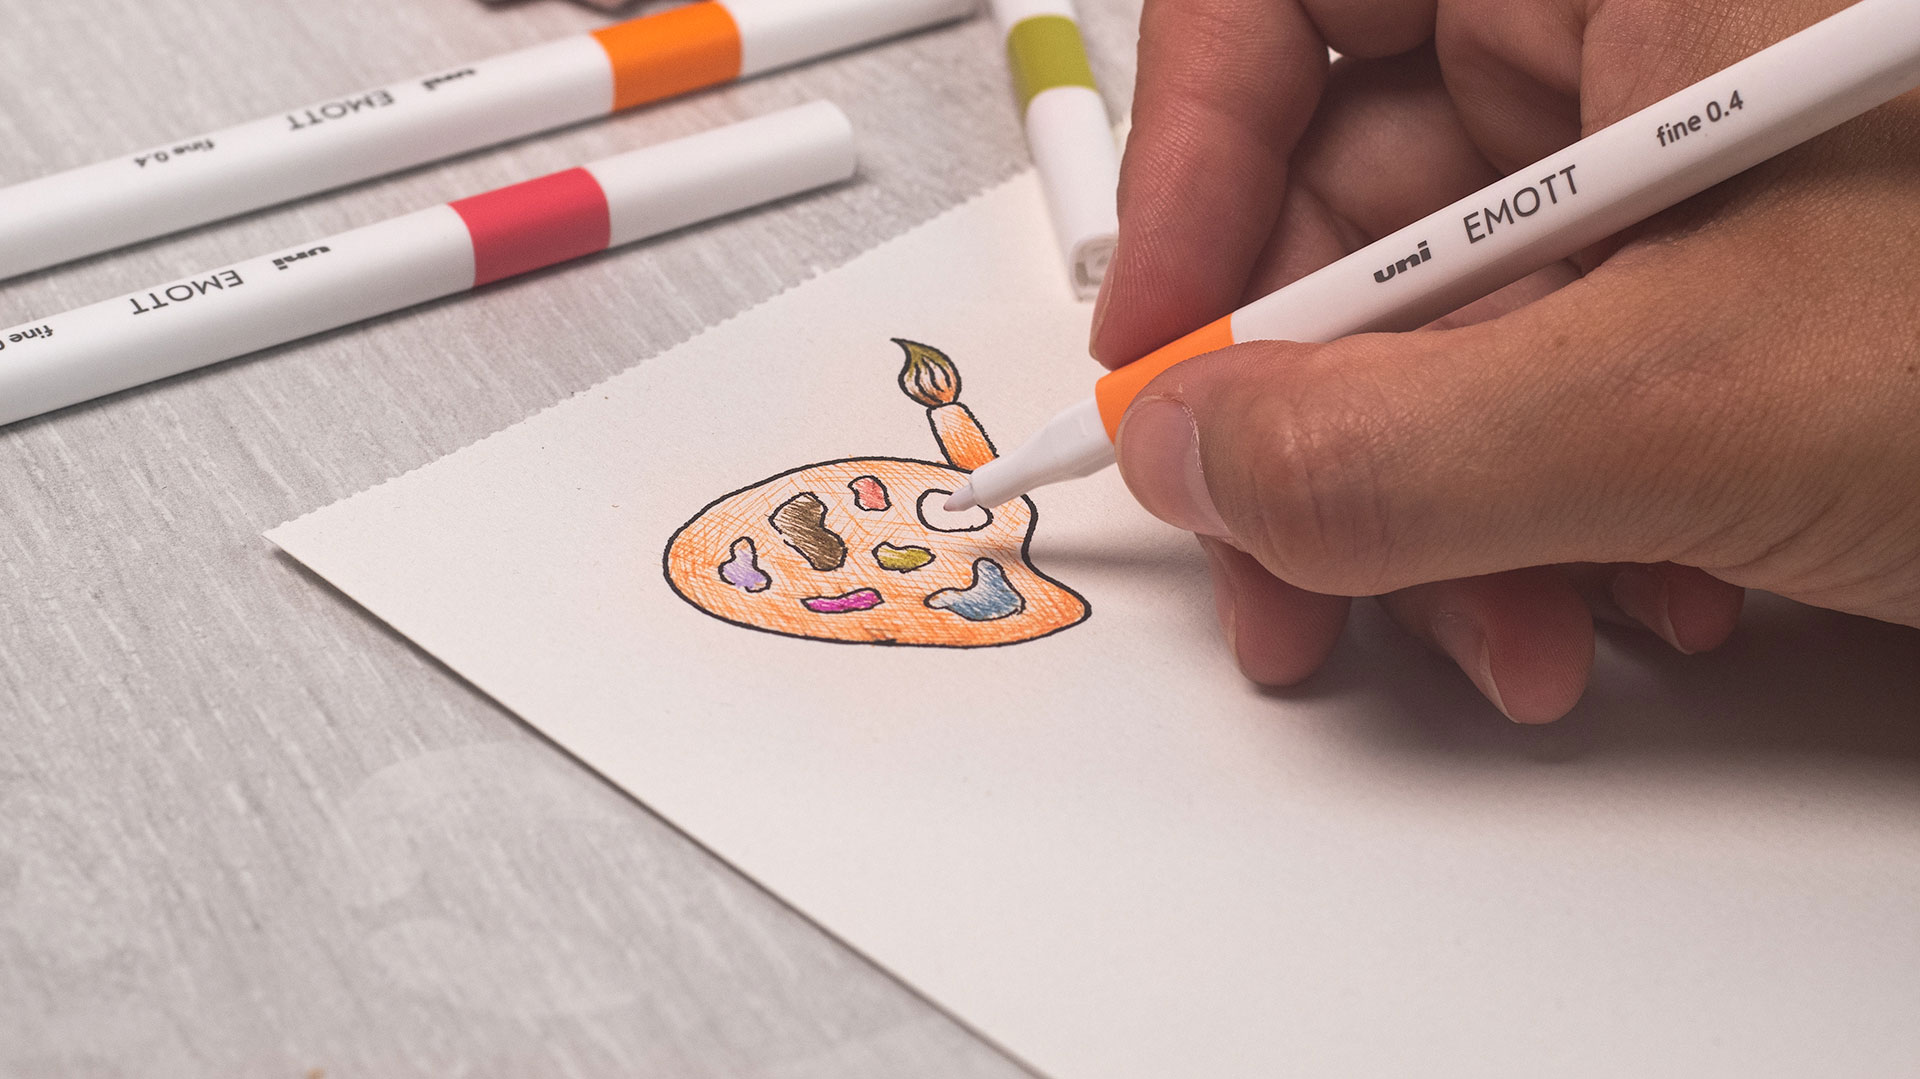
You can then add some colour using the EMOTT felt tips. Thanks to their ultra hard wearing 0.4 mm fine tip, they guarantee a clear and fluid line. Not bad, right?
Available in no fewer than 40 colours, you will easily find something to suit your taste!
Don’t forget to add some detail to your stickers (shading, strokes, motifs, etc.) thanks to the precision of Uni-Pin felt tips (Brush tip and 0.2 mm).
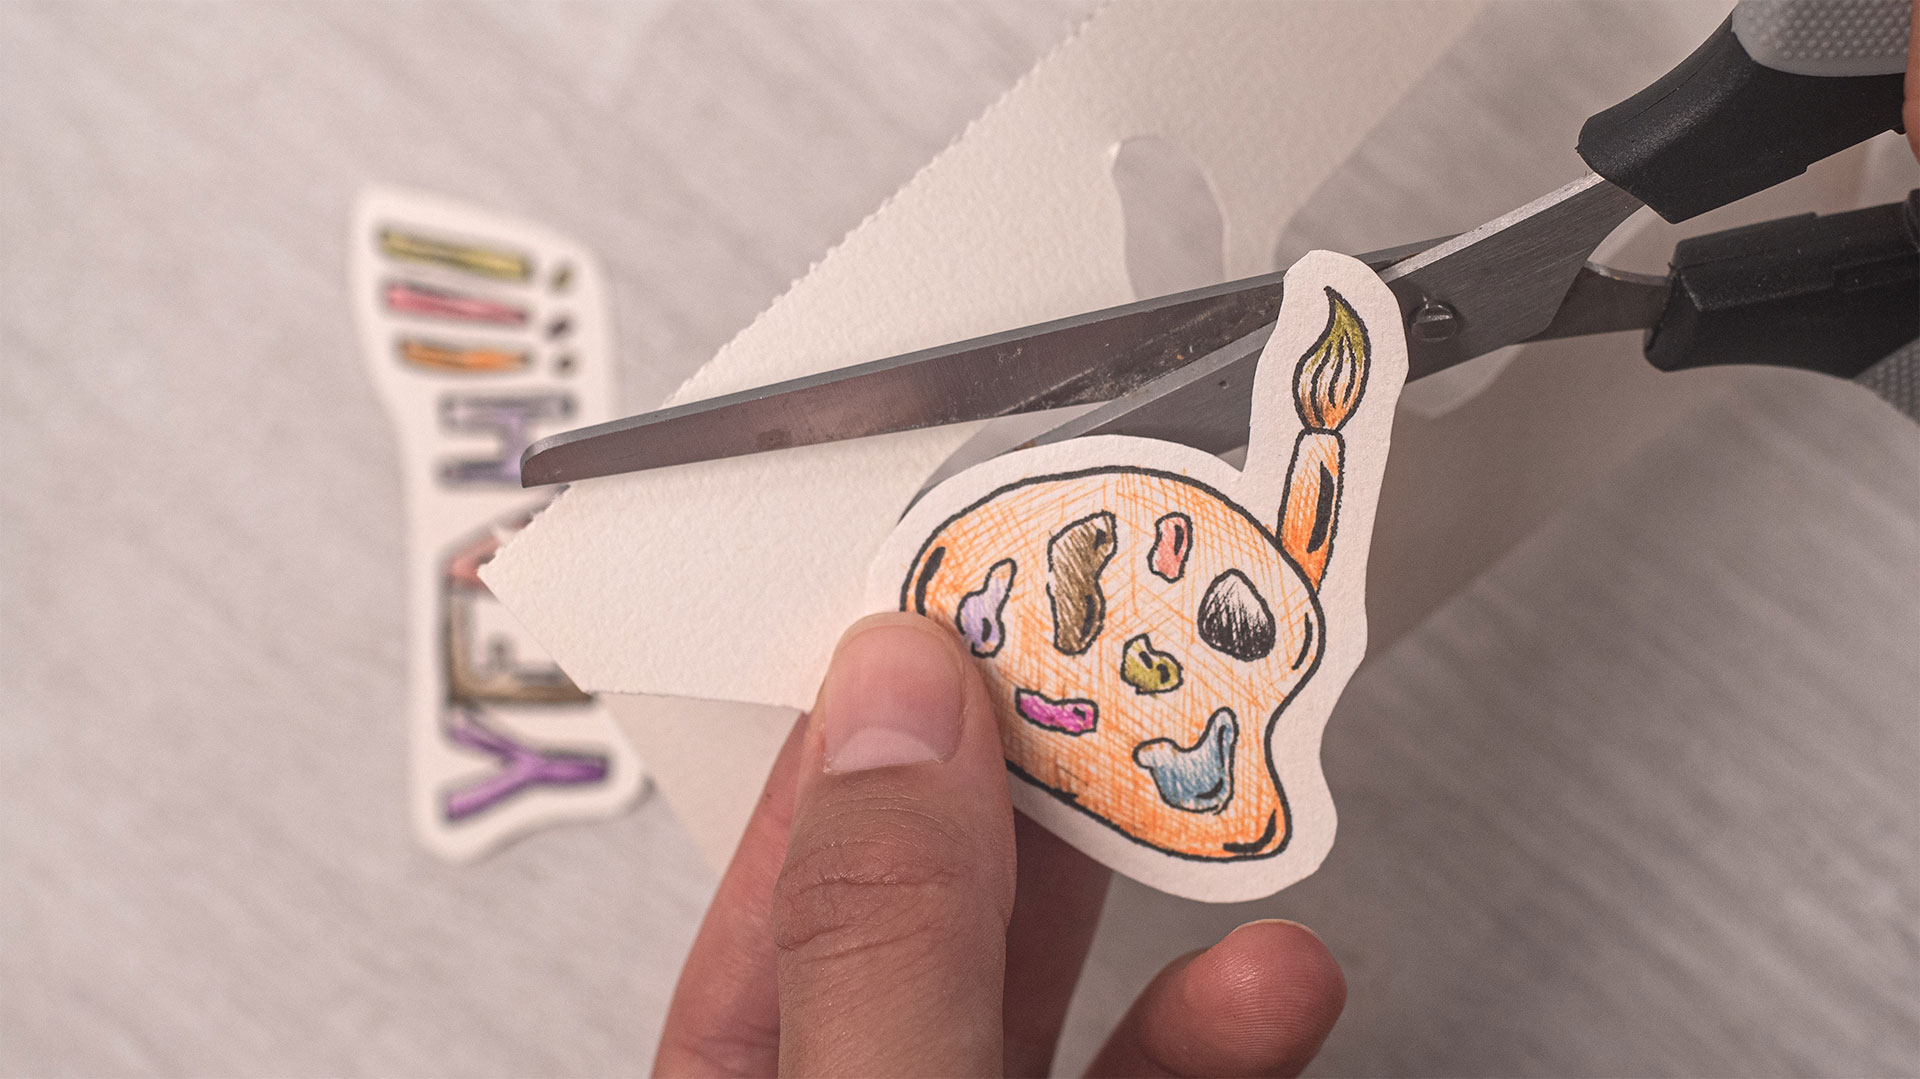
Step 3: Cut out your stickers
You can now use a pair of scissors to cut out your design with care.
Handy tip: do not cut directly along the edges, but leave a slight margin, which will give the illusion of being a real sticker!
Step 4: Transform your design into a fully-fledged sticker
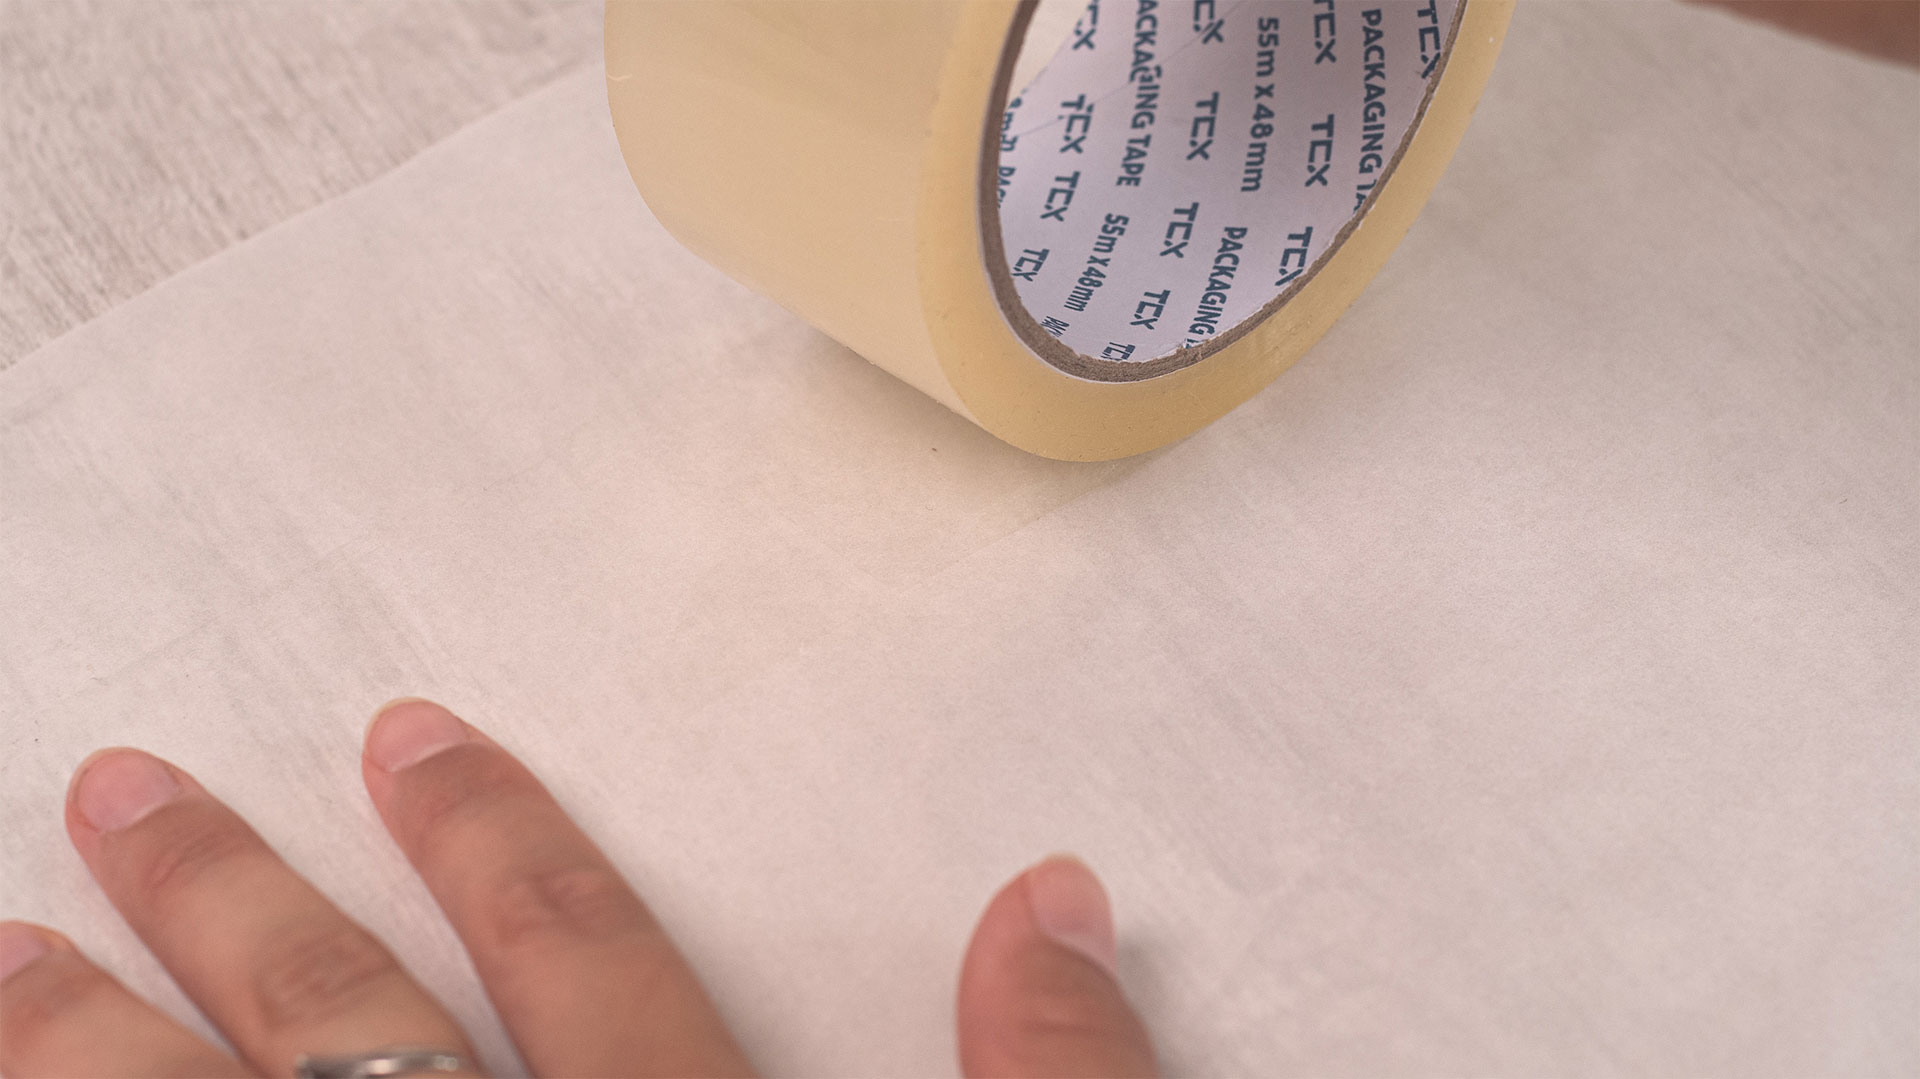
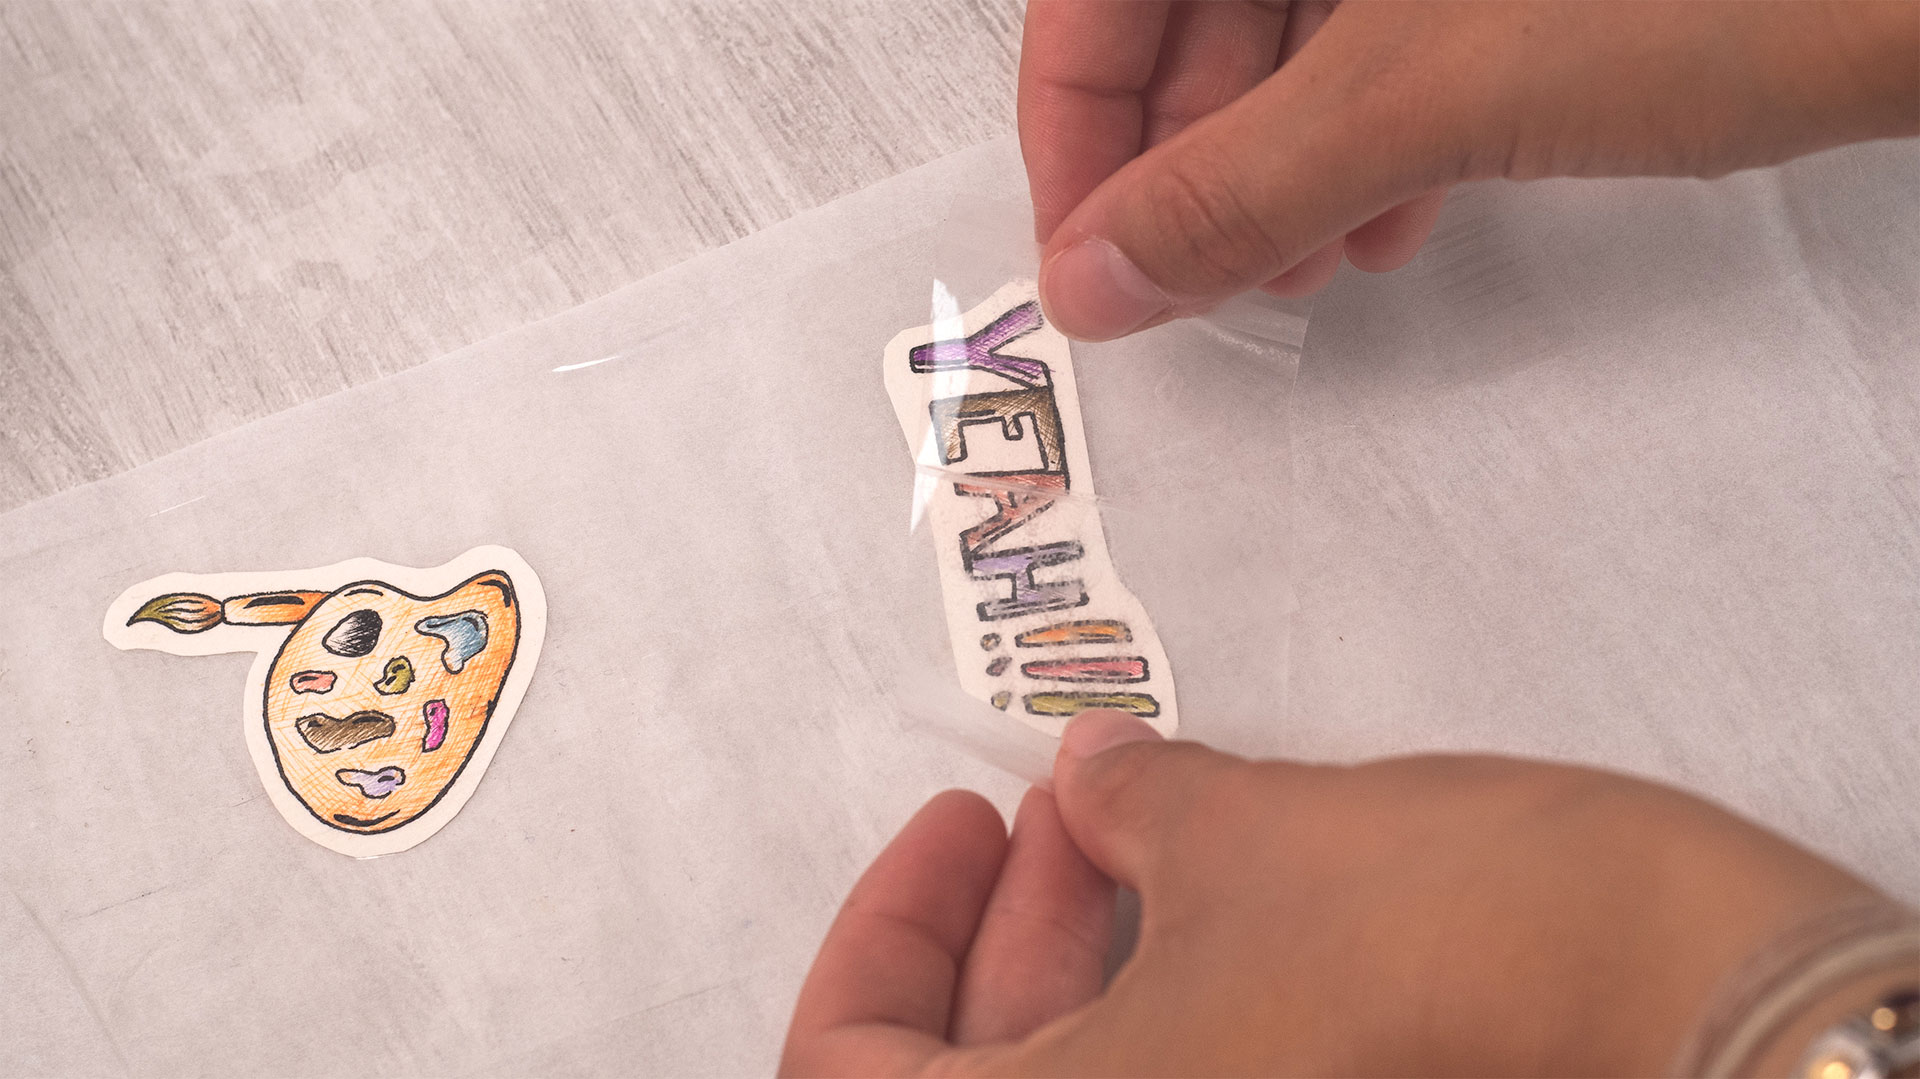
For this final step, you will need your cut-out design, greaseproof paper and the transparent adhesive ribbon.
First of all, stick a first adhesive strip onto the greaseproof paper. Then place your cut-out design on top. Then stick a second adhesive strip over top of your design to fix in place (make sure you pull the adhesive strip tight to avoid any air bubbles and that the sticker is smooth and flat).
Finally, cut around the final piece leaving a small margin to create a clean edge.
Tada! Your design has now become a sticker! All that remains is to remove the greaseproof paper to reveal the adhesive section, and to place your sticker wherever takes your fancy.
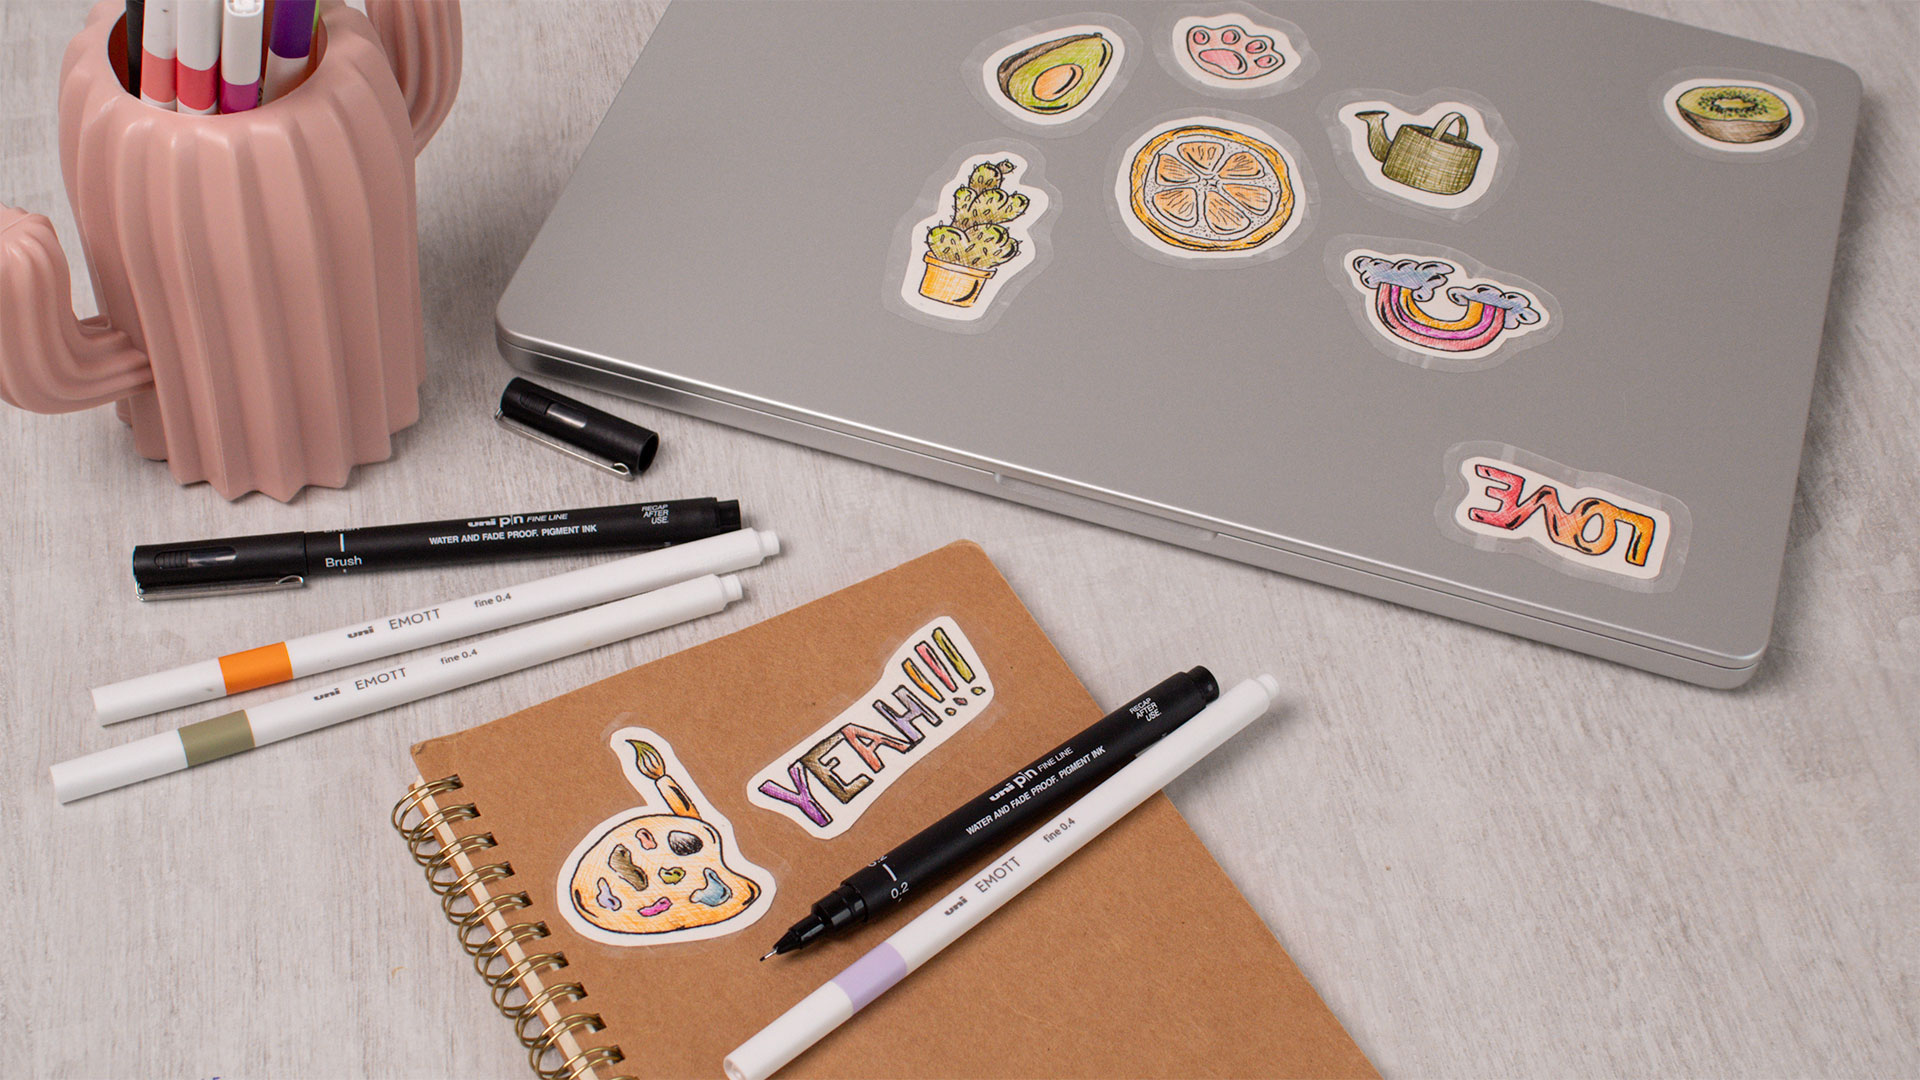
Step 5: The end result
There you have it! You now know all of the steps to create as many personalised stickers as you want!
Do not hesitate to experiment with different styles and designs to create as many stickers as you like to offer to your friends and family!
And, of course, feel free to share your creations with us on social media, we will be delighted to see them!