DIY: Make a keyring for Father’s Day
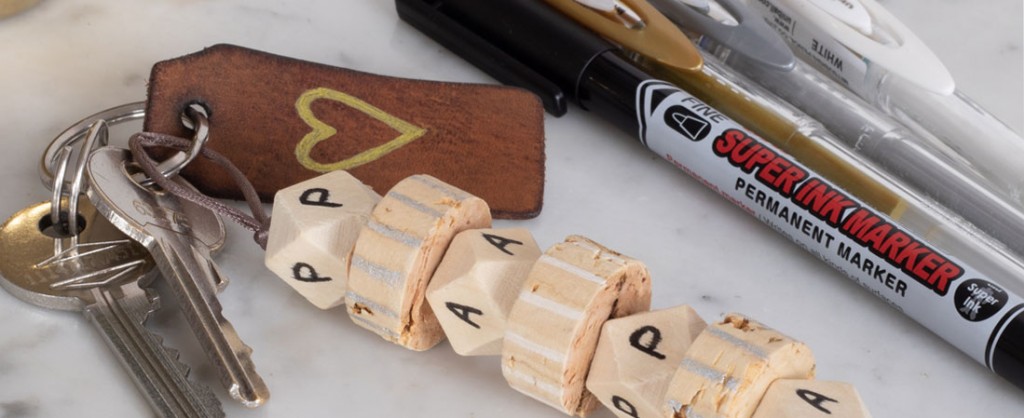

Father’s Day is just around the corner! For this occasion, we have developed a customisation tutorial for you (and for dad). Because it is always that bit more meaningful when you make your own gift, here you will be able to learn how to make your very own customised keyring! The creative Signo roller balls and Super Ink Marker will be your best friends for this exercise. So that he thinks of you each time he picks up his keys, feel free to follow our guide.
For this tutorial, you will need:
- Wood beads
- Cork beads
- A leather strap
- A piece of string
- A ring
- Signo creative roller balls (for this tutorial we are using silver, bronze and white)
Step 1: the material
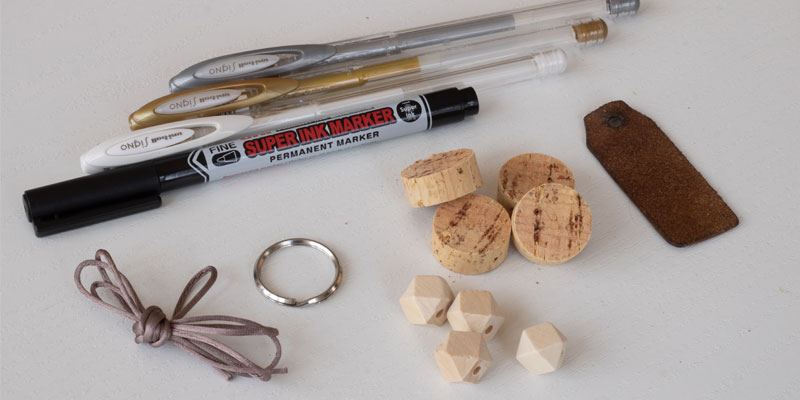
Don’t you think that dad’s keys are looking a little lonely? The timing couldn’t be better, in this tutorial we will show you how to make your very own keyring for Father’s Day!
For this, you will need wood beads, cork beads, a leather strap, a piece of string, a ring, and the essential Super Ink Marker and some Signo creative roller balls!
Step 2: A short message…
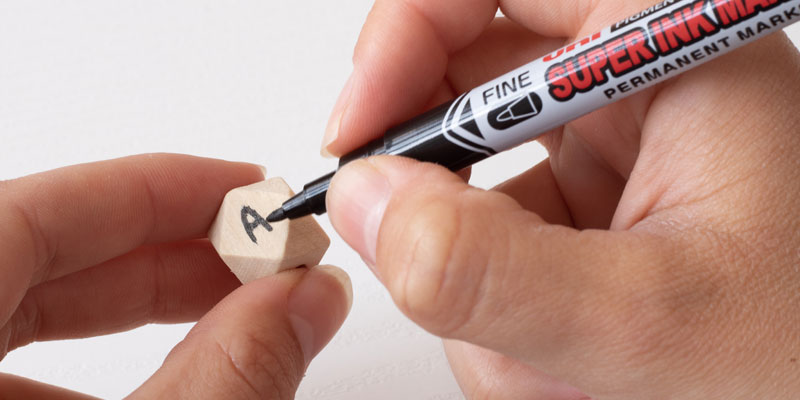
To begin customising your keyring, take your wood beads and Super Ink Marker. Here you can write the letters of your chosen word on each bead.
The Super Ink Marker is indelible and ideal for this type of DIY design and can be used on any material. Using the wood beads, your short message will be visible for life!
Step 3: Time to decorate the beads
Let your creativity run wild!
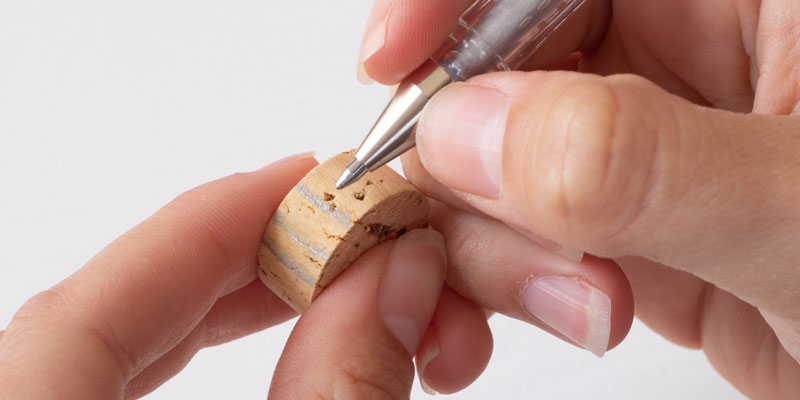
Decorate your cork beads with designs that alternate colours. For this step, use the Signo creative roller balls. Their intense coloured and indelible ink is perfect for a material such as cork.
Step 4: The leather strap!
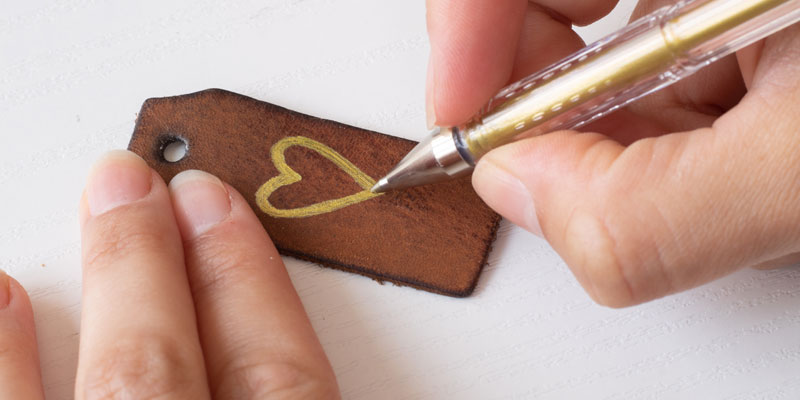
Design a small heart on the leather strap, using a Signo creative roller. Thanks to its particularly visible ink, your design will be easily visible even on dark leather!
Step 5: a knot…or two!
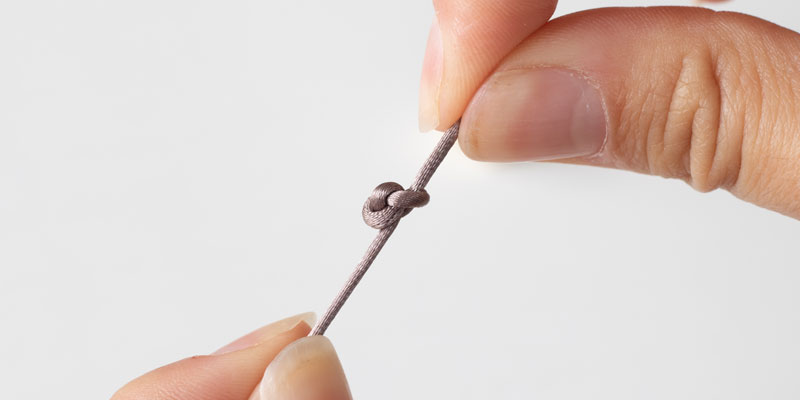
Tie a knot to keep the beads in place and begin assembling your keyring! Useful tip: feel free to tie a double knot to make sure your beads do not fall off…
Step 6: Assemble the beads
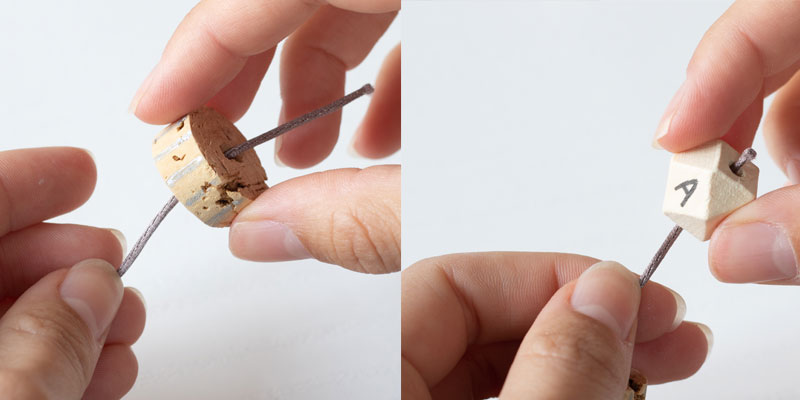
One bead at a time, slide them onto the piece of string in order. Alternate between one wood bead and one cork bead.
Step 7: Almost there…
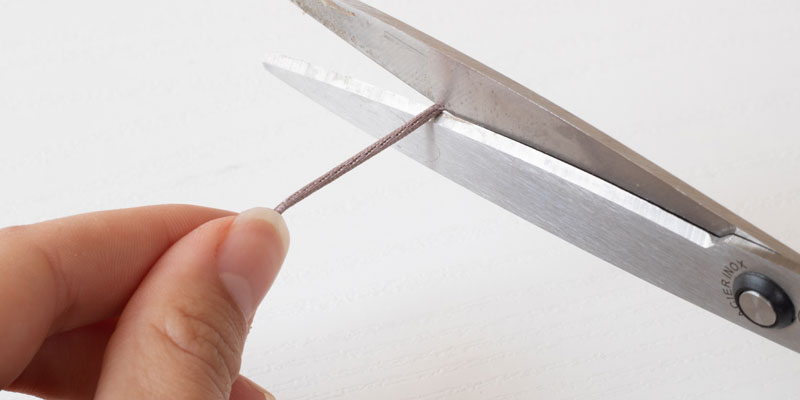
For this step, simply cut the piece of string. Make sure it is neither too short nor too long. This piece will be directly attached to the ring of your keyring.
Step 8: Close the loop!
To finish things off, make a loop. This loop will be the attachment to link together the ring design.
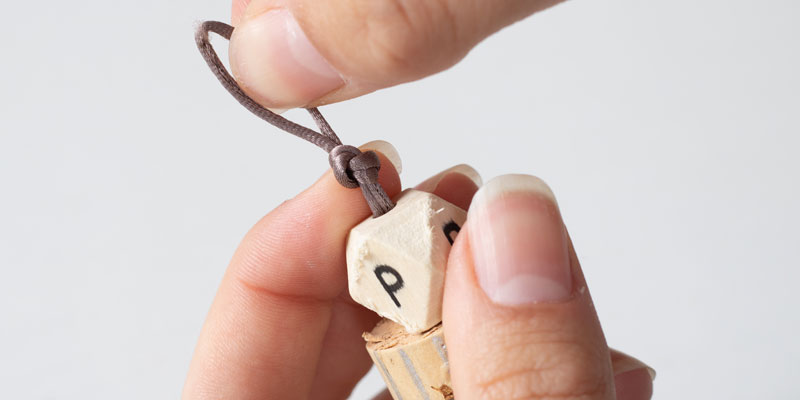
Step 9: Assemble the keyring
Now hang the leather strap onto your ring, and slide the creation onto the ring. And there you have it! Your keyring is now ready!
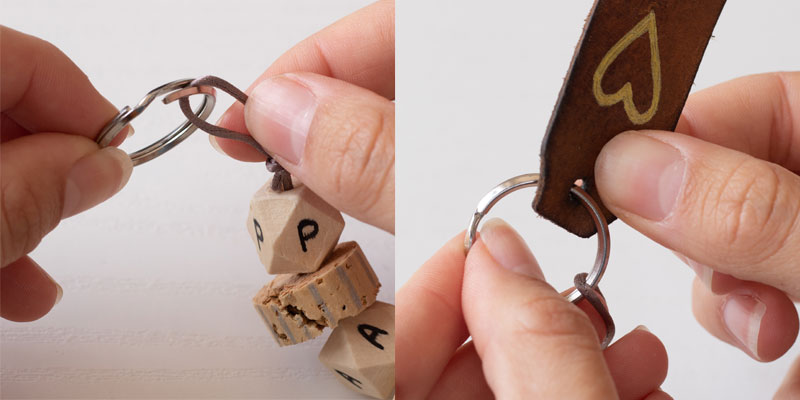
A customised keyring for a gift!
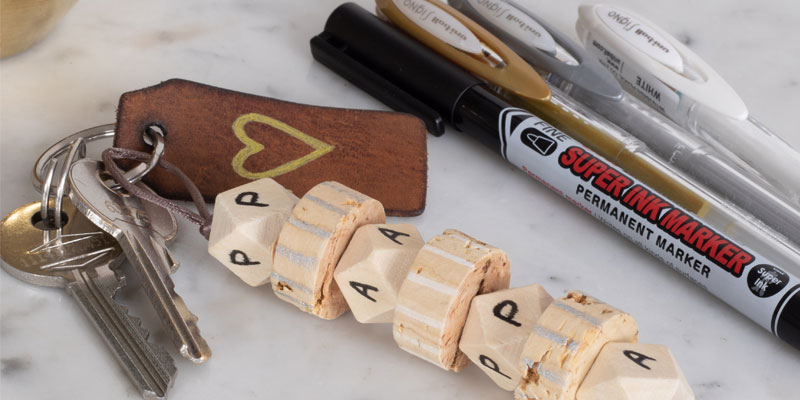
Now you can give your customised keyring as a gift on the big day! We hope that this little creation will make him smile.
Don’t forget to share a photo of your creation by commenting under our Facebook posts or using the #uniballfrance hashtag on Instagram!


 Back
Back


