


Draw a tiger with Uni Pin felt-tips

Today we’re back for a new drawing tutorial with our trusty Uni Pin felt-tips! Did you know that this year will be the year of the tiger in Chinese astrology? So we thought that representing its proud appearance and it’s beautiful coat in drawing would be a good idea. Don't worry, it’s a lot more simple than it looks, and we describe each step to you in detail, grrrr off we go!
Tutorial level: Beginner / Advanced / Expert
For this tutorial, you will need:
- A white sheet of paper
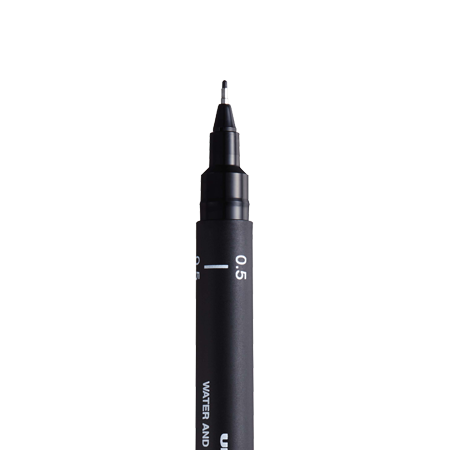
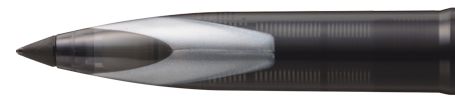
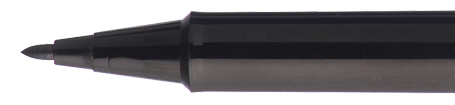
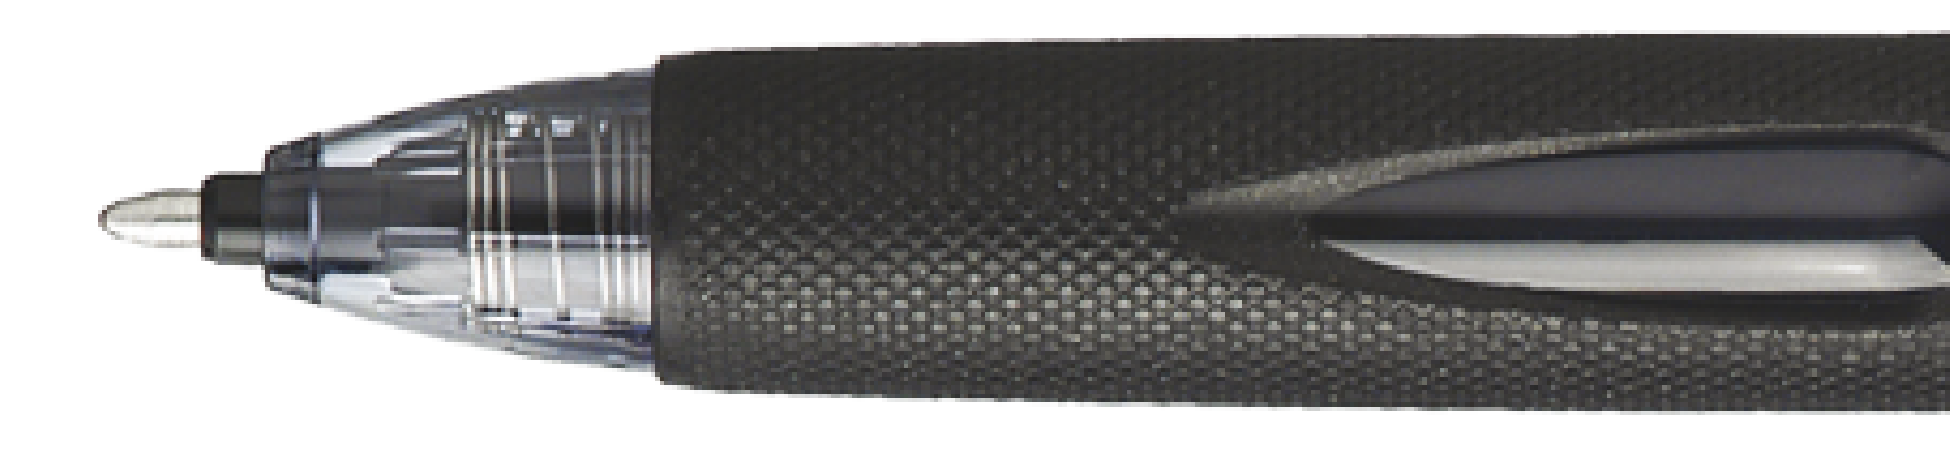
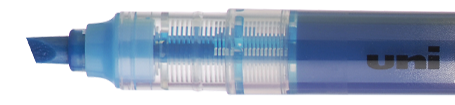
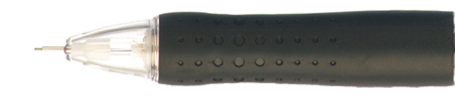
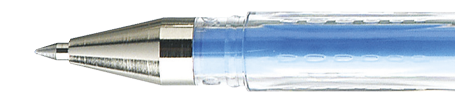
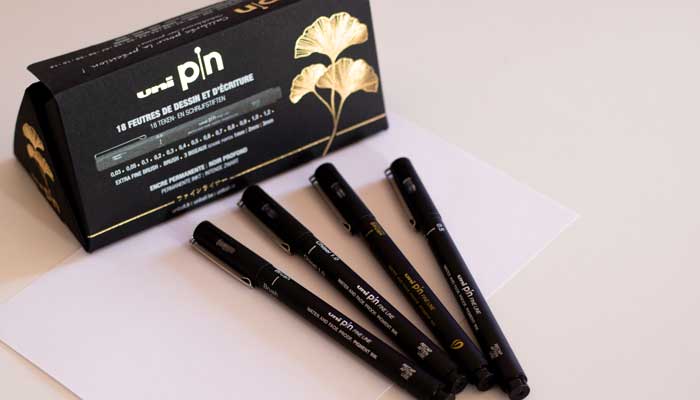
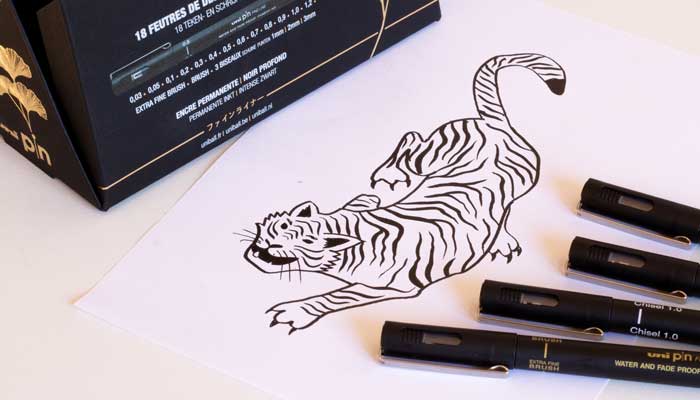
- Uni Pin felt-tip pens (1.0 chisel, 0.5 fine, extra fine brush, brush tips)
- For the outline of the tiger, you can use the downloadable template that we’ve provided here.
1st step: the right felt-tips
No need for a long list of supplies, just a sheet of paper and Uni Pin felt-tips, and in particular the brush tips will be ideal!
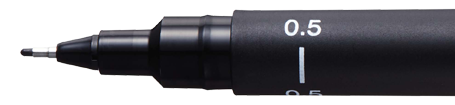
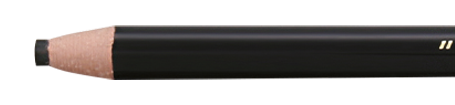
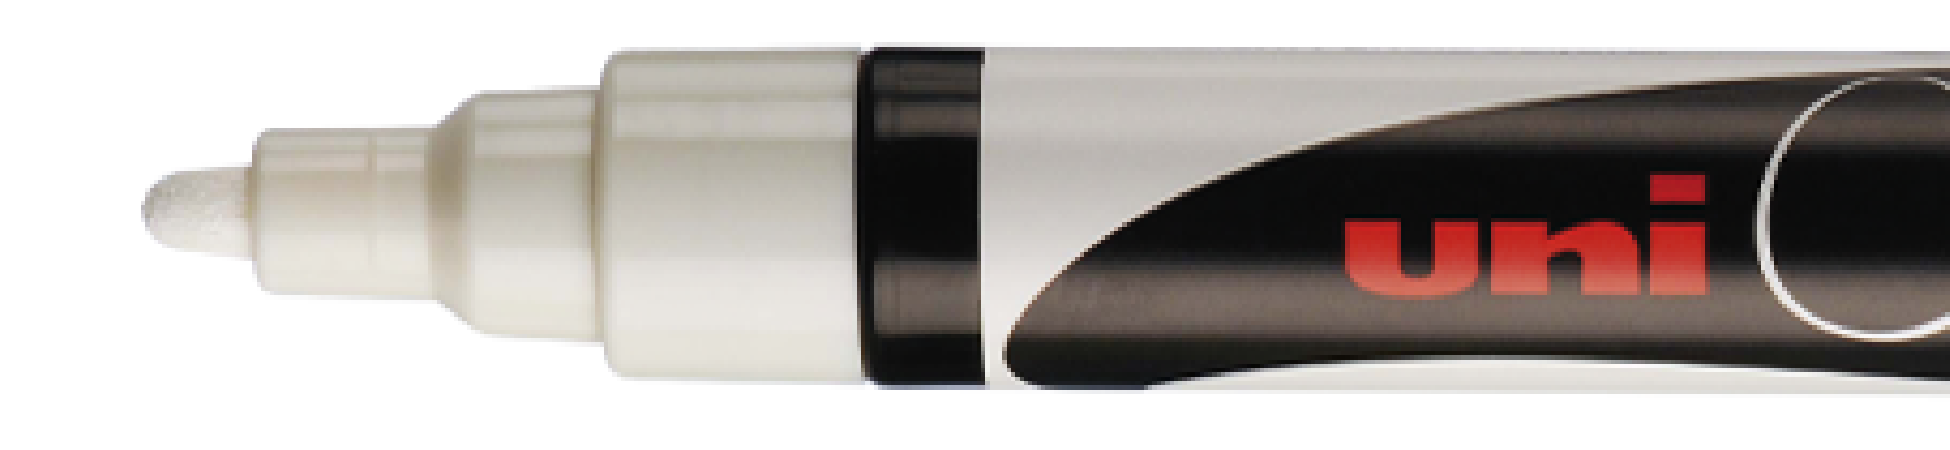
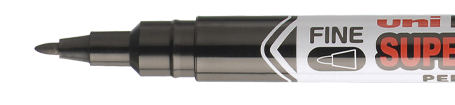
In order to vary the effects and make the most of all the advantages offered by the Uni Pin range, in this tutorial we use different tips: the 1.0 chisel tip and 0.5 fine tip for their precision as well as the brush and extra fine brush tips for their flexibility and their intensity!
2nd step: A wild outline!
First of all, you need to trace the outline of this beautiful animal. To do this, use the 1.0 bevelled tip. The back, the tail, the paws, the head... Using the template or following your instincts (grrr), carefully trace the outline of the tiger.
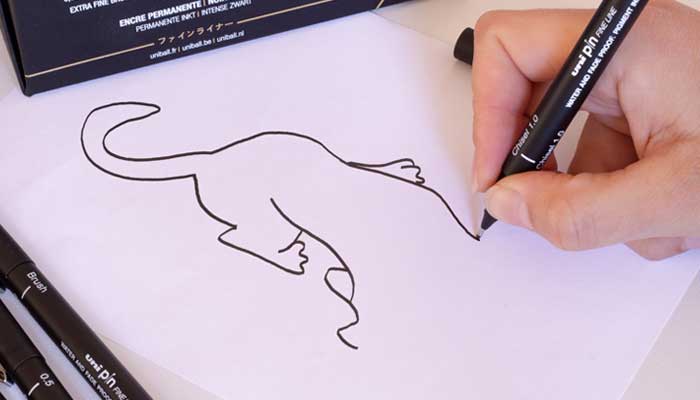
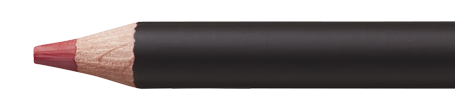
If you need to, don't hesitate to use reference points with a pencil, which can be erased once the ink is dry.
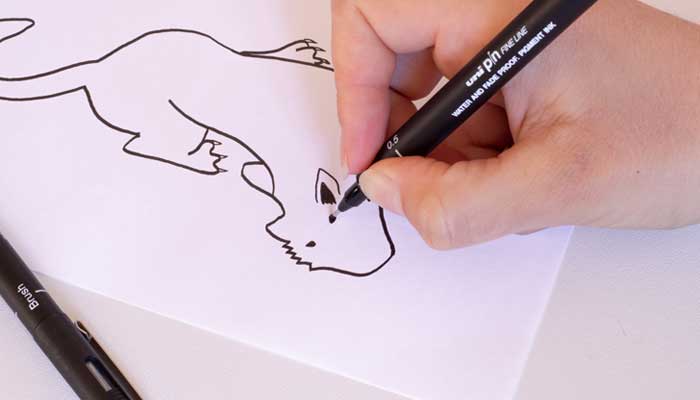
3rd step: Bring the tiger to life
Now take your 0.5 fine tip Uni Pin to add all of the details which will animate the sweet little face of the tiger. The ears, the eyes, the jowls and their whiskers and even the teeth!
For the ear and the right side of the head, use the already traced left side as a guide.
And of course, don't forget the claws!
4th step: Stripes!
Because a tiger without its stripes isn't a tiger (at best it’s a panther), it’s time to break out the extra fine brush tip, which so nice to use! By varying the angle and the pressure put on the paper, you’ll be able to draw stripes of different thickness to show off the animal’s coat.
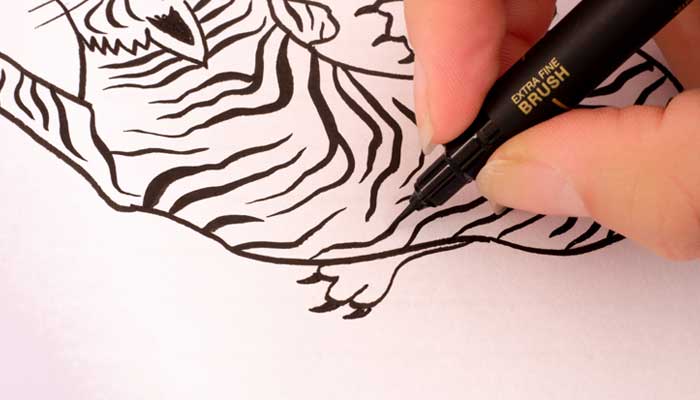
For this step, no need to be precise, because these stripes are renowned for their irregularity. Their spacing, their length or even their thickness can therefore vary.
5th step: Filling it out
The final touch: colour the end of the tiger’s tail with the brush tip.
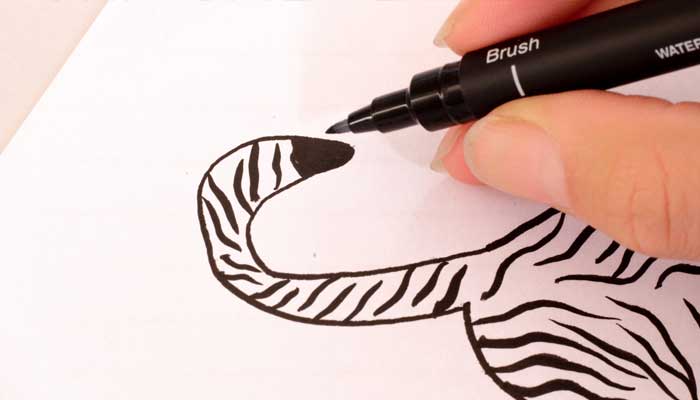
It’s done in a few seconds thanks to the intense coverage of the Uni Pin felt-tips, without the ink bleeding through the paper.
Final result!!
Your mischievous tiger is finished! We hope that you’ve enjoyed drawing it and that it will bring you good luck for this year of the tiger.
Why not reveal your tigers by sending us a photo on our social networks, or even by adding the hashtag #uniballfrance on your post!