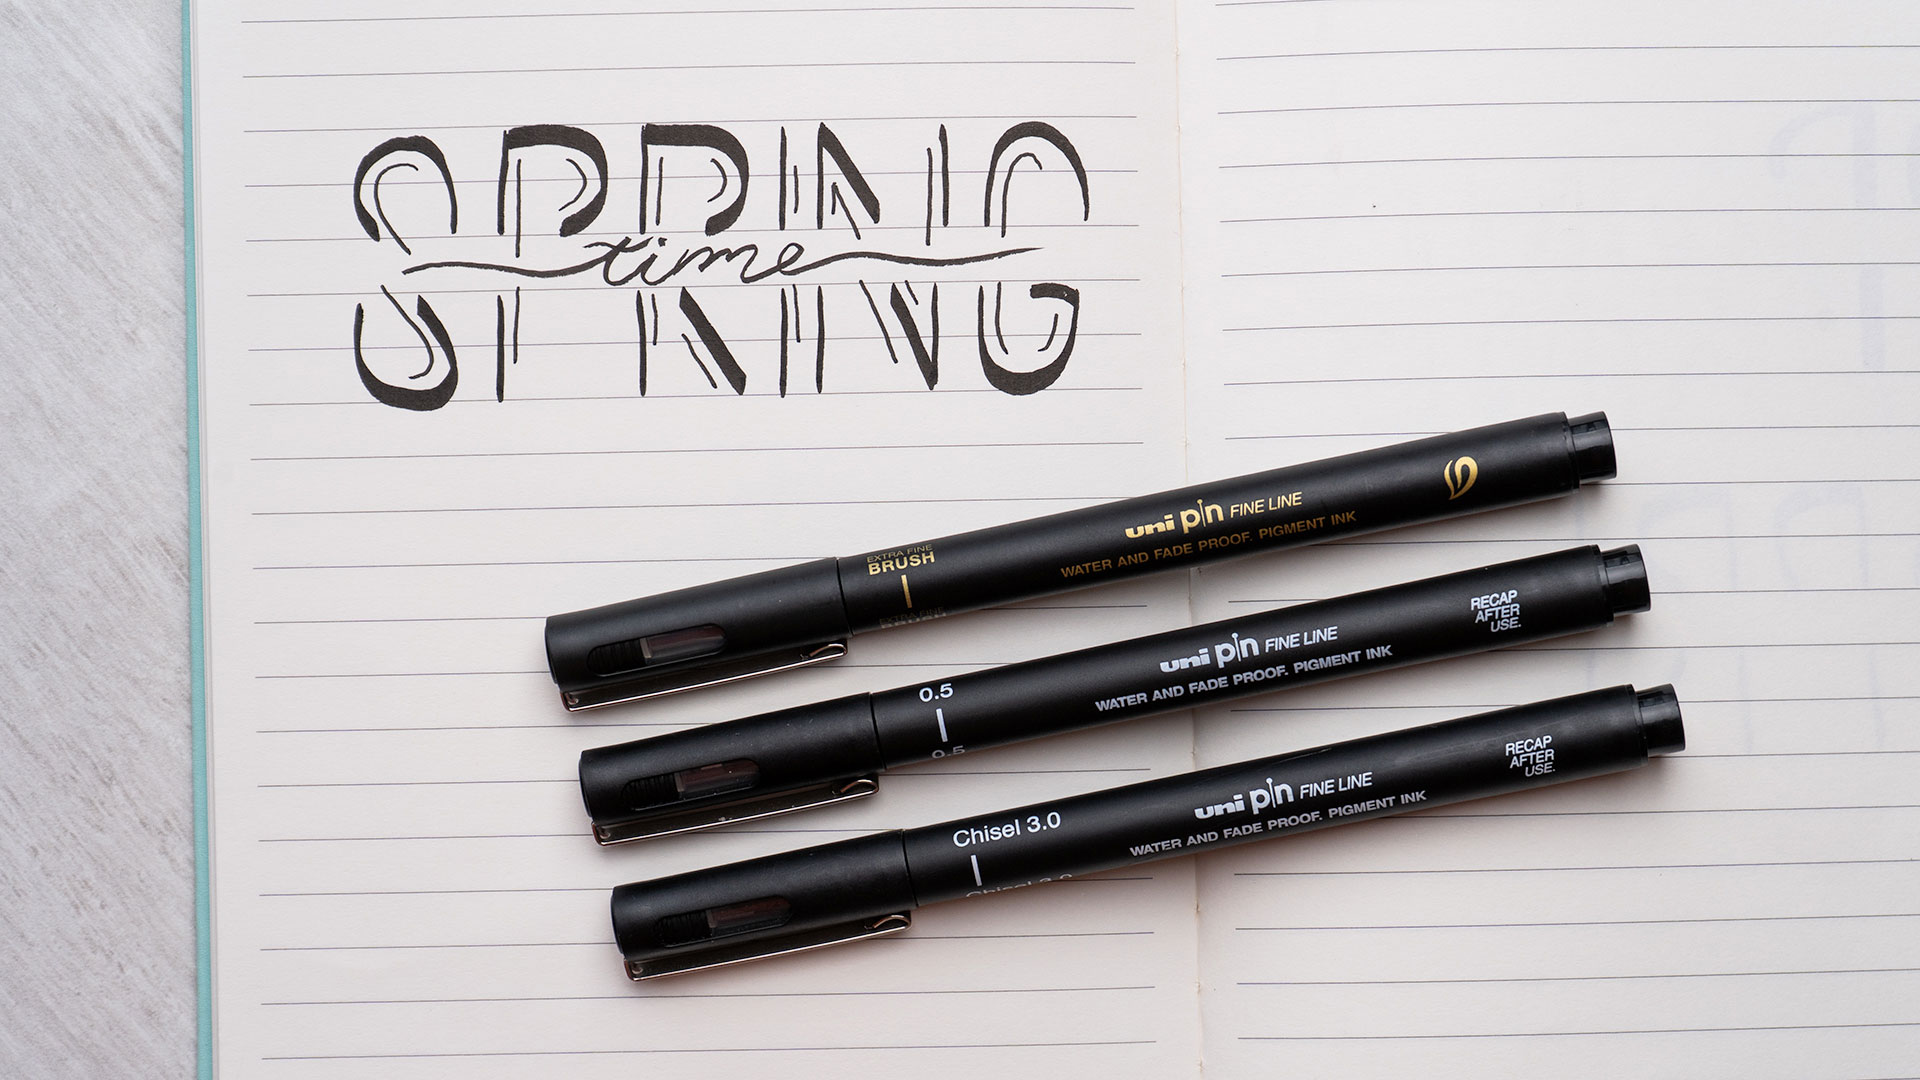


Create a Lettering drawing with Uni Pin felt-tip pens

How about some spring-themed lettering?
In this tutorial, discover a lettering technique that’s perfect for giving style to your words with a creative twist! Thanks to Uni-Pin’s chisel tips, you can play with thick and thin strokes to create dynamic and elegant letters. Let your imagination run wild and follow our tutorial to decorate your notebooks, journals, postcards—or simply for fun. Ready, set, pens out!
What You’ll Need
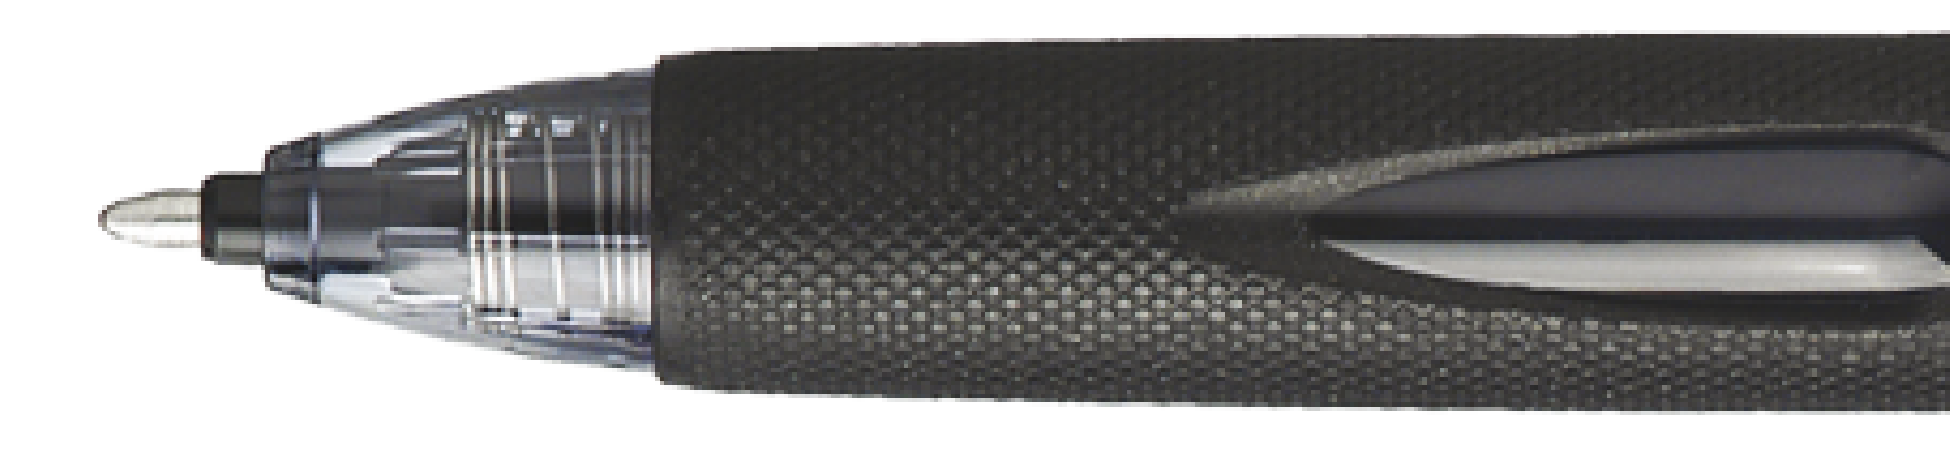
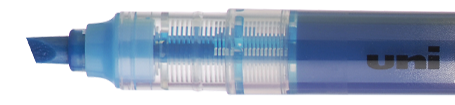
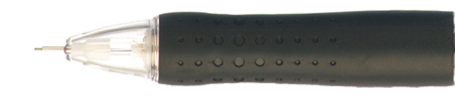
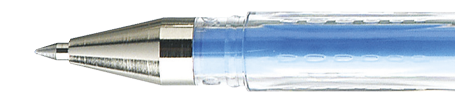
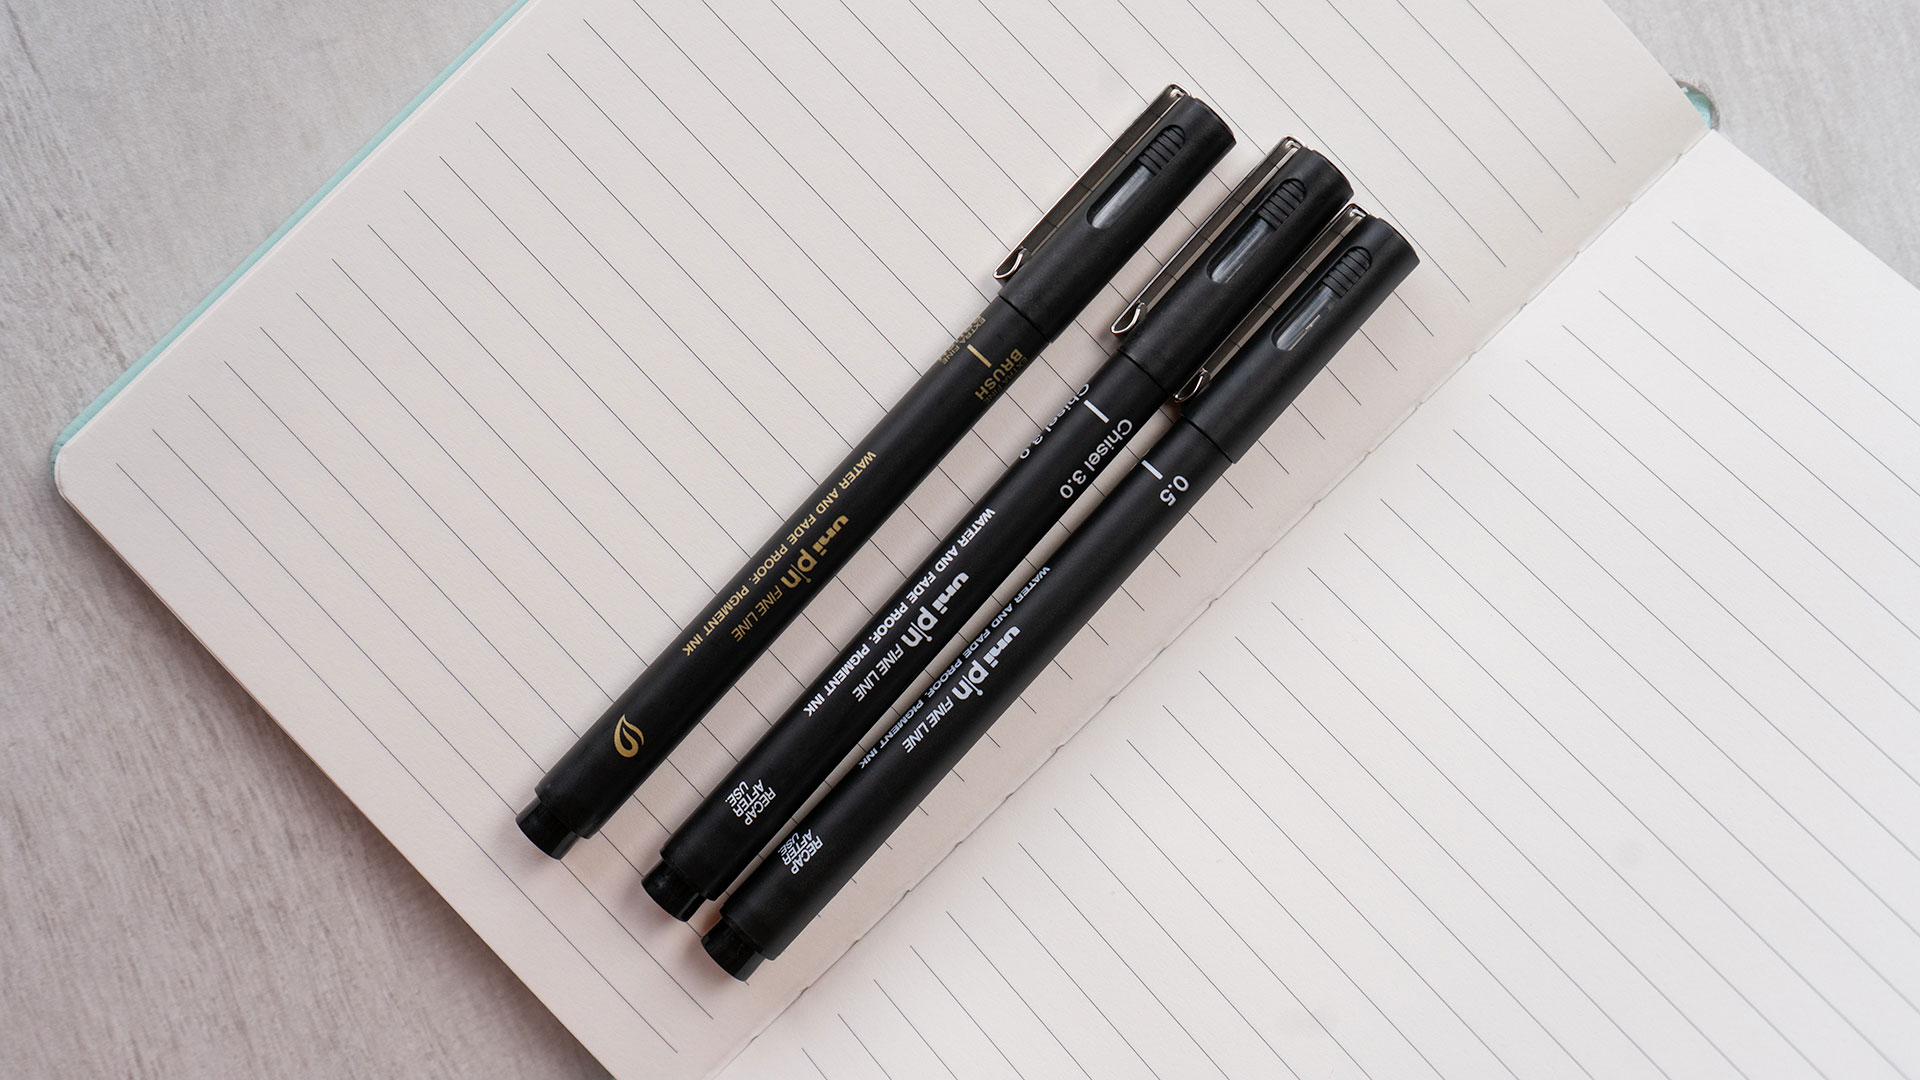
To complete this tutorial, you’ll need our must-have Uni Pin felt-tip pens! For more precise and technical writing, you’ll use three different tips:
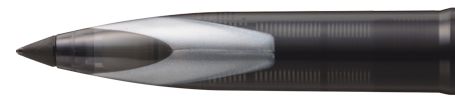
- A chisel tip
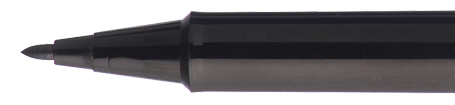
- An extra fine brush tip
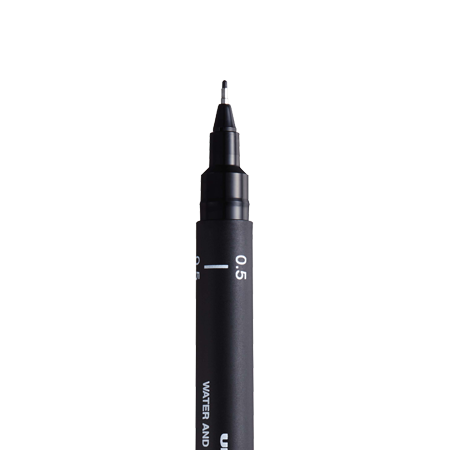
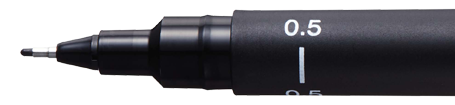
- A fine tip (0.5mm)
You’ll also need a paper surface, like a sheet or a lined notebook (lines make lettering easier to do).
Ready? Let’s get started!
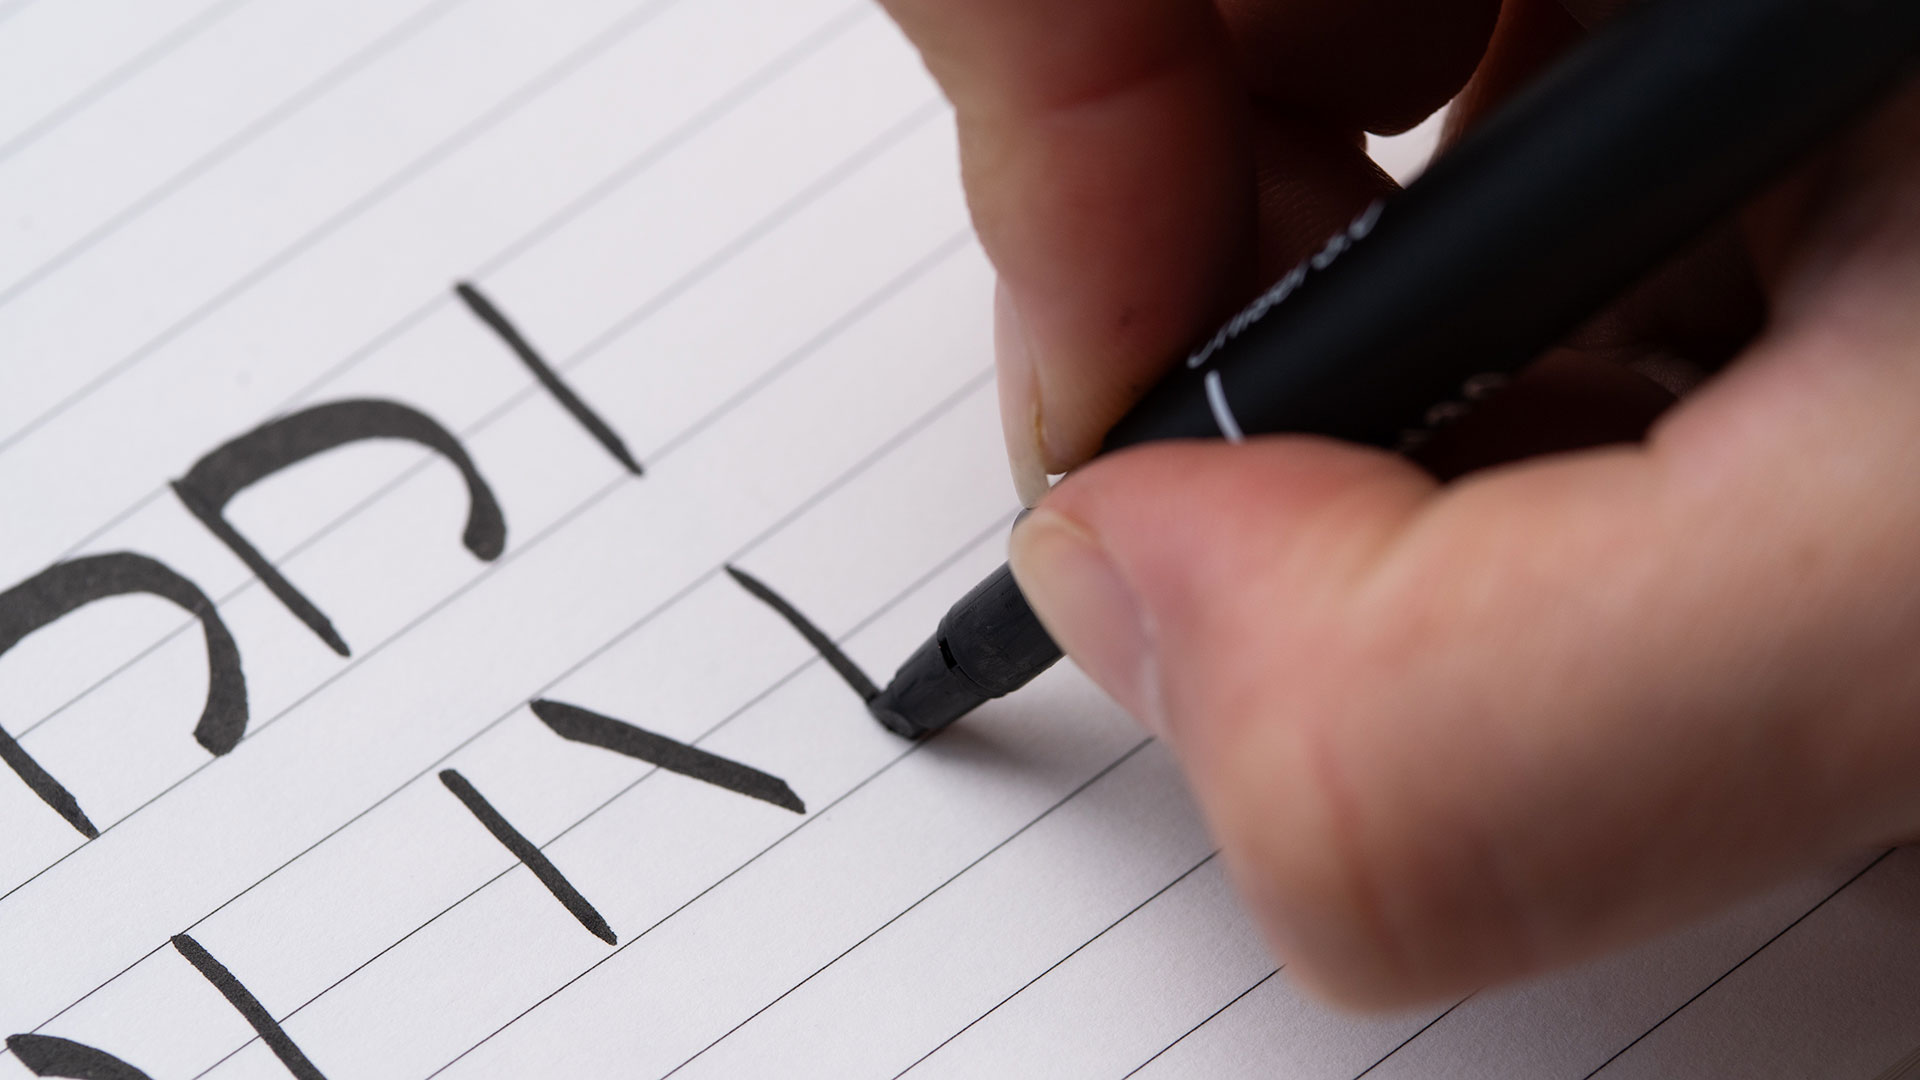
Step 1: Write your main word
To start, grab the chisel tip, which you'll use to write the main word in your lettering design. Remember to leave some space inside your word—you’ll need it later!
Also, feel free to use the lines on your paper to guide you if there are any.

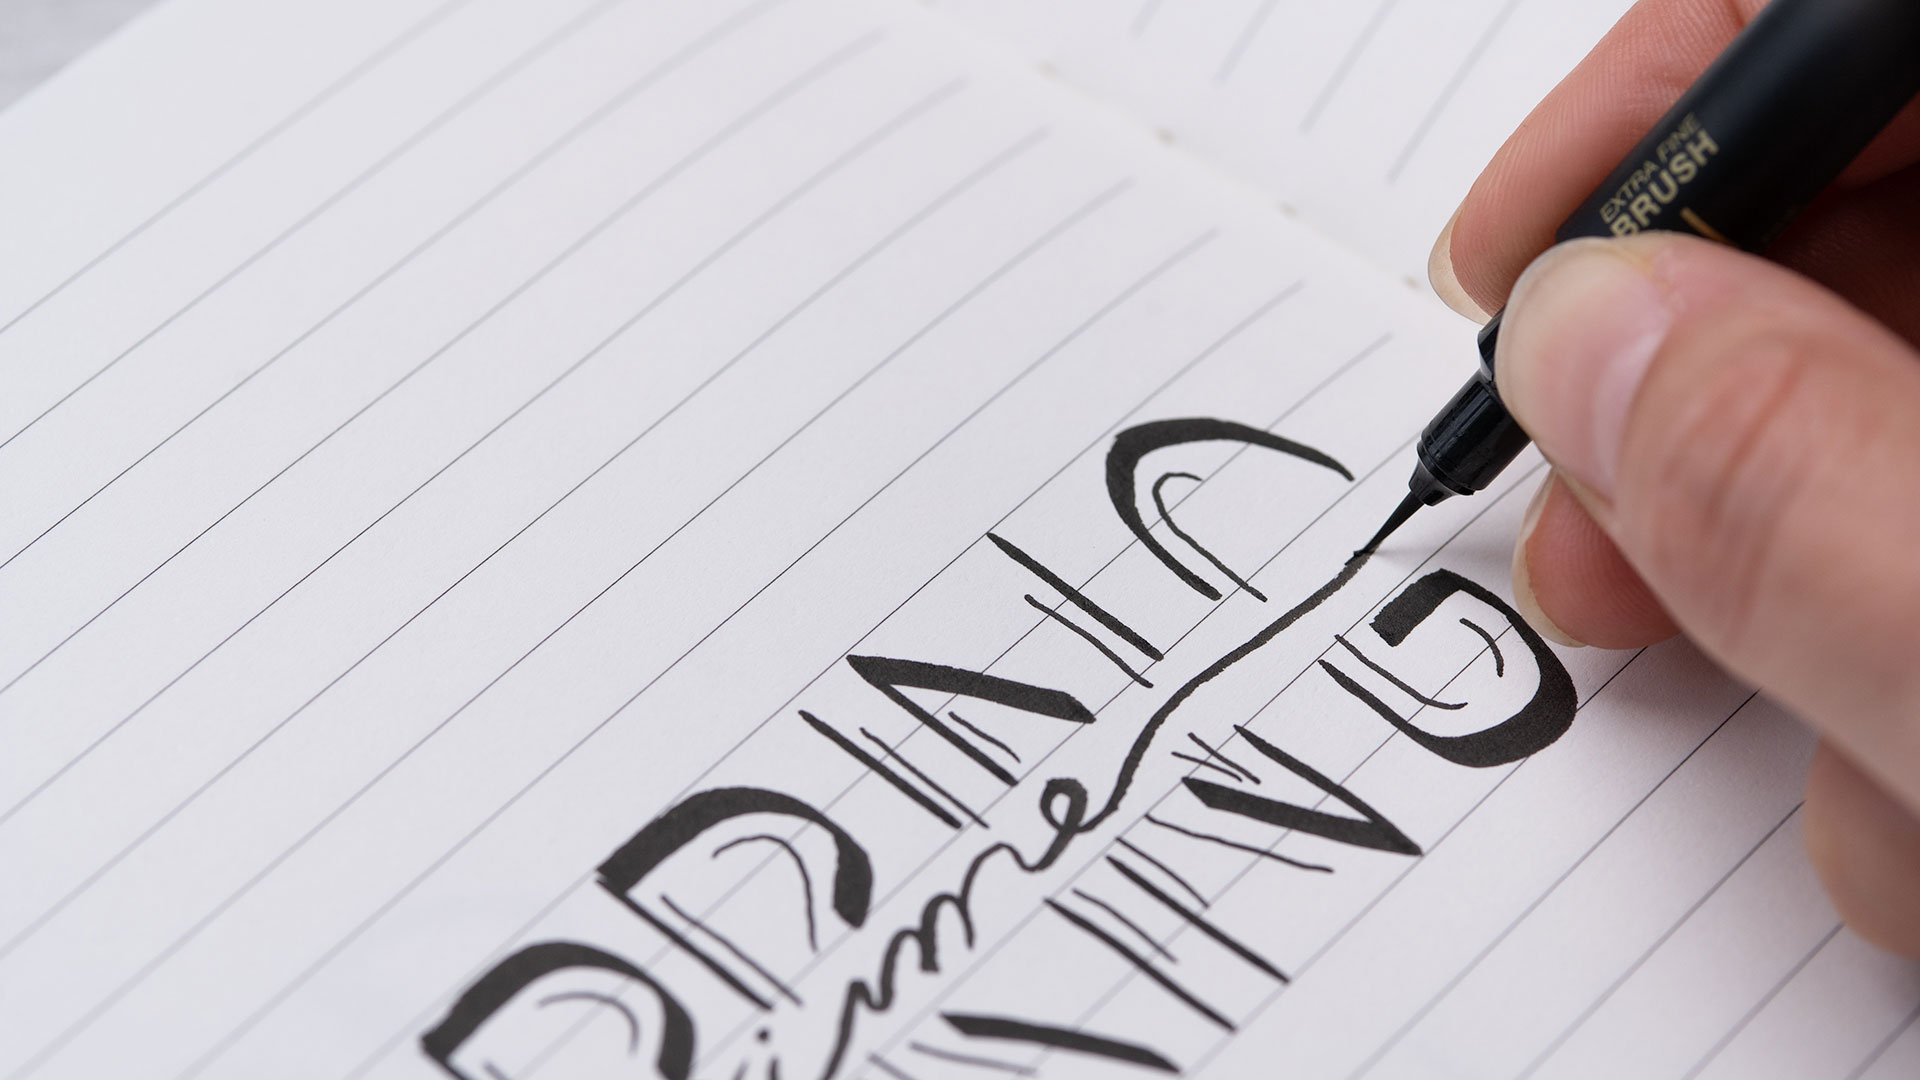
Step 2: Fine and precise strokes
Once you've written your main word, take another pen: the extra fine brush tip. This one is perfect for drawing fine, precise lines—great for the second word!
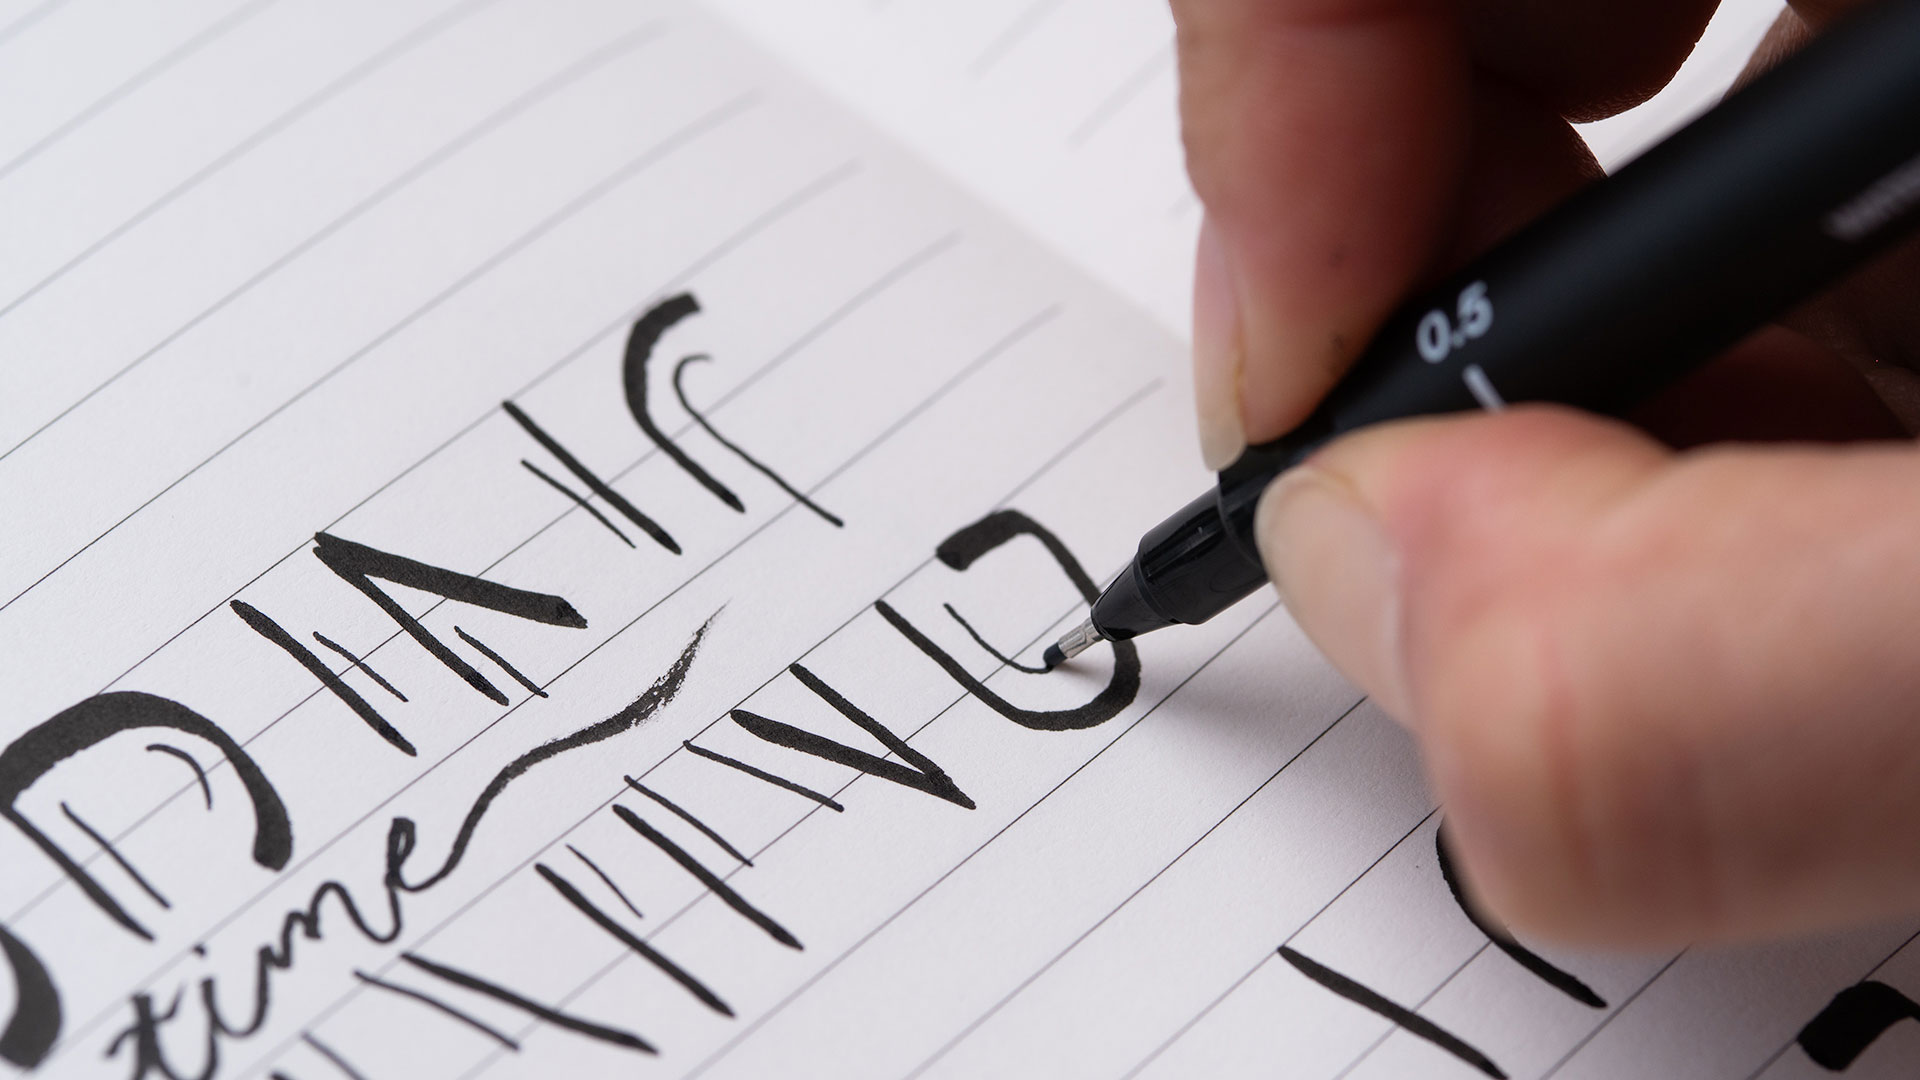
Step 3: Add depth and dimension
Now that your words are laid out, it’s time to add some realism using the third and final fine tip (0.5mm).
You can trace over your previous strokes to create outlines around your words. Easy, right?
Step 4: The final result
And there you have it! Your lettering has come to life!
Thanks to the different Uni Pin pen tips, you’ve brought contrast and personality to your creation. Take a moment to admire your work and why not add a final touch—some shading or even a splash of color?
Don’t hesitate to share your masterpiece with us on Instagram or TikTok using the hashtag #uniballfrance, or drop a comment on our Facebook page!