


Design tutorial: learn to make a three dimensional building with Uni Pin

Today we are going to learn all about three dimensional design! For those who are a little sceptical, fear not! In our tutorial and using the Uni Pin felt tips, we will give you some handy techniques. Designing a three dimensional building will be child’s play!
Ready to go? Let’s get started!
For this tutorial, you will need:
- A sheet of paper
- Two tacks
- Two pieces of string
- A ruler
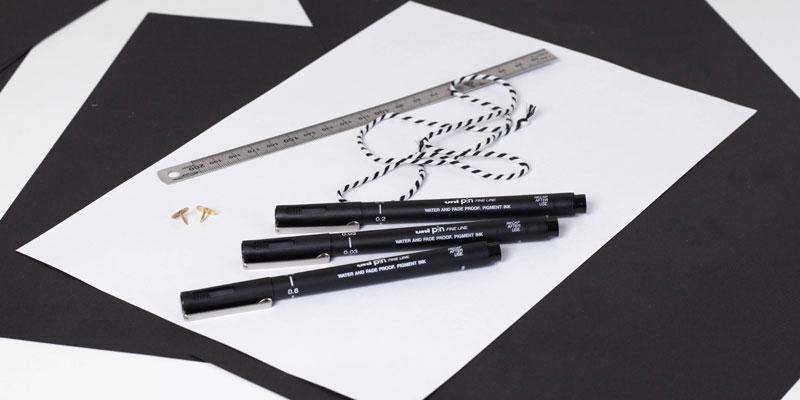
1st step: The materials
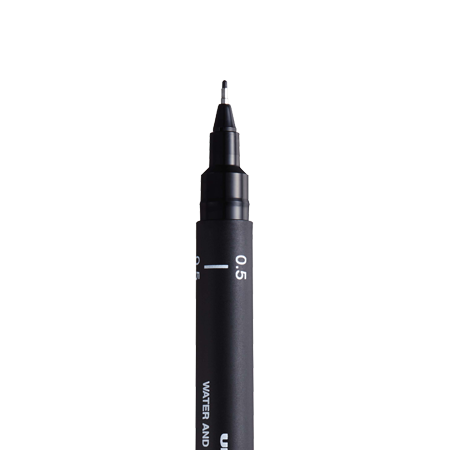
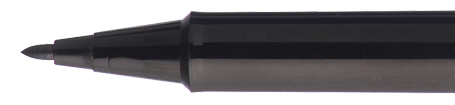
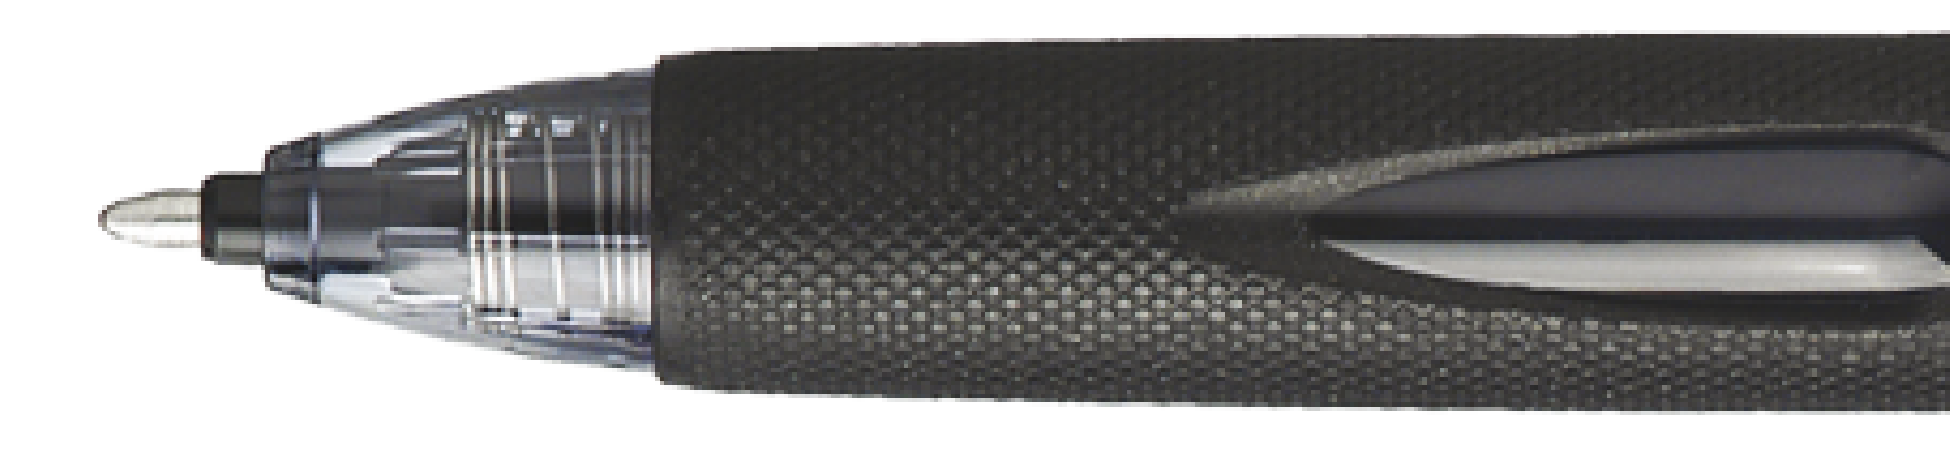
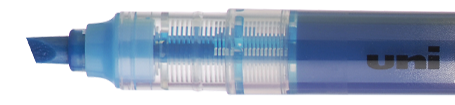
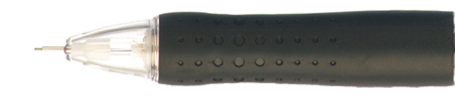
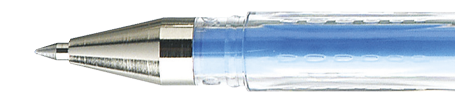
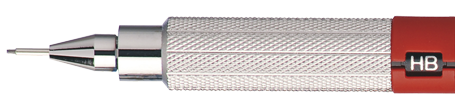
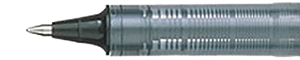
For this new tutorial, you will need a sheet of paper, two tacks, two short pieces of string, a ruler and, of course, Uni Pin felt-tip pens. Here we will use 0.03, 0.2 and 0.6 mm tips.
The Uni Pin are felt tip pens par excellence thanks to their wonderful precision and reliability! Even when used with a ruler, their robust tips are not easily damaged and their intense deep colours will continue to shine over time.
2nd step: Fix the pieces of string
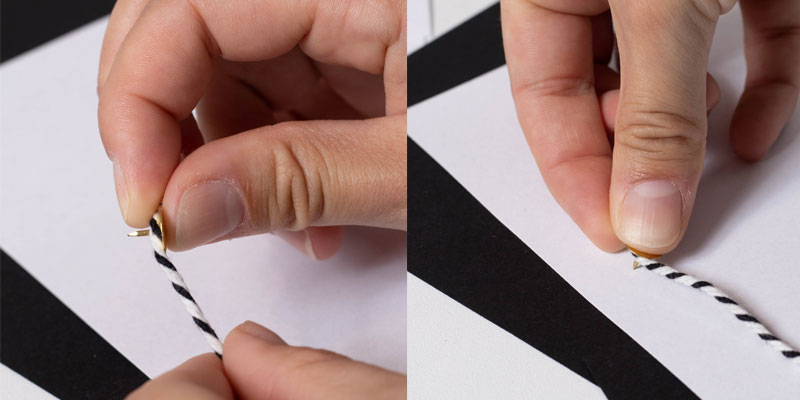
Initially, using two short pieces of string and two tacks, create markers, called “leaking points”, to construct your three dimensional image. Attach the pieces of string using the two tacks at both edges of the sheet.
3rd step: Trace your lines
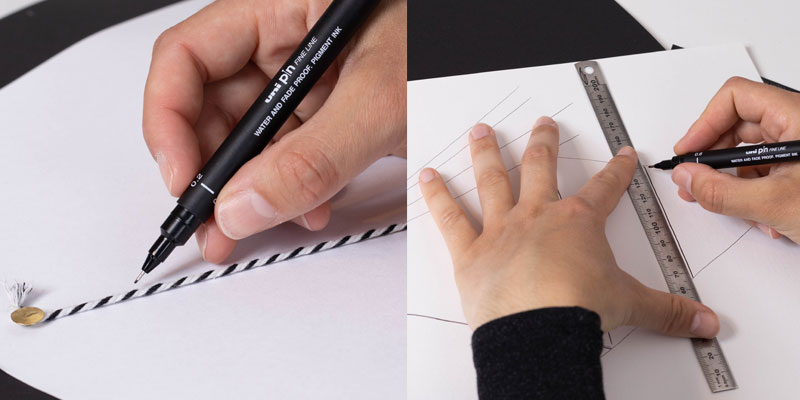
Then, using a ruler and your Uni Pin felt tips (here using the 0.2 and 0.6 mm tips), trace your guidelines.
To do this, start from one of the leaking points and, using the string, trace lines all the way to the middle of the sheet. Imitate the conical vision of the human eye to create your three dimensional perspective. Do the same with the other leaking point. Now the three dimensional design should begin to take shape.
4th step: Form your building
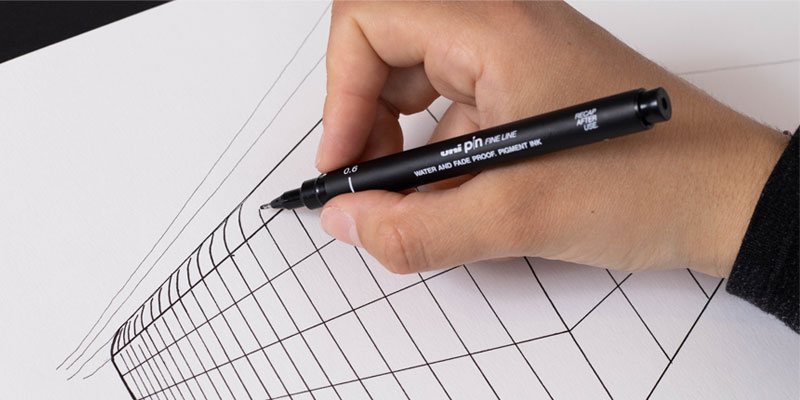
Still using your Uni Pin felt tips (0.6 mm tip), form your building using the points.
Choose the thicker tips for the edges, and the finer tips for the details.
5th step: Add details and shading
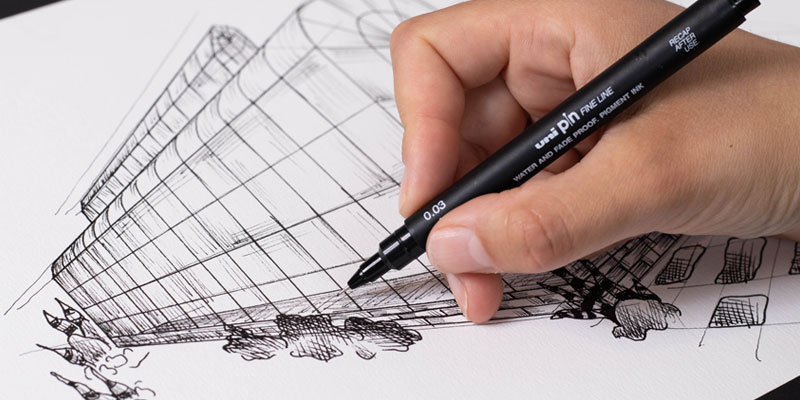
To finish off in style, add a few details and some shading. Using your Uni Pin felt tip (the finest 0.03 mm tip), shade in a few strategic points of your building to add some texture and shades and add some decorative details which will complete your design, such as flowers for instance.
6th step: The final result!
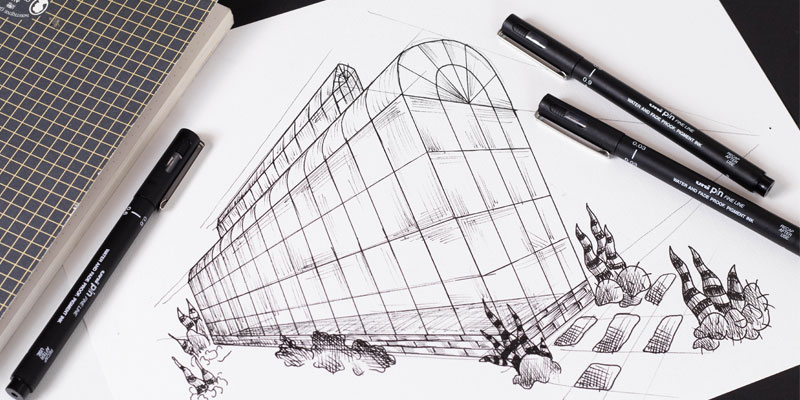
Your three dimensional building is now done! Was that so difficult? If you enjoyed this drawing technique, feel free to try it on any object, the steps are identical.
Don’t hesitate to share your creations with us! Add a comment to our Facebook posts, or use the #uniballfrance hashtag on Instagram, and we will be delighted to admire your designs and repost!