


Make a Uni Pin pencil pot

One, two, three, paper, scissors! For this new tutorial, we’re proud to create a pencil pot from A to Z, by tracing a pattern which can then be folded, glued and take centre stage on our desk, containing the Uni Pin felt tips which decorated it! Ready? Let’s go!
Tutorial level: Beginner / Advanced / Expert
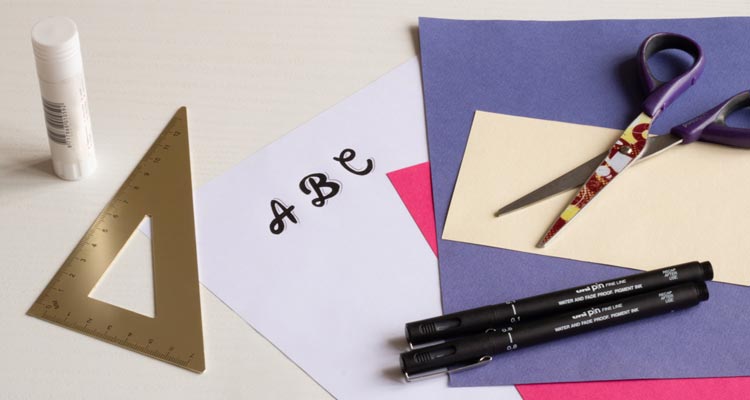
For this tutorial, you will need:
- A sheet of card paper
- A set square
- A glue stick
- A pair of scissors
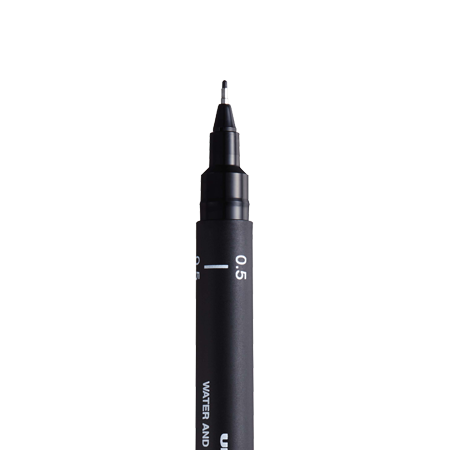
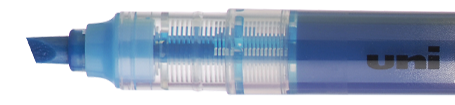
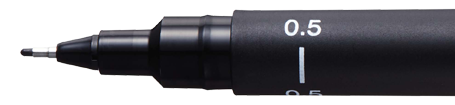
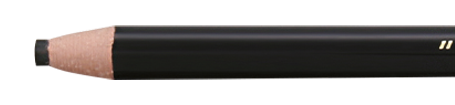
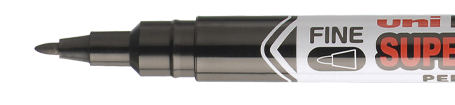
- Uni Pin felt-tip pens (0.8mm and 0.1mm tips)
- Our pattern (downloadable pdf)
1st step: Materials and reference lines
Glue, scissors, card paper, set square and of course Uni Pin felt-tip pens and their deep and intense black ink! You’re good to go.
2nd step: Fold and cut!
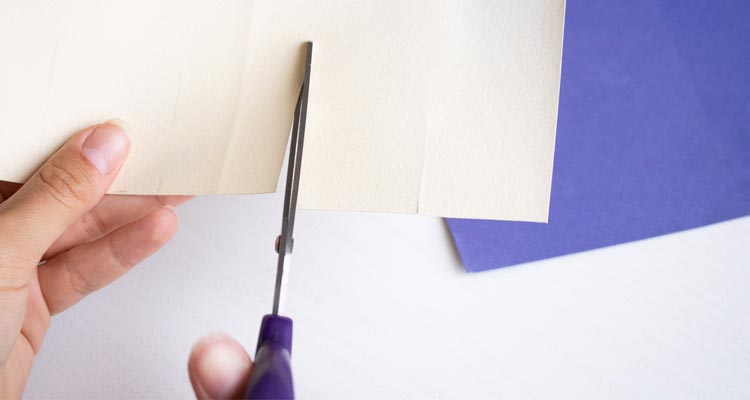
Start by cutting out a 15 x 32cm rectangle from your card paper. From the edge of the rectangle lengthwise (the 32cm side), measure 5cm and trace a straight parallel line. Fold by following this line.
Then, under this line, trace and cut out flaps every 4cms, using the set square to help you so that the marks are definitely perpendicular.
3rd step: Decorate it with the Uni Pin pens!
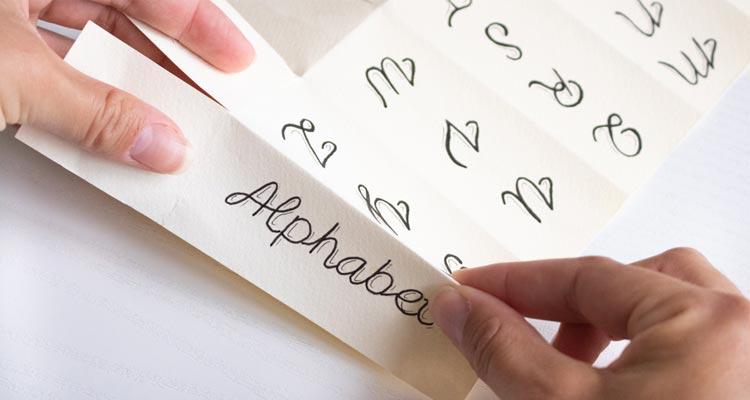
Under each flap, with a Uni Pin felt-tip pen (0.8mm tip), draw the patterns which will decorate the edges of your pencil pot. We’ve chosen beautiful calligraphy letters, which you can find on our downloadable template.
To give them depth, add finer and more delicate lines thanks to the 0.1mm tip Uni Pin pen

4th step: Assemble it!
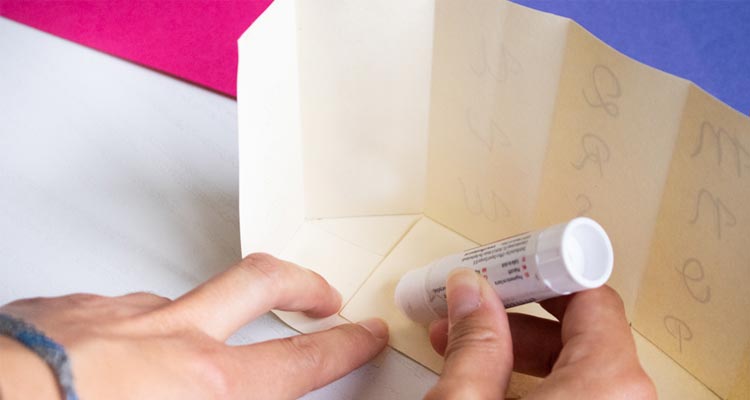
Your pot is now decorated, you can fold each of the edges along the width, following the marks on the flaps.
Refold the flaps and form a hexagon making sure you add a touch of glue on the edges on the flaps which overlap, to fix it all into place!
5th step: Admire the result!
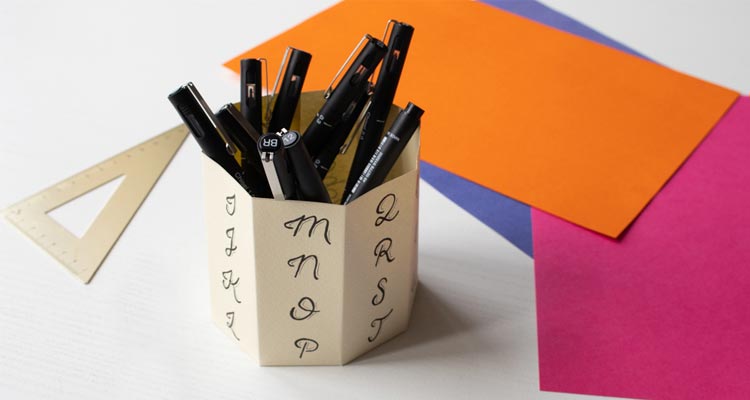
Voilà! Your home-made pencil pot has taken shape and is ready to house your pens, markers... and Uni Pin felt-tip pens of course!
Share the final result with us using the hashtag #uniballfrance and tag us on Instagram (@uniball_fr) we’d love to admire your work and share them in a story!