


Make your very own composition thanks to the Uni-Pin Lettering Starter Kit

Do you know what lettering is? It is the art of hand-crafted letters. Our all-new Uni-Pin Lettering Starter Kit teaches you the basic techniques (with three tutorials inside full of useful tips and advice)! What would you say to perhaps writing some beautiful Christmas cards? We will show you how in this tutorial. Once you have mastered the basics, writing will become a creative adventure!
For this tutorial, you will need:
- A blank sheet of paper
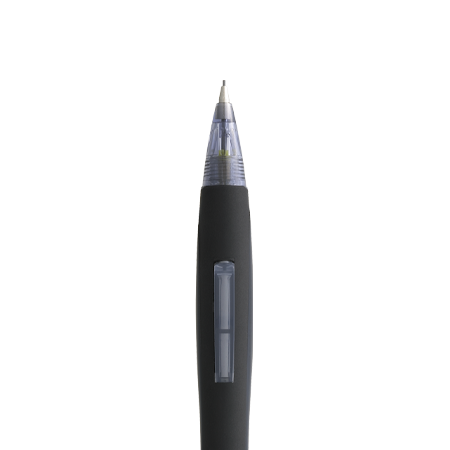
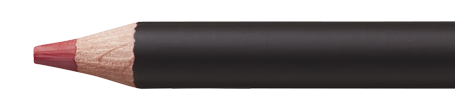
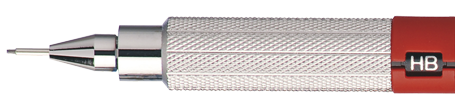
- A premium Shalaku S pencil
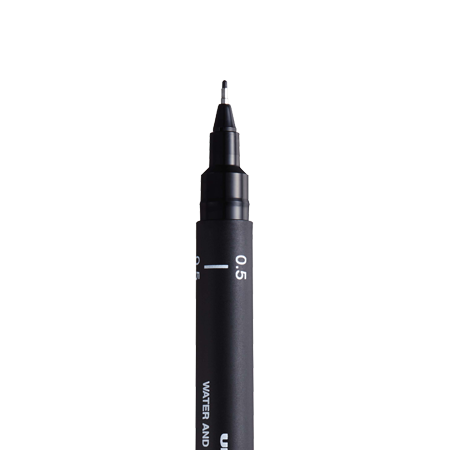
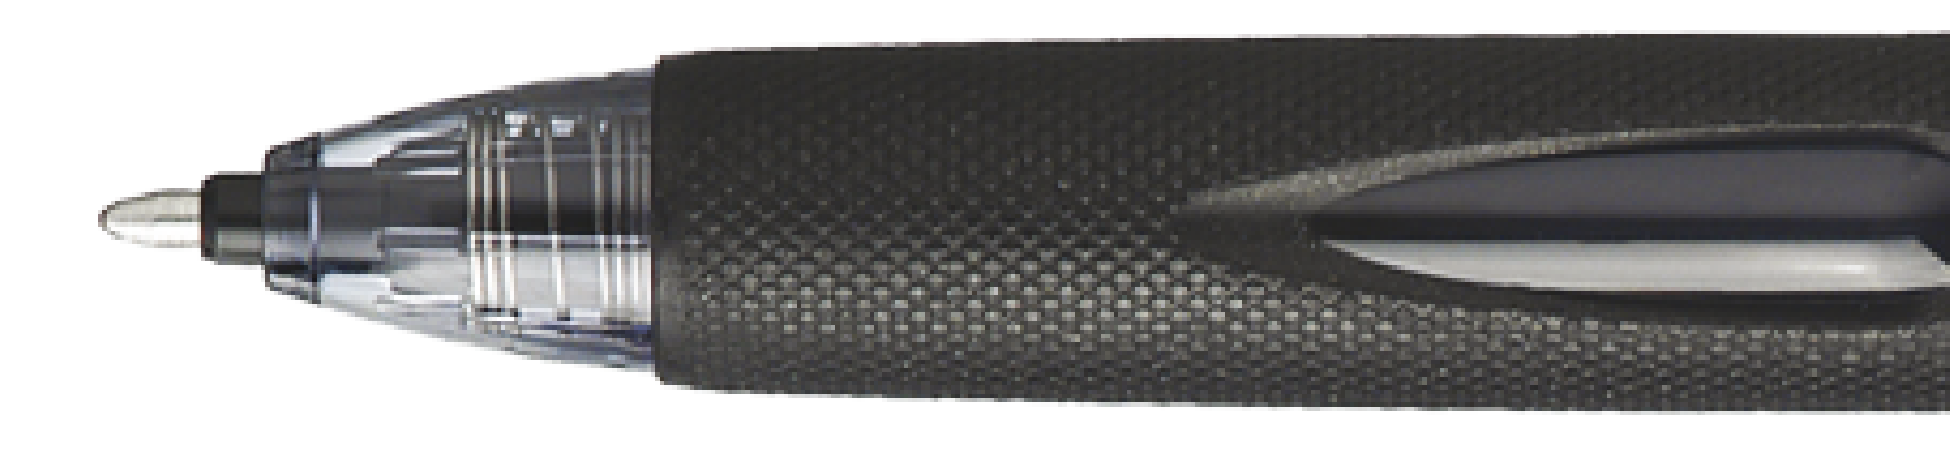
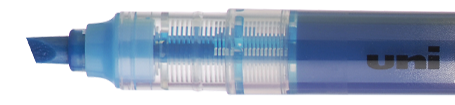
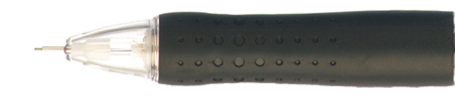
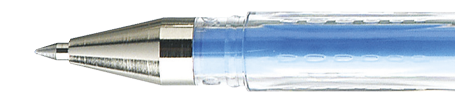
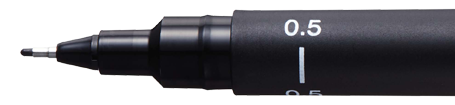
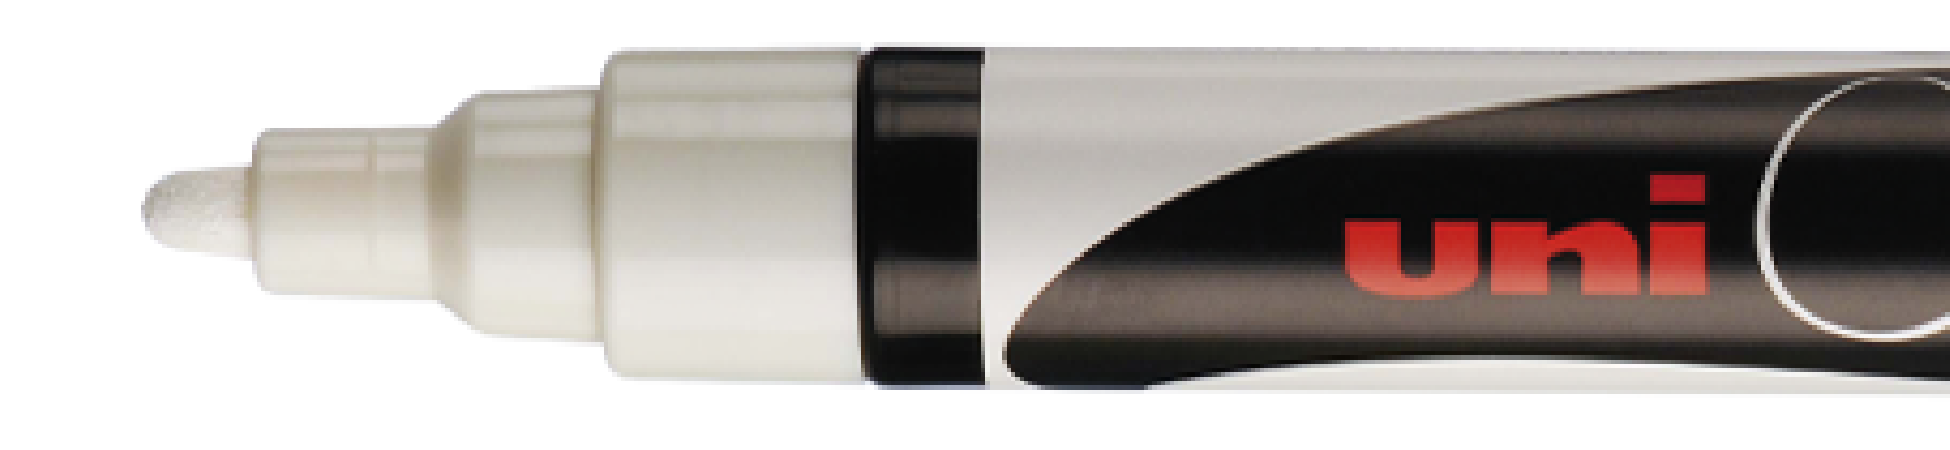
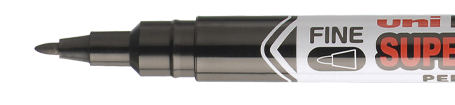
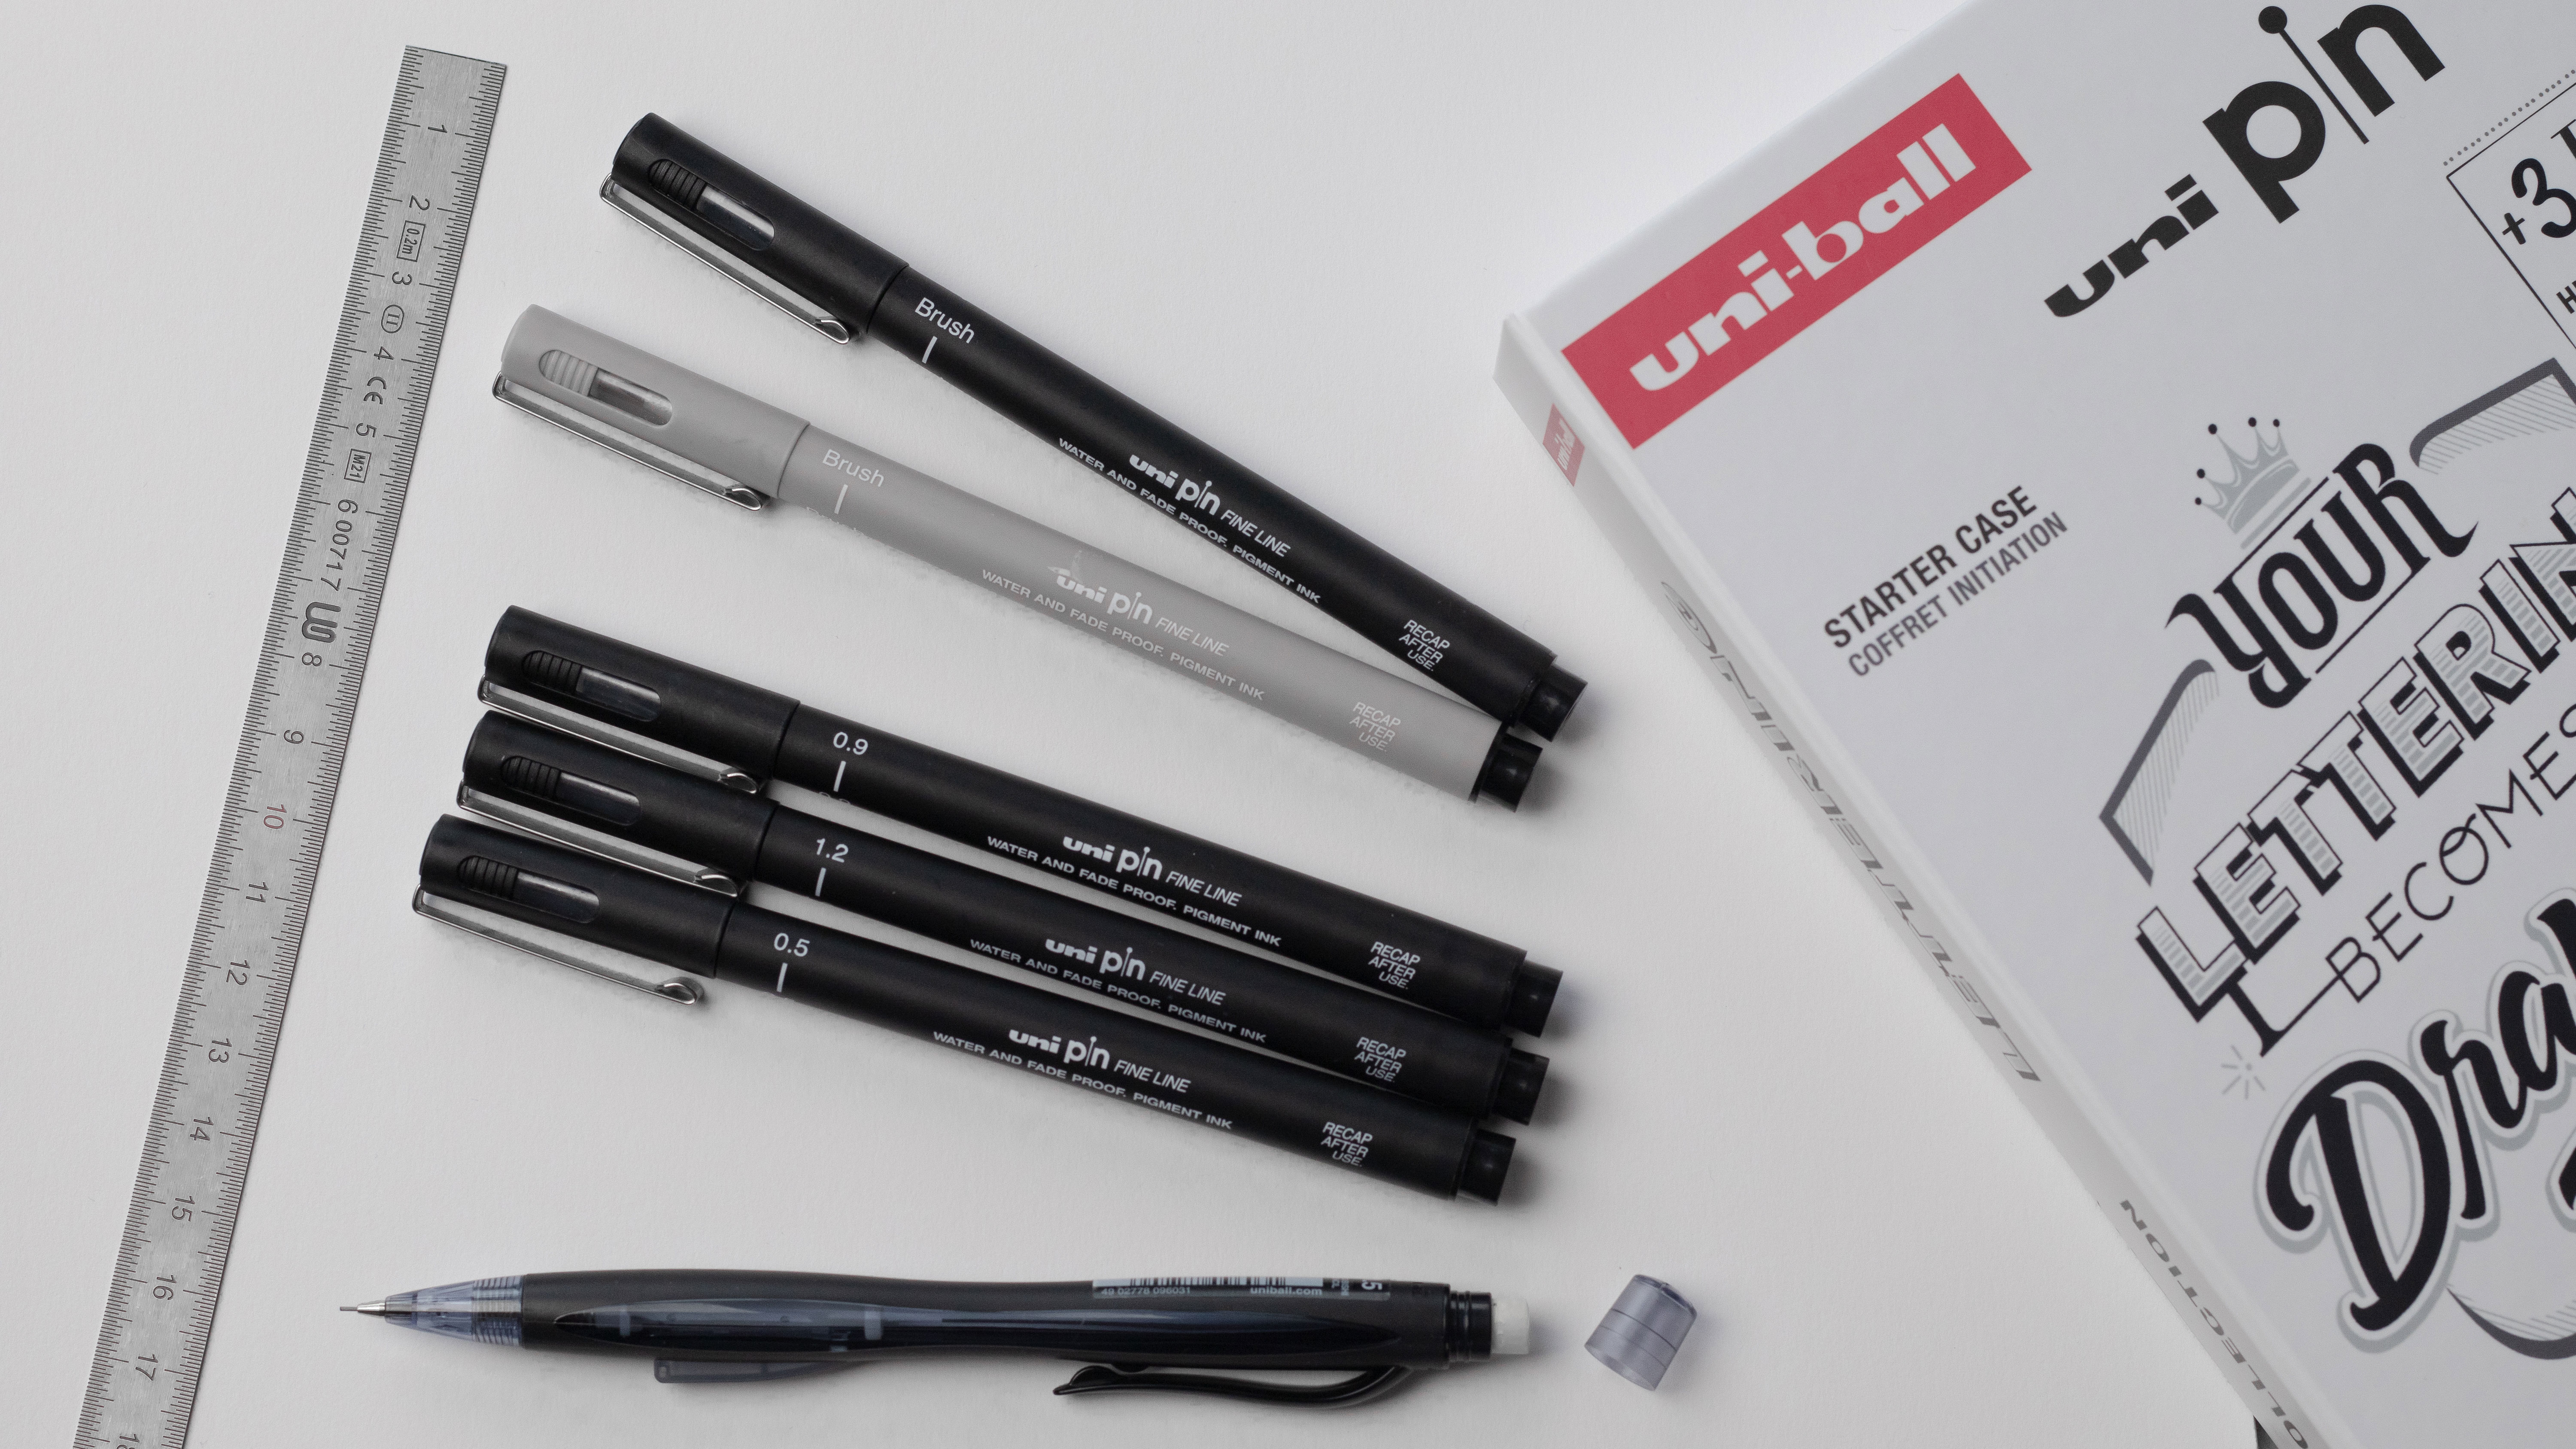
- Uni-Pin felt tips (brush tip in black and light grey, 0.5/0.9 and 1.2 mm tips)
- A ruler
Step 1: What you need
Firstly, gather together your Uni-Pin black and light grey brush tips as well as the 0.5/0.9 and 1.2 mm tips and the Shalaku S premium pencil (with its built-in eraser), all included in the Uni-Pin Lettering Starter Kit.
This starter kit has eight Uni-Pin felt tips, as well as the premium pencil and three tutorials which you can read before getting started!
You’ll also need a ruler at hand for straight clean lines. And of course, a black sheet of paper on which to draw your calligraphy. To your markers, get set, go!
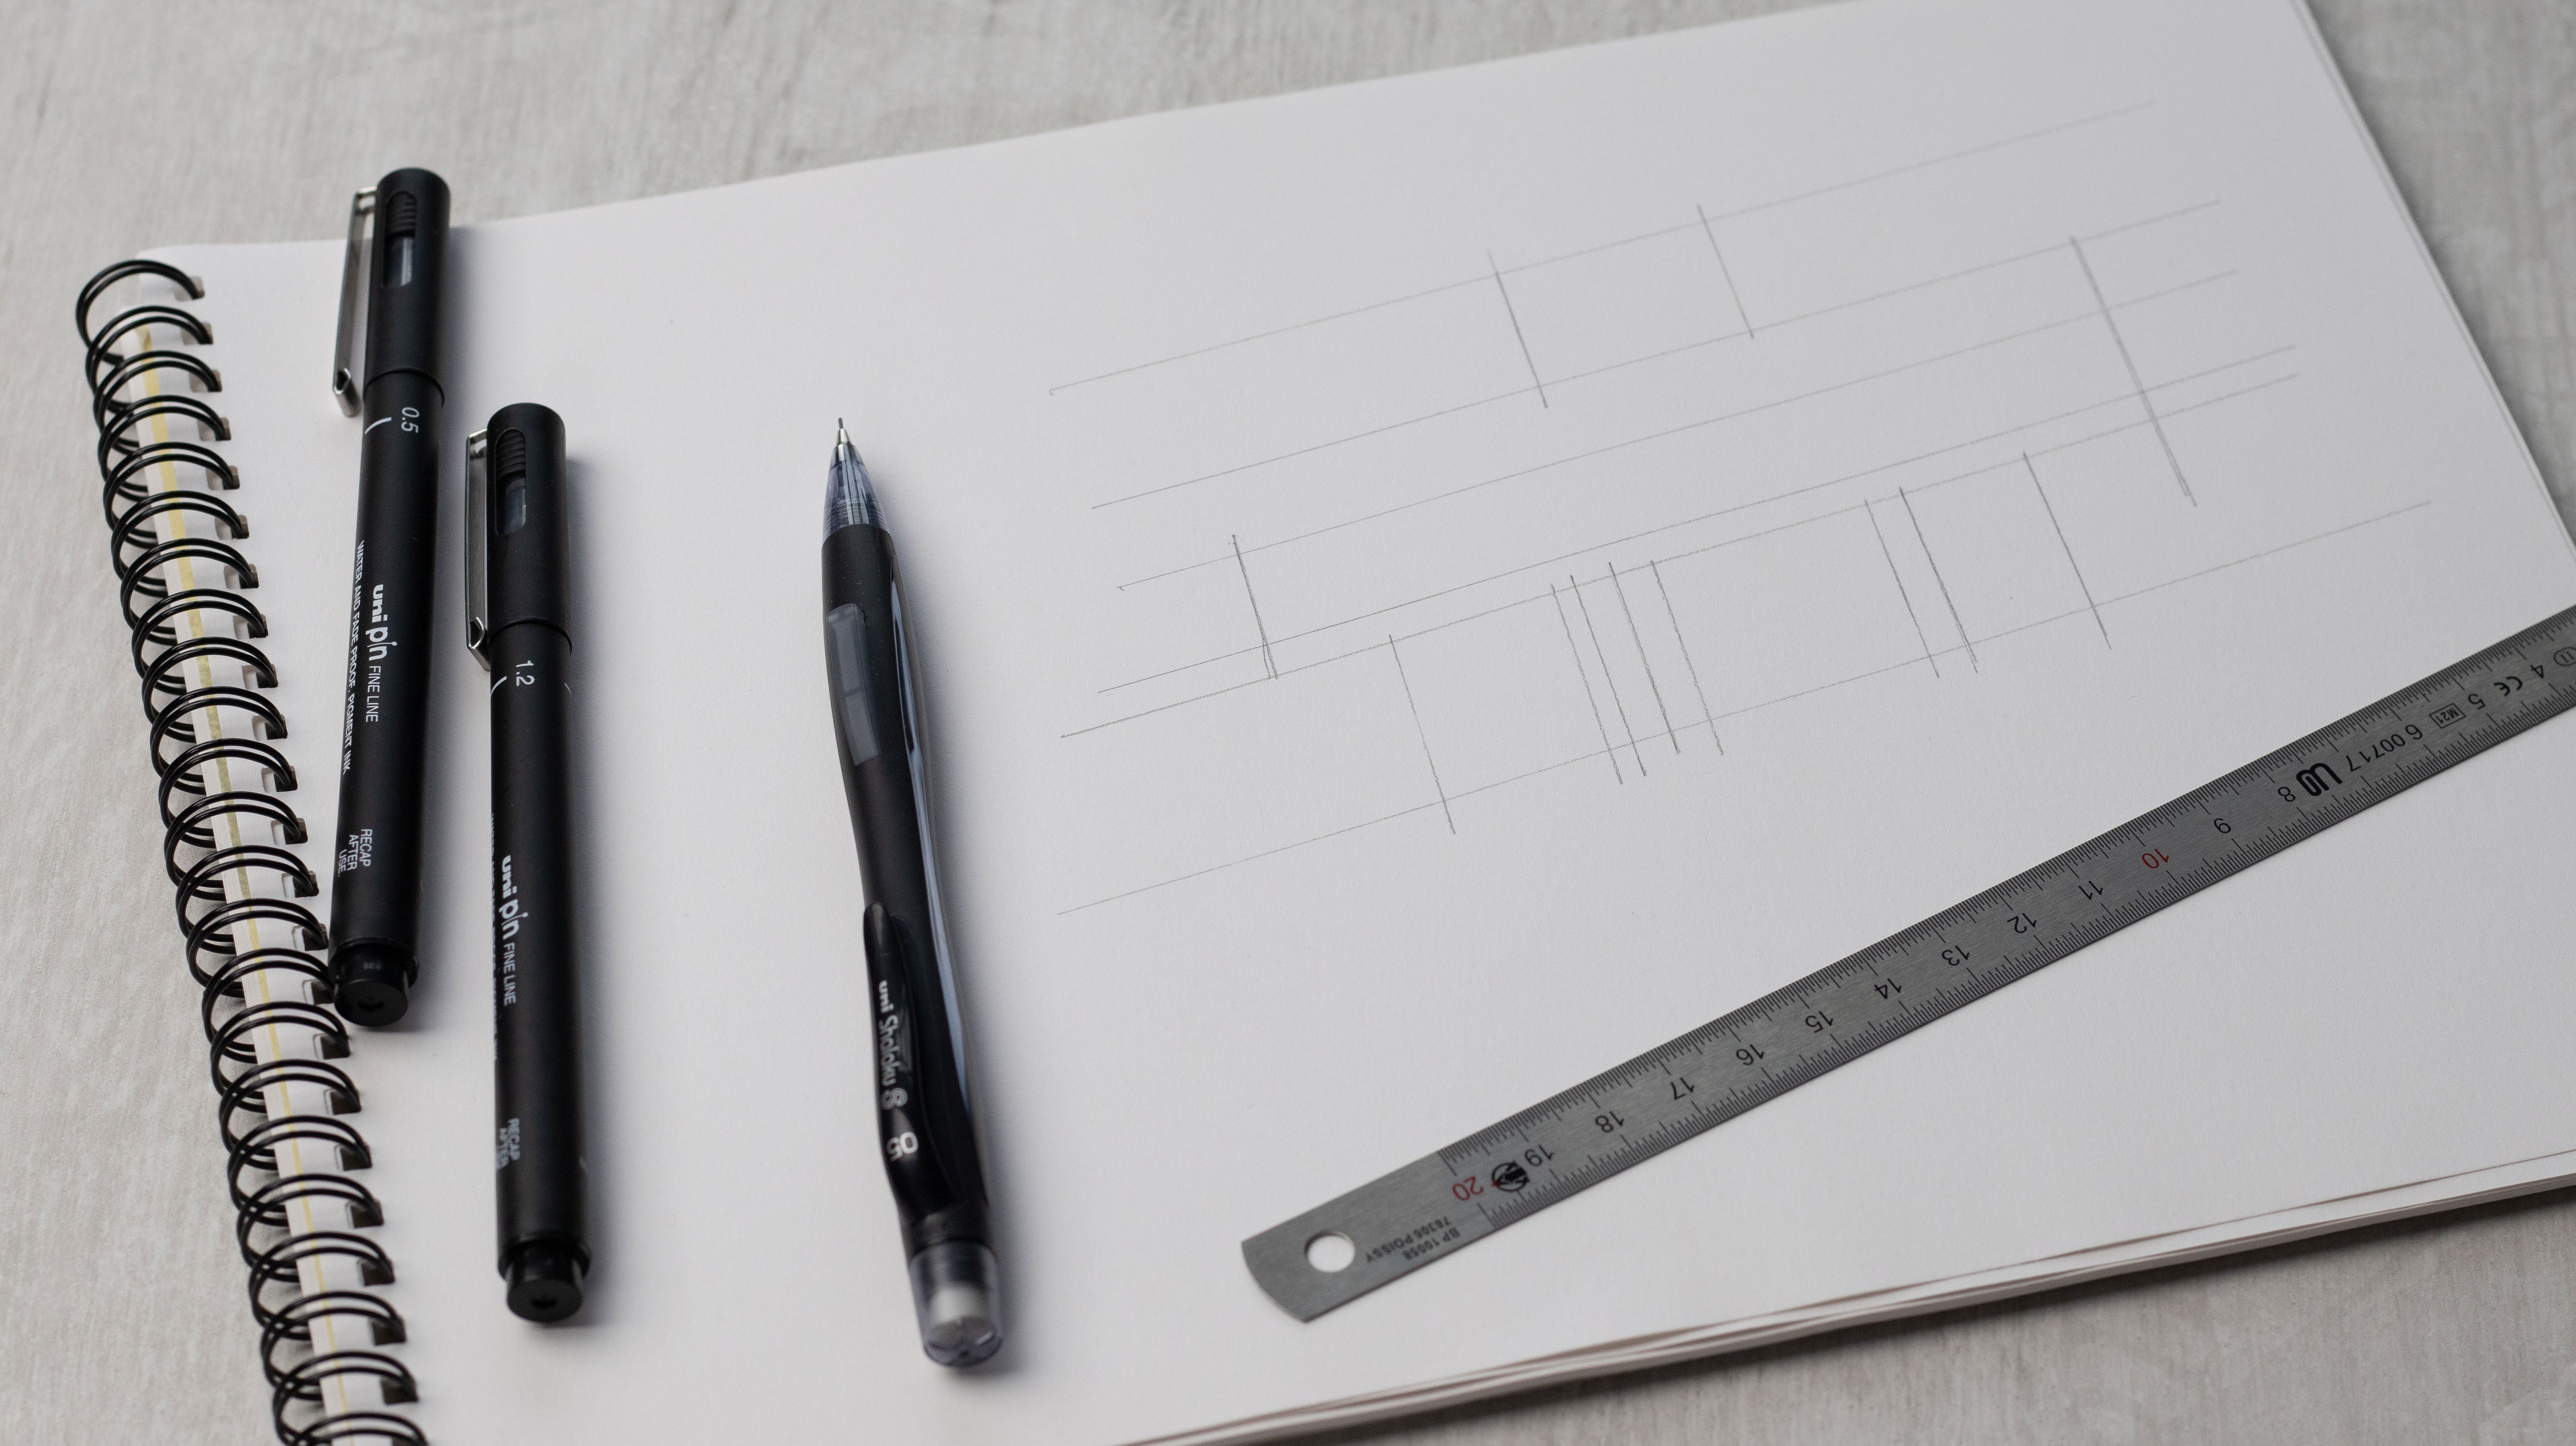
Step 2: Drawing the outline
Using your Shalaku S pencil and ruler, begin by drawing the outline for your image. The outline will allow you to create coherent and balanced lettering. Feel free to read the creation tips in the starter kit.
Then, using your ruler, draw several vertical lines to form the boxes which will determine the location of words and letters.
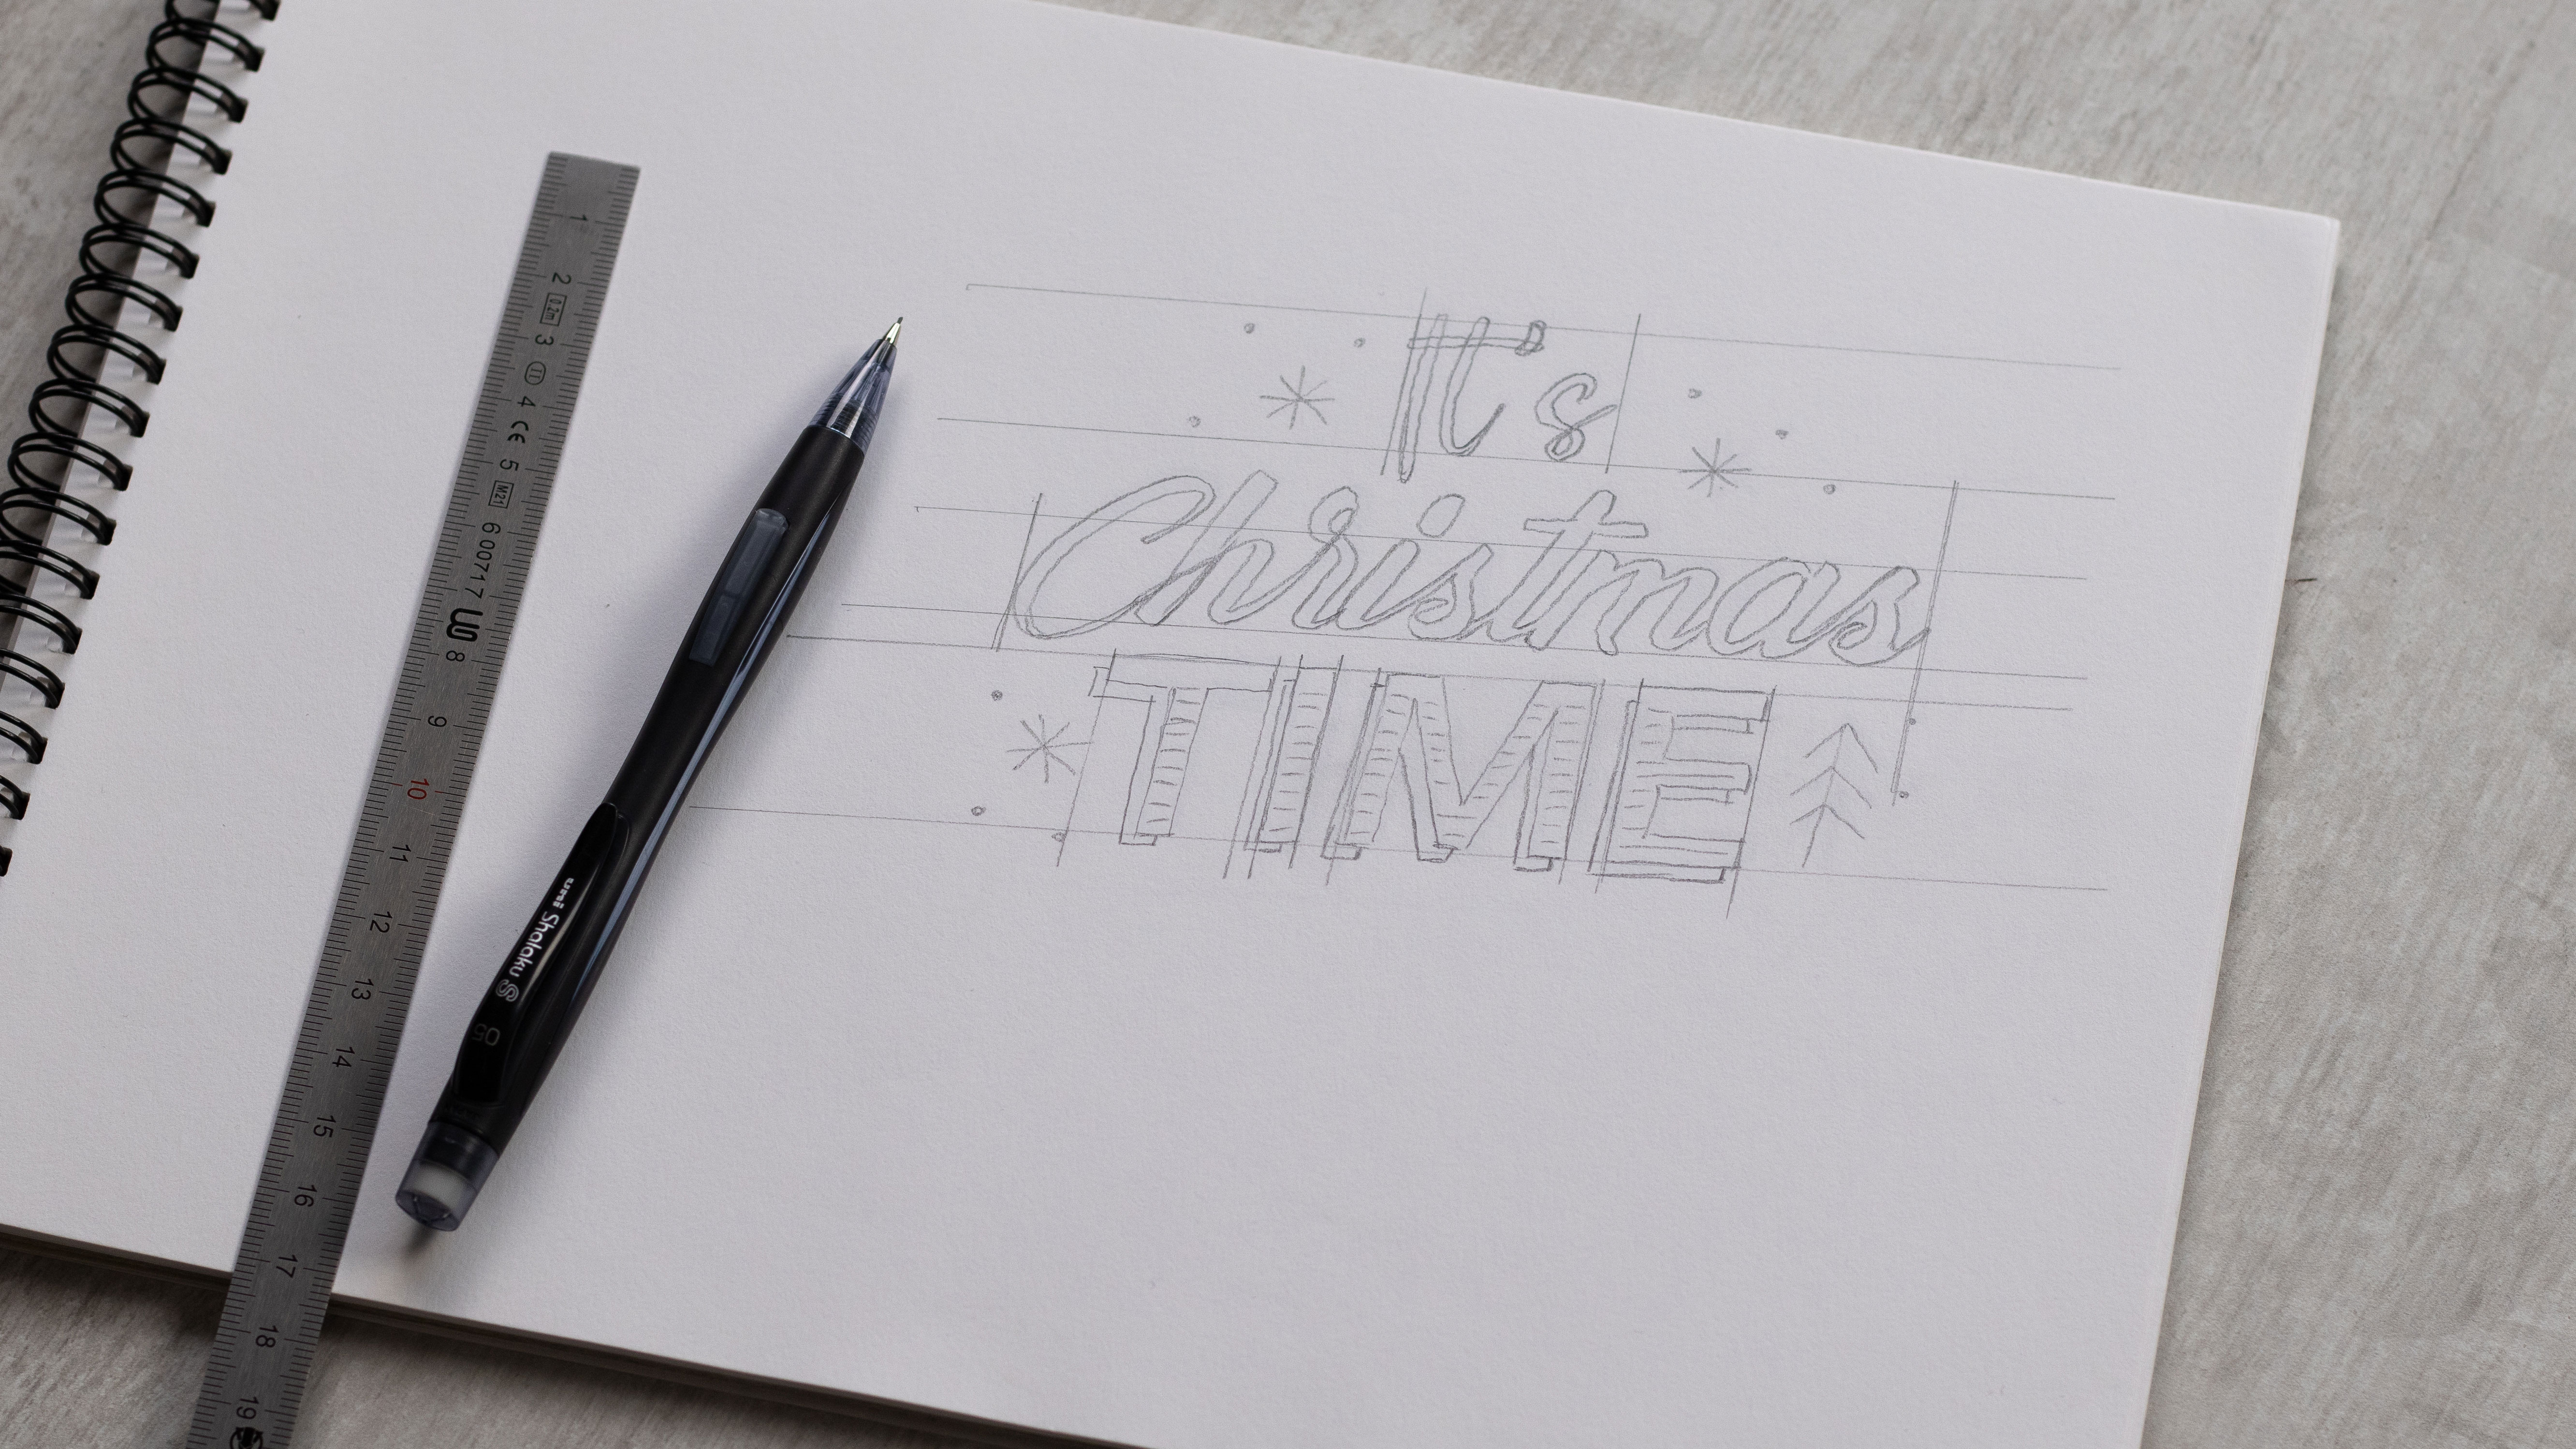
Step 3: First draft
You can then draw your first draft. Sketch your lettering by placing words and letters in the correct boxes. You can play around by combining different styles and fonts and using the templates included in the starter kit.
And to give an added touch of beauty to your lettering, add some decorations which will make your lettering stand out.
Bring life to your lettering by playing with effects such as adding some contours. If you aren’t happy with the result, fear not, the pencil eraser is at hand to save the day!
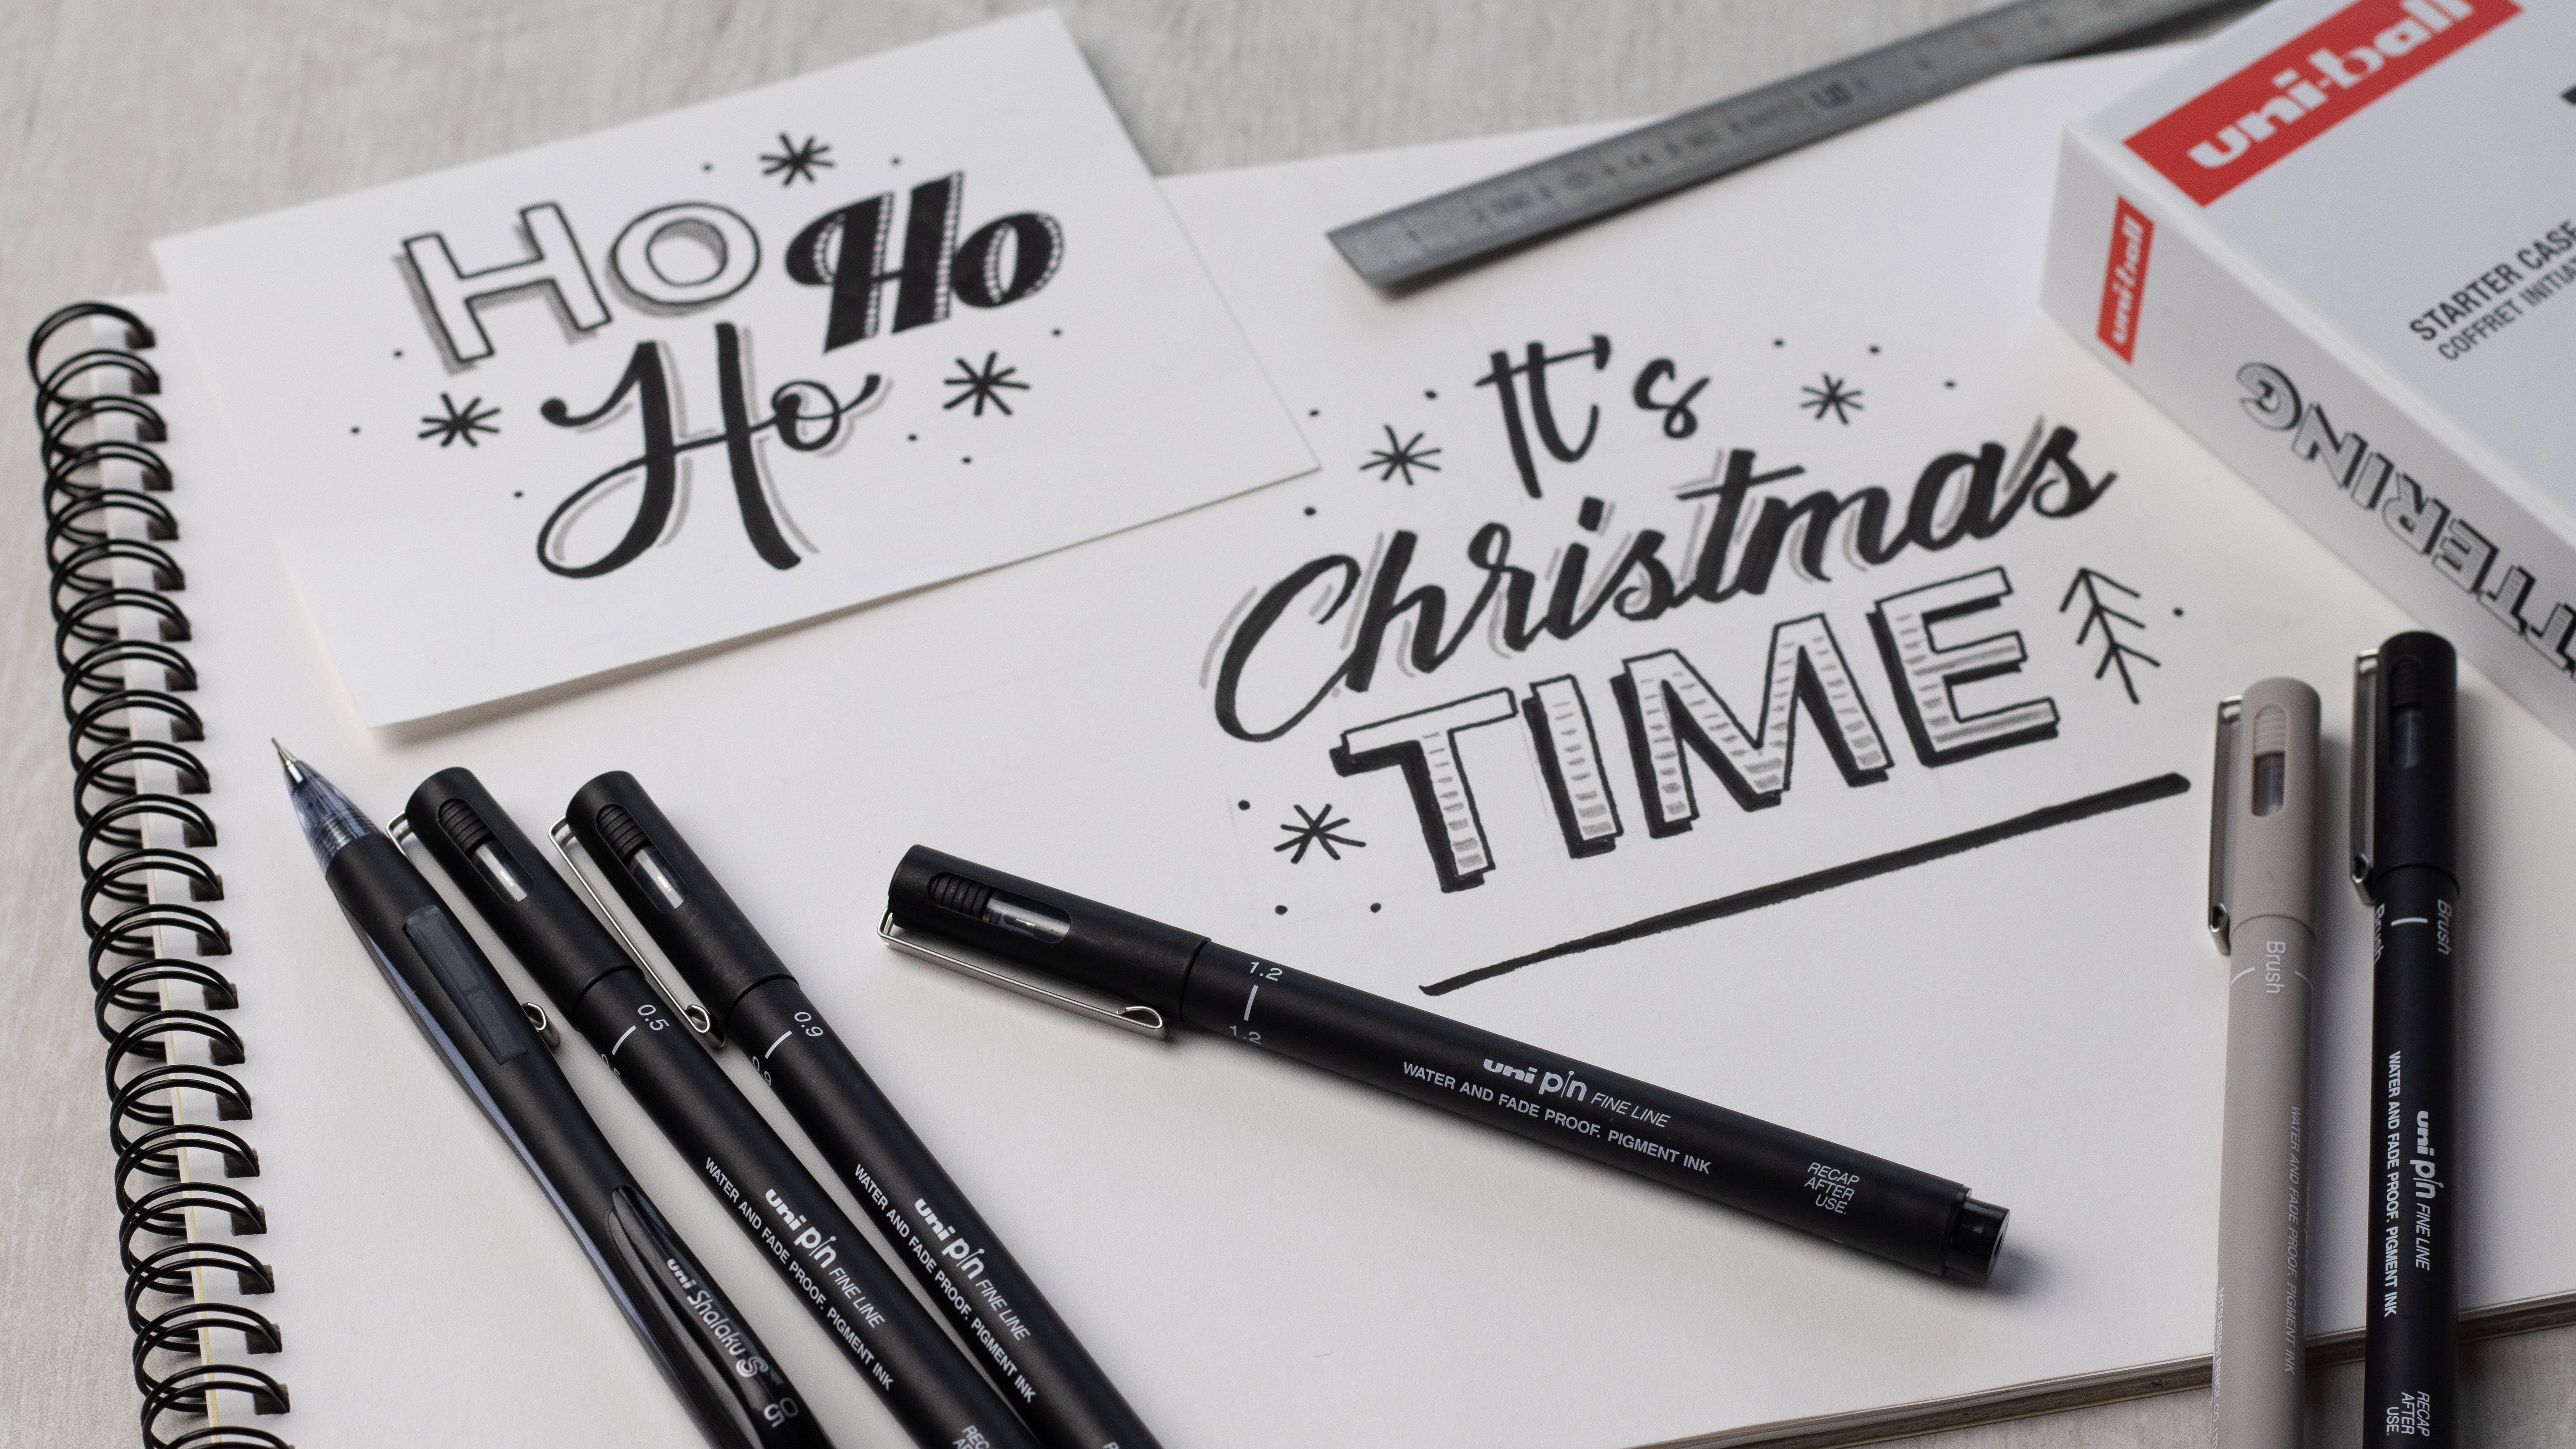
Step 4: Add the finishing touches!
Using the Uni-Pin 0.5mm/0.9mm/1.2mm felt tips and the black brush tip, carefully fill in or write over all of your letters.
Using the different size and colour felt tips, you can add some texture by creating shading! Finally, you can also trace over the outlines and add some decoration around your words.

Step 5: Admire the end result
And that’s it! Your first lettering is now complete! This activity offers an infinite range of possibilities to explore, so get creating over and over again!
And don’t forget to share your results on Facebook or Instagram.
Happy creations!