


Calligraphy tutorial: learn to use bevelled tips

Today we have a new calligraphy tutorial for you!
Now that the new bevelled tips have joined the Uni Pin range, we really want to get to grips with them by trying our hand at this relaxing exercise which initially requires a bit of practice. If you’re a beginner or you’re more used to using Brush tip pens, we’ve got it covered! Keep reading to find our advice and tips for successful calligraphy.
Tutorial level: Beginner / Advanced / Expert
For this tutorial, you will need:
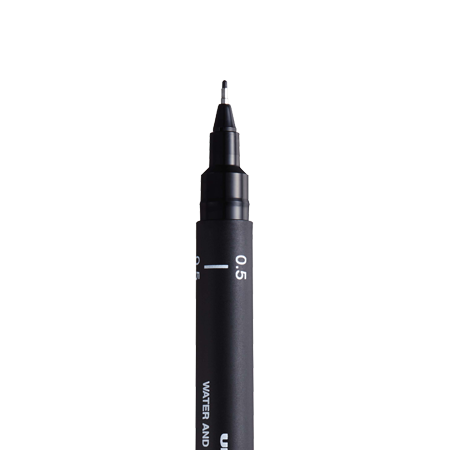
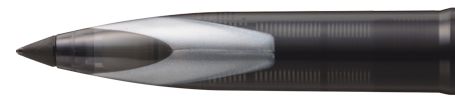
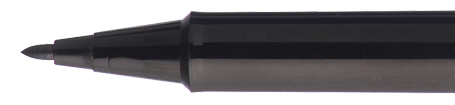
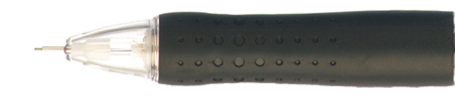
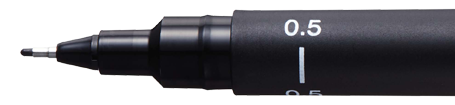
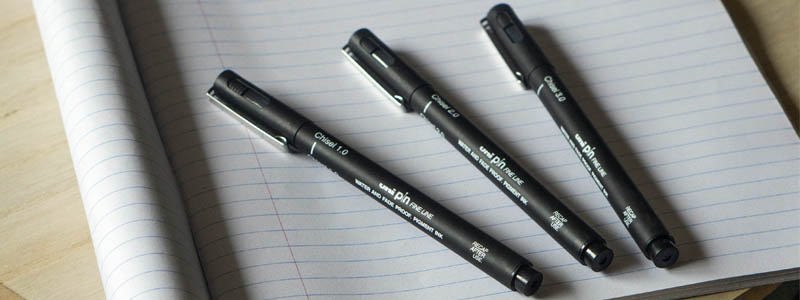
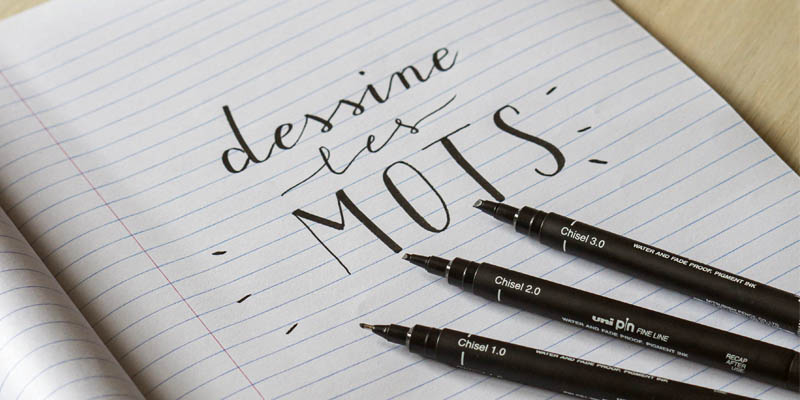
- Uni Pin felt-tip pens, bevelled tips (1mm, 2mm and 3mm)
- A ruled notebook which will allow you to standardise the size of the letters
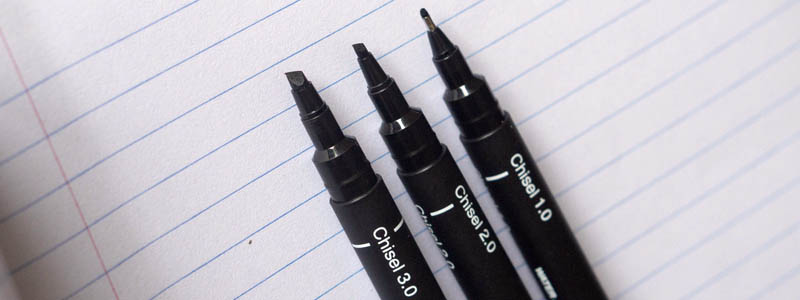
1st step: The materials
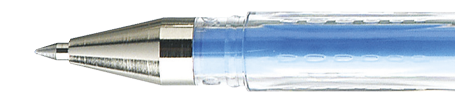
New bevelled tips for an even wider range of possibilities! These three tips with bevelled edges from the Uni Pin range are perfect for working on the precision and the thickness of your lines. Everything depends on the slope and the direction of the line. You’ll see, it’s a helping hand.
The rounded angles give flexibility to your movement and the blank ink is still as deep and intense!
2nd step: A bit of practice
With each of the tips, start practising by drawing different lines:
- Thick lines going down, this is what we call solid lines
- Thinner lines from the bottom upwards, these are upstrokes. For these, only the end of the tip will brush the paper.
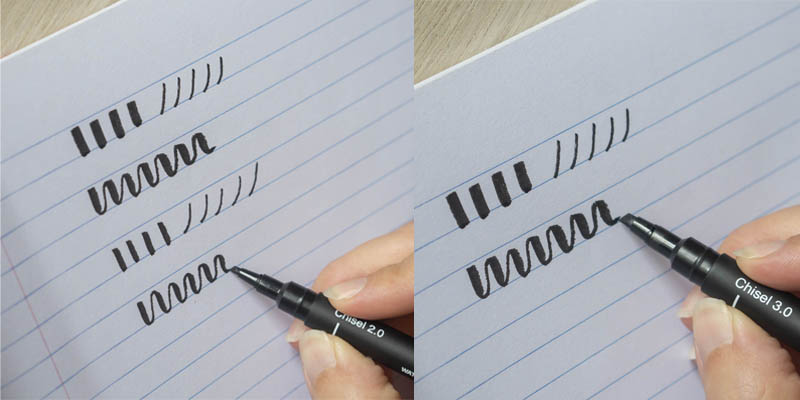
Without taking your felt-tip off the paper, you can then create two types of lines by making waves, to get used to the movements and alternate between them more and more easily.
3rd step: One letter after the other
After simple lines, time for letters! Firsts, choose your points of reference using the lines of your notebook. Here, our single lower-case letters will be placed between two lines while our capital letters and our looped lower-case letters will touch three.

Work on each letter of the alphabet in these different forms, it brings back fond memories of school, doesn't it?
4th step: Vary the styles
You should now be more at ease with drawing. It’s time to have some fun and test several font styles. Script or cursive, refined or more detailed, find the letters which you like the most and create a beautiful composition!
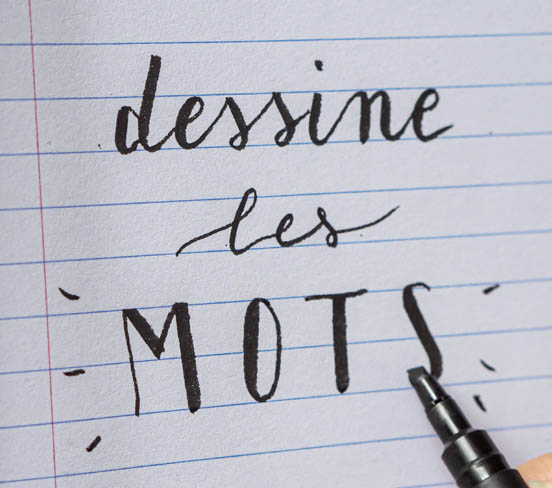
Our little tip: vary the thickness too to give more depth to the ensemble ;)
5th step: The final result
Mission accomplished!
So, what did you think of this calligraphy tutorial? Now you can show off your superb writing and send cards and little letters to your loved ones which are full of creativity and style!
And because it’s you, here’s a summary video!
Don’t hesitate to share the result of your experiments on social networks and tagging us (IG: @Uniball_fr), we’d love to share your most beautiful creations!