


Create radiant lettering with the Signo Sparkling pens

Today we’re delighted to offer you a new lettering tutorial with our creative Signo Sparkling rollerball pens. And what better way to have fun with bright and sparkly colours than by trying out some gorgeous shading? Whether you’re a calligraphy connoisseur or a beginner, this tutorial will add a touch of sparkle to your day! In this article you’ll find all of our tips and advice for creating original lettering.
Tutorial level: Beginner / Advanced / Expert
To create this lettering, you’ll need:
- A paper base
- A rubber
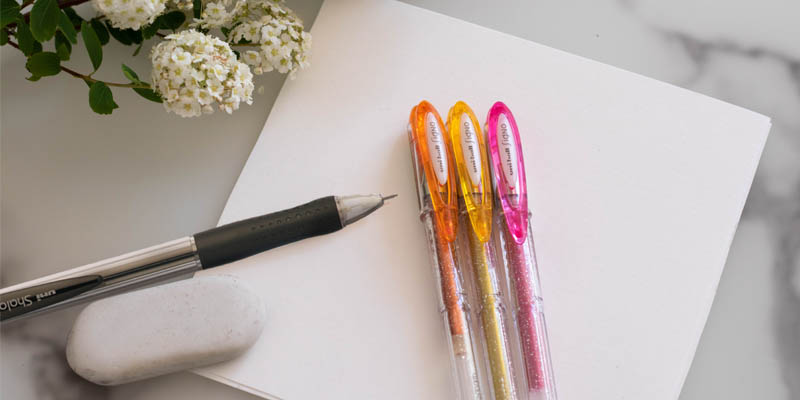
- Signo Sparkling rollerball pens. For this tutorial we’ve used intense red and orange colours which go together perfectly.
1st step: The materials
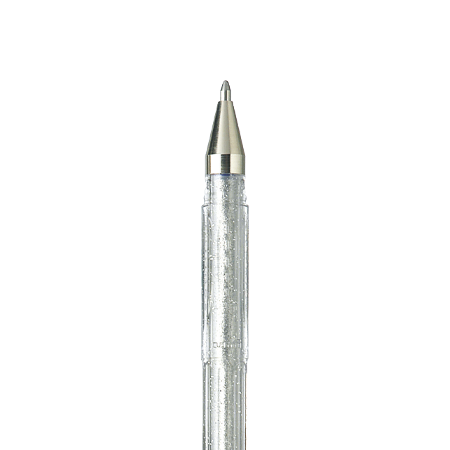
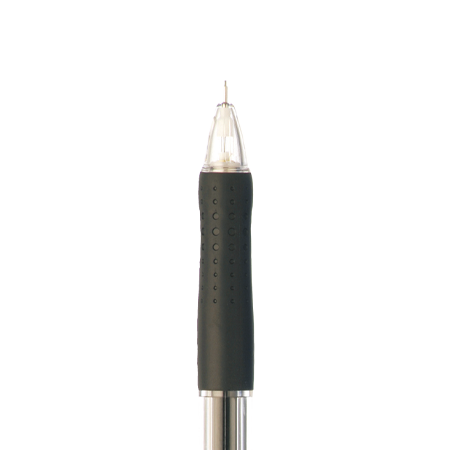
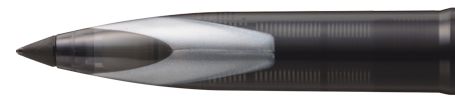
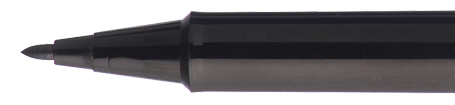
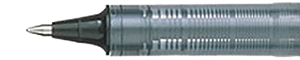
Our Signo rollerball pens are renowned for their colours and different effects: metallic, pastel... Today we’ll use the sparkly ones with their wide tip, ideal for calligraphy.
Signo rollerball pens, paper, pencil and rubber, are you ready?
2nd step: The outline
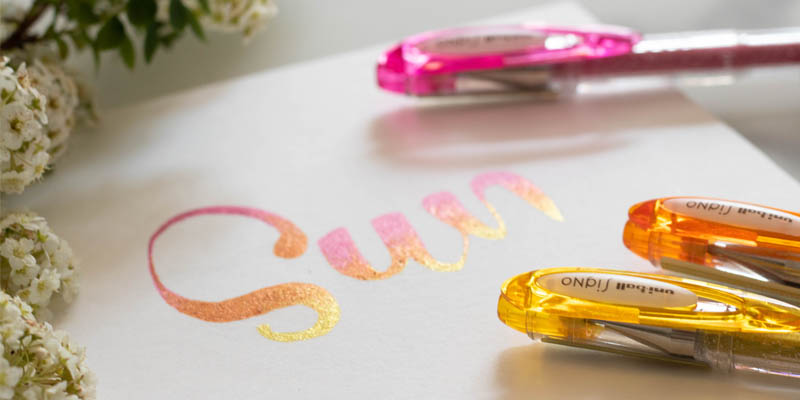
Have you chosen a word for your lettering? We’ve chosen “Sun” to brighten our day!
Before covering your sheet with the radiant ink of the Signo rollerball pens, we suggest that you first take the time to create mapping work with the help of a pencil or mechanical pencil. Trace two parallel lines which will ensure that the letters are all the same size.
Here we’ve worked with a simple typography but on our blog you’ll also find another, more geometric typography suggestion.
Once your typography has been drawn, lightly erase your lines so you only have a light outline left.

3rd step: Shaded filling
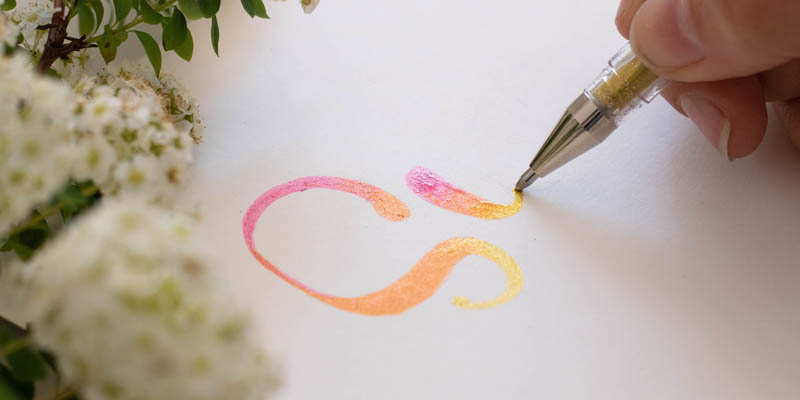
Time for the Signo Sparkling pens to take to the stage! One by one, with the three rollerball pens, colour the edges and fill in a few centimetres inside of the letters, overlapping the previous colour to create the shading.
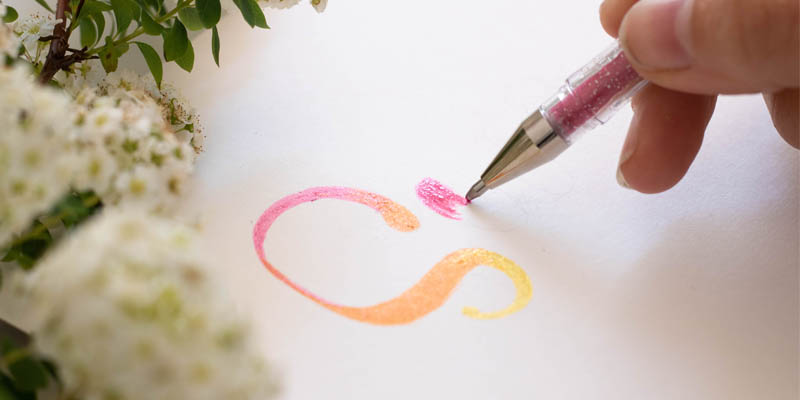
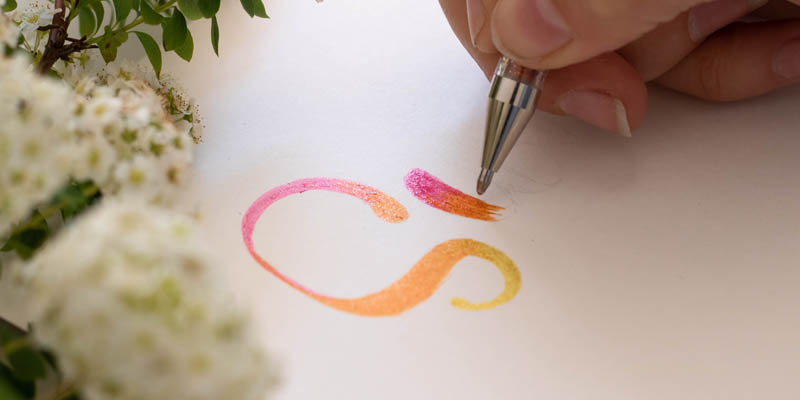
Make sure you alternate the colours quite quickly because the colours only mix correctly when they’re still wet.
For the colour combination, we advise you to go from the darkest to the lightest.
4th step: A sparkling final lettering!
A dazzling result, right? When it’s completely dry, you can erase the pencil lines which are still visible.
If you enjoyed this shaded lettering tutorial, you can relive the experience with other words, other colours, the possibilities are endless and always incredible!
Share your photos on Instagram with the hashtag #uniballfrance and tag @uniball_fr on your post to show us your final works of art!