


Create your own portrait with the Uni-Pin Manga Starter Kit!

Brand new Uni Pin box set = new drawing tutorial! And this time, we pay tribute to the world of manga with the Uni Pin starter set (there are 3 tutorials inside the box)! How about drawing your very own manga portrait? Nothing too complicated, we will guide you step-by-step, and share a few handy tips and tricks. ;)
Once you’ve mastered the basics, you can create your own characters at will, so let’s start with your first one!
For this design tutorial, you will need the following:
• A blank sheet of paper
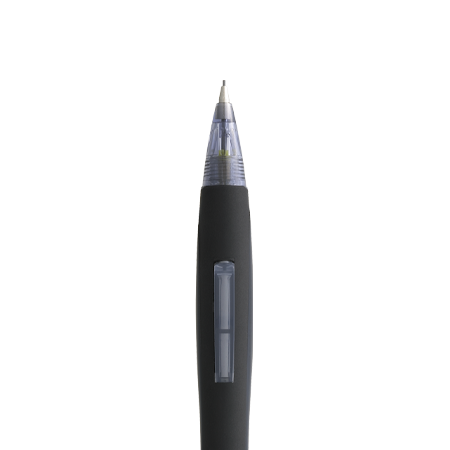
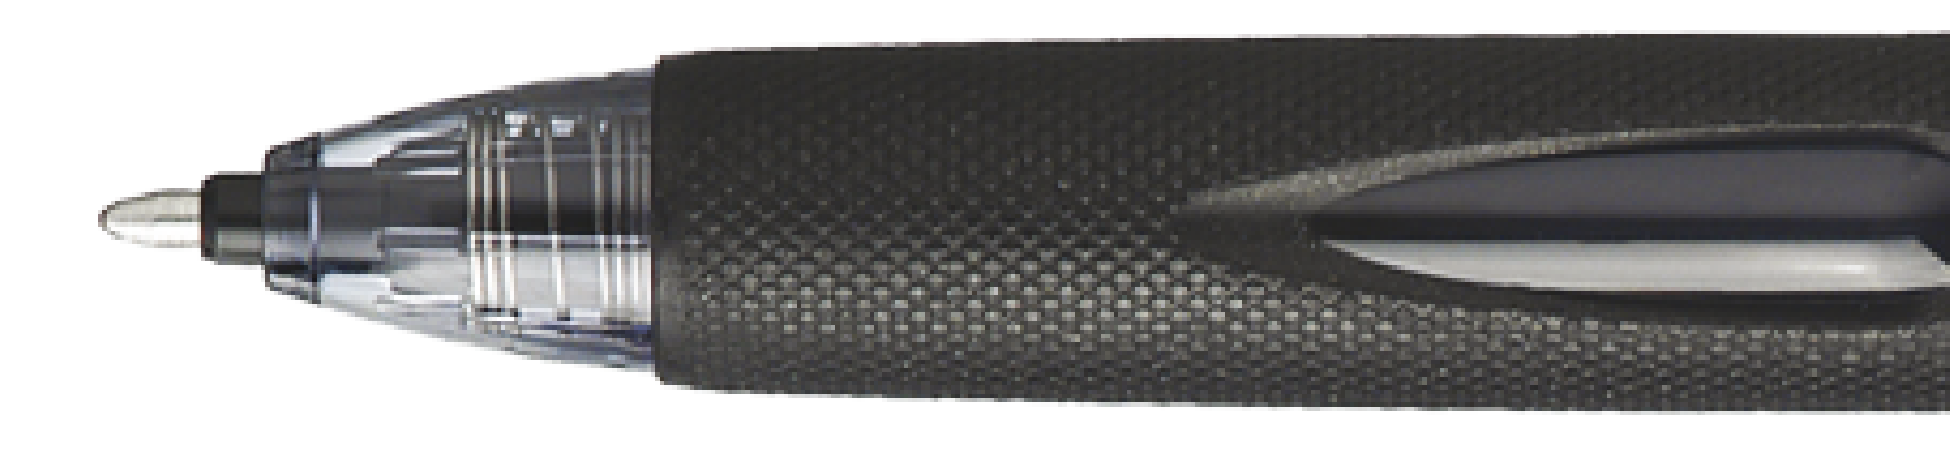
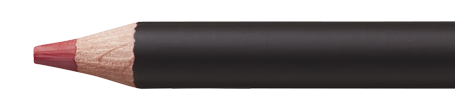
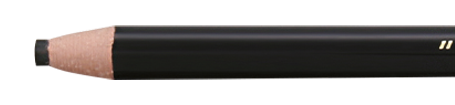
• A Shalaku S premium pencil
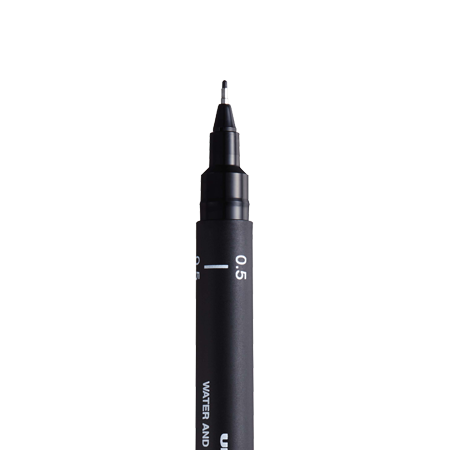
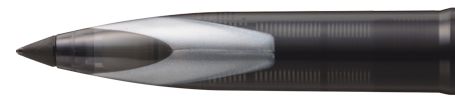
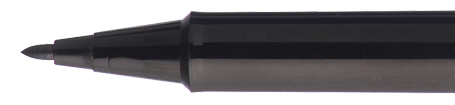
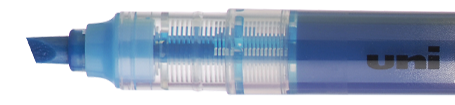
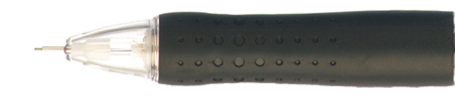
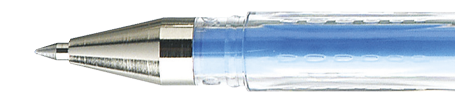
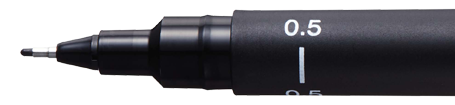
• Uni-Pin felt tips (brush tip in black and light grey, and 0.3mm)
• A glue stick
• A ruler
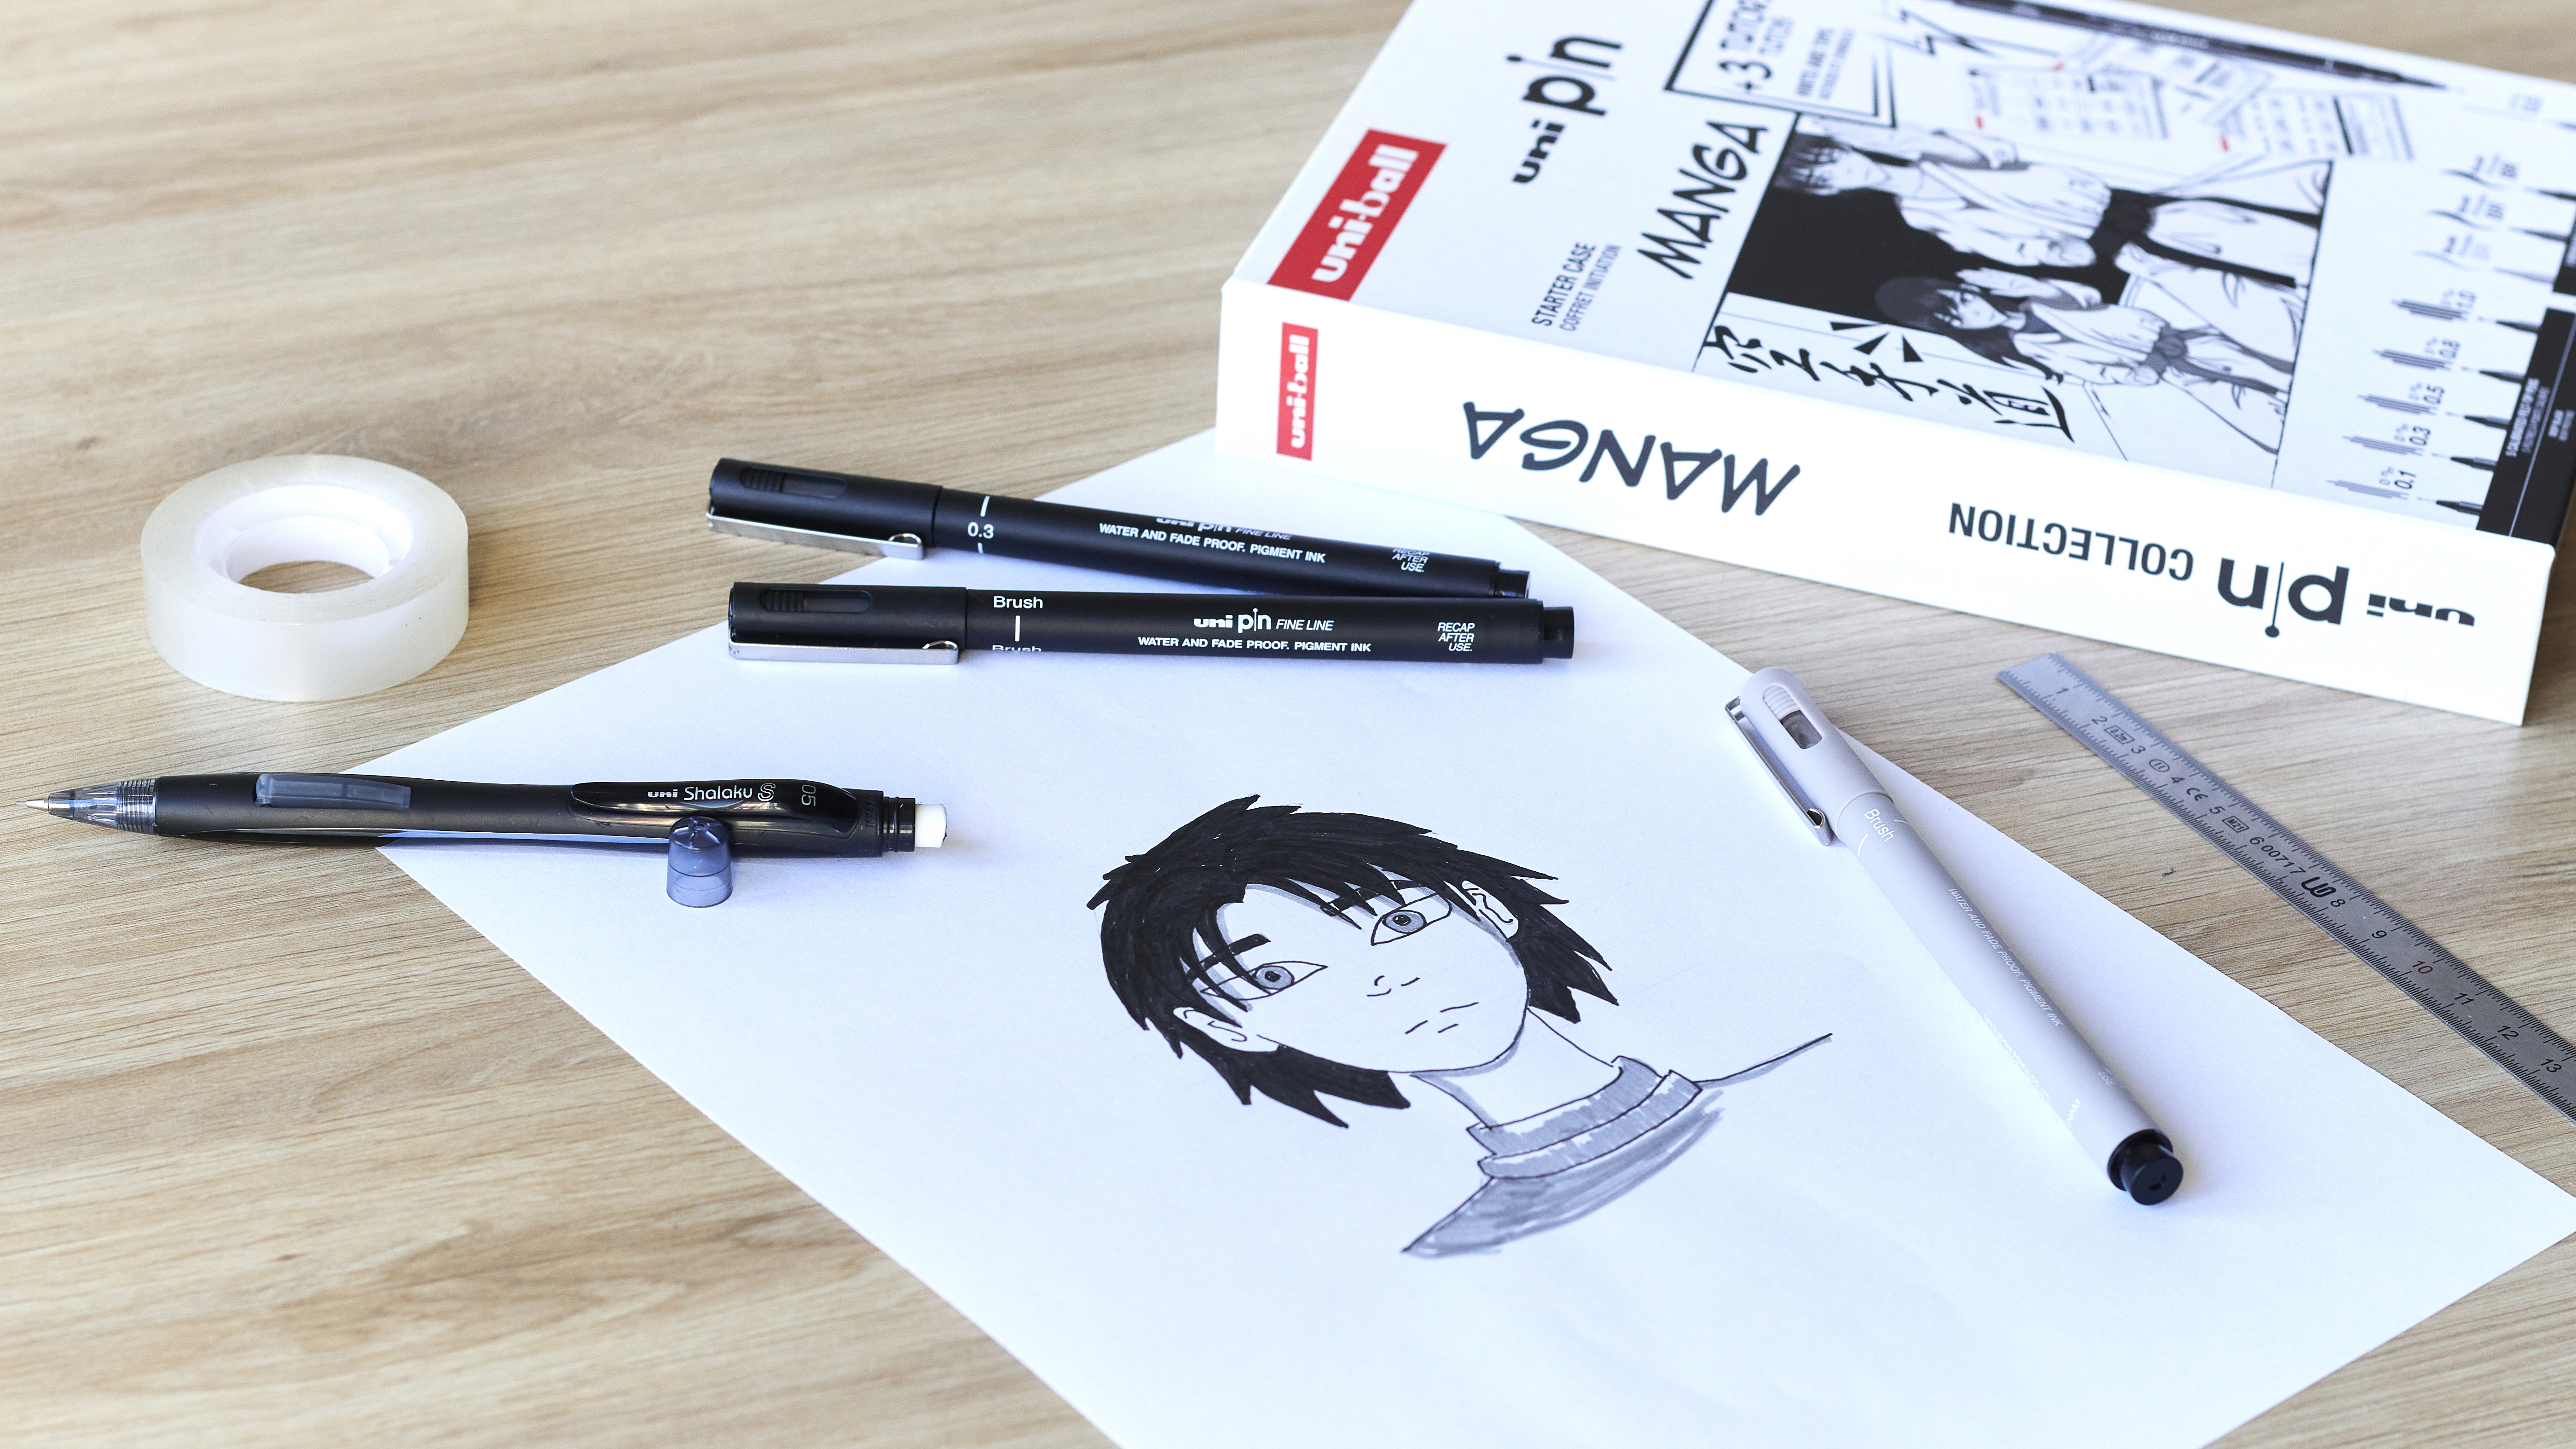
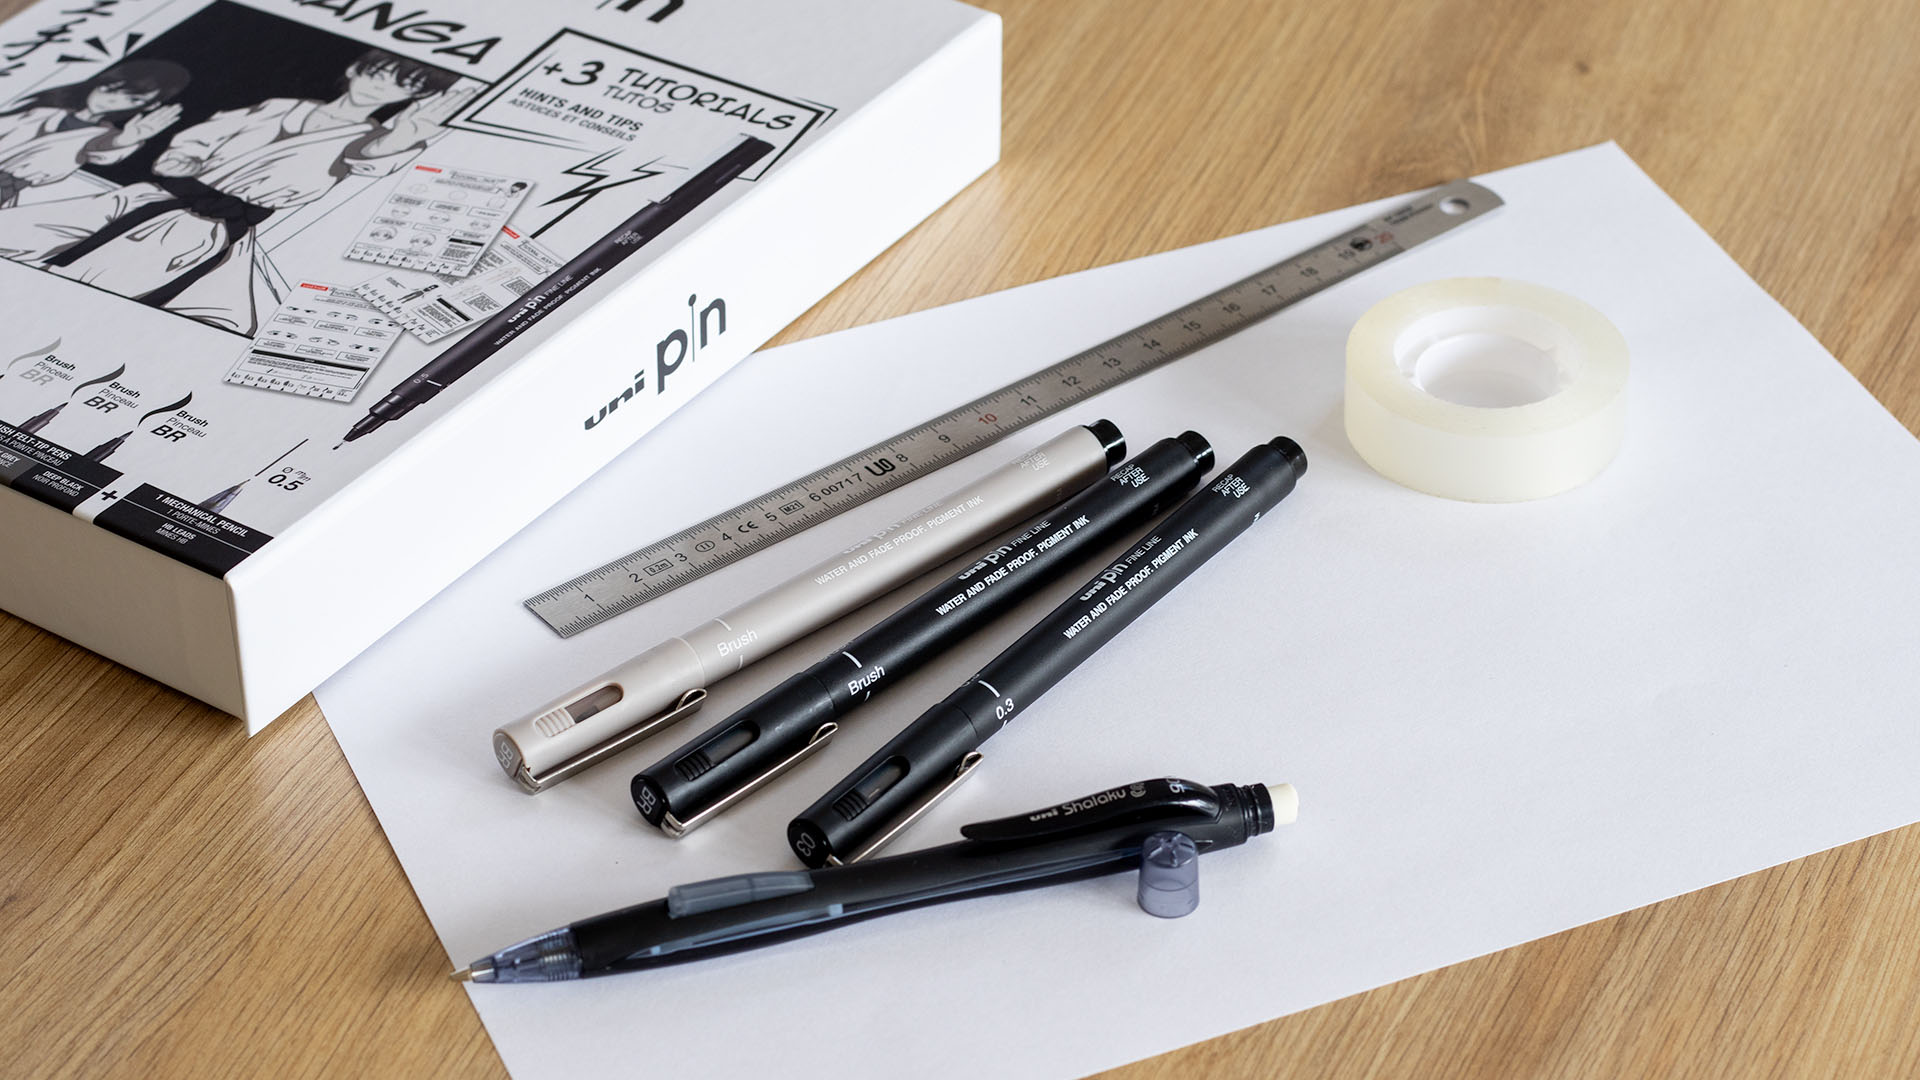
Step 1: the material
First of all, take your Uni Pin Brush tip black and light grey felt tips and the 0.3 mm tip along with your Shalaku S premium pencil, all included in the Uni Pin Manga Starter Kit. You will also need a ruler for sharp straight lines, and a glue stick for our useful tip.
And, of course, a blank sheet to serve as the canvas for your manga portrait! Use Uni-Pin pens for the following steps.
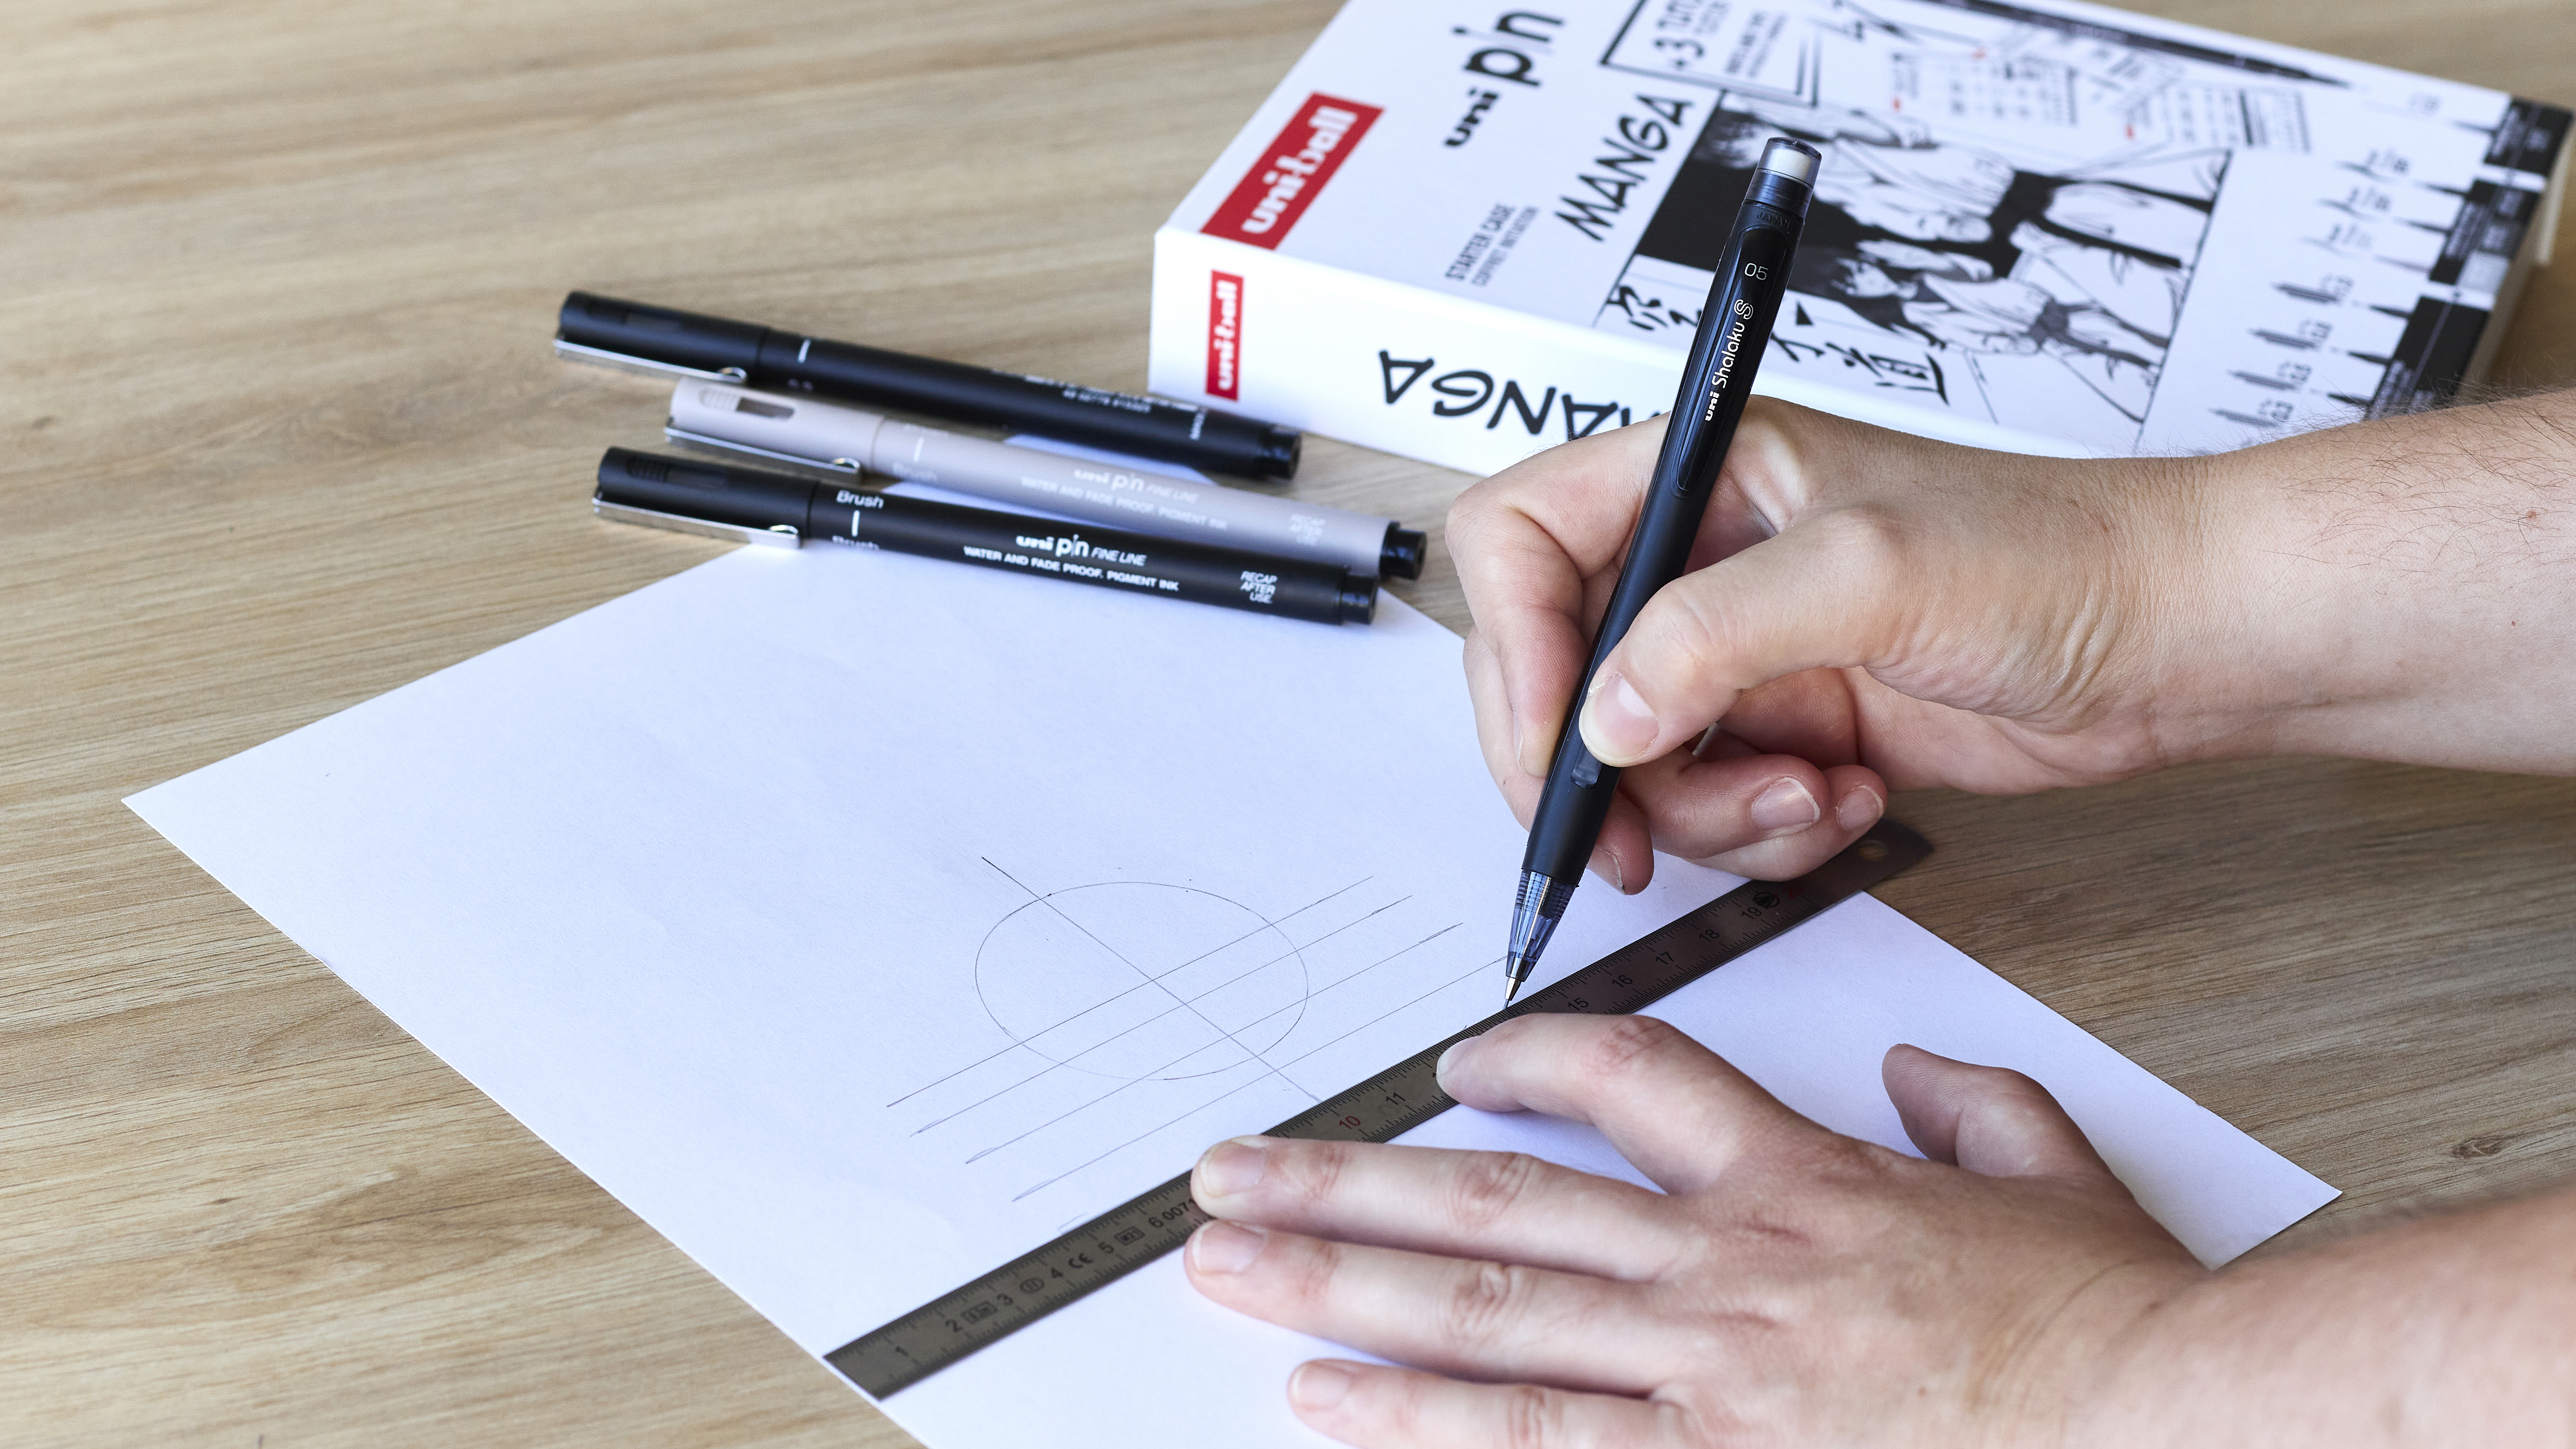
Step 2: Guidelines
To help you draw a symmetrical face, you'll need guidelines. Refer to the face sheet in the manga starter kit for assistance. A tip for outlining the head shape? Trace a small circle along the edge of a tape roll using a Shalaku S mechanical pencil. Then, use a ruler to draw several lines, starting with two perpendicular lines to determine the center of the circle. Follow up with parallel lines to position various facial elements.
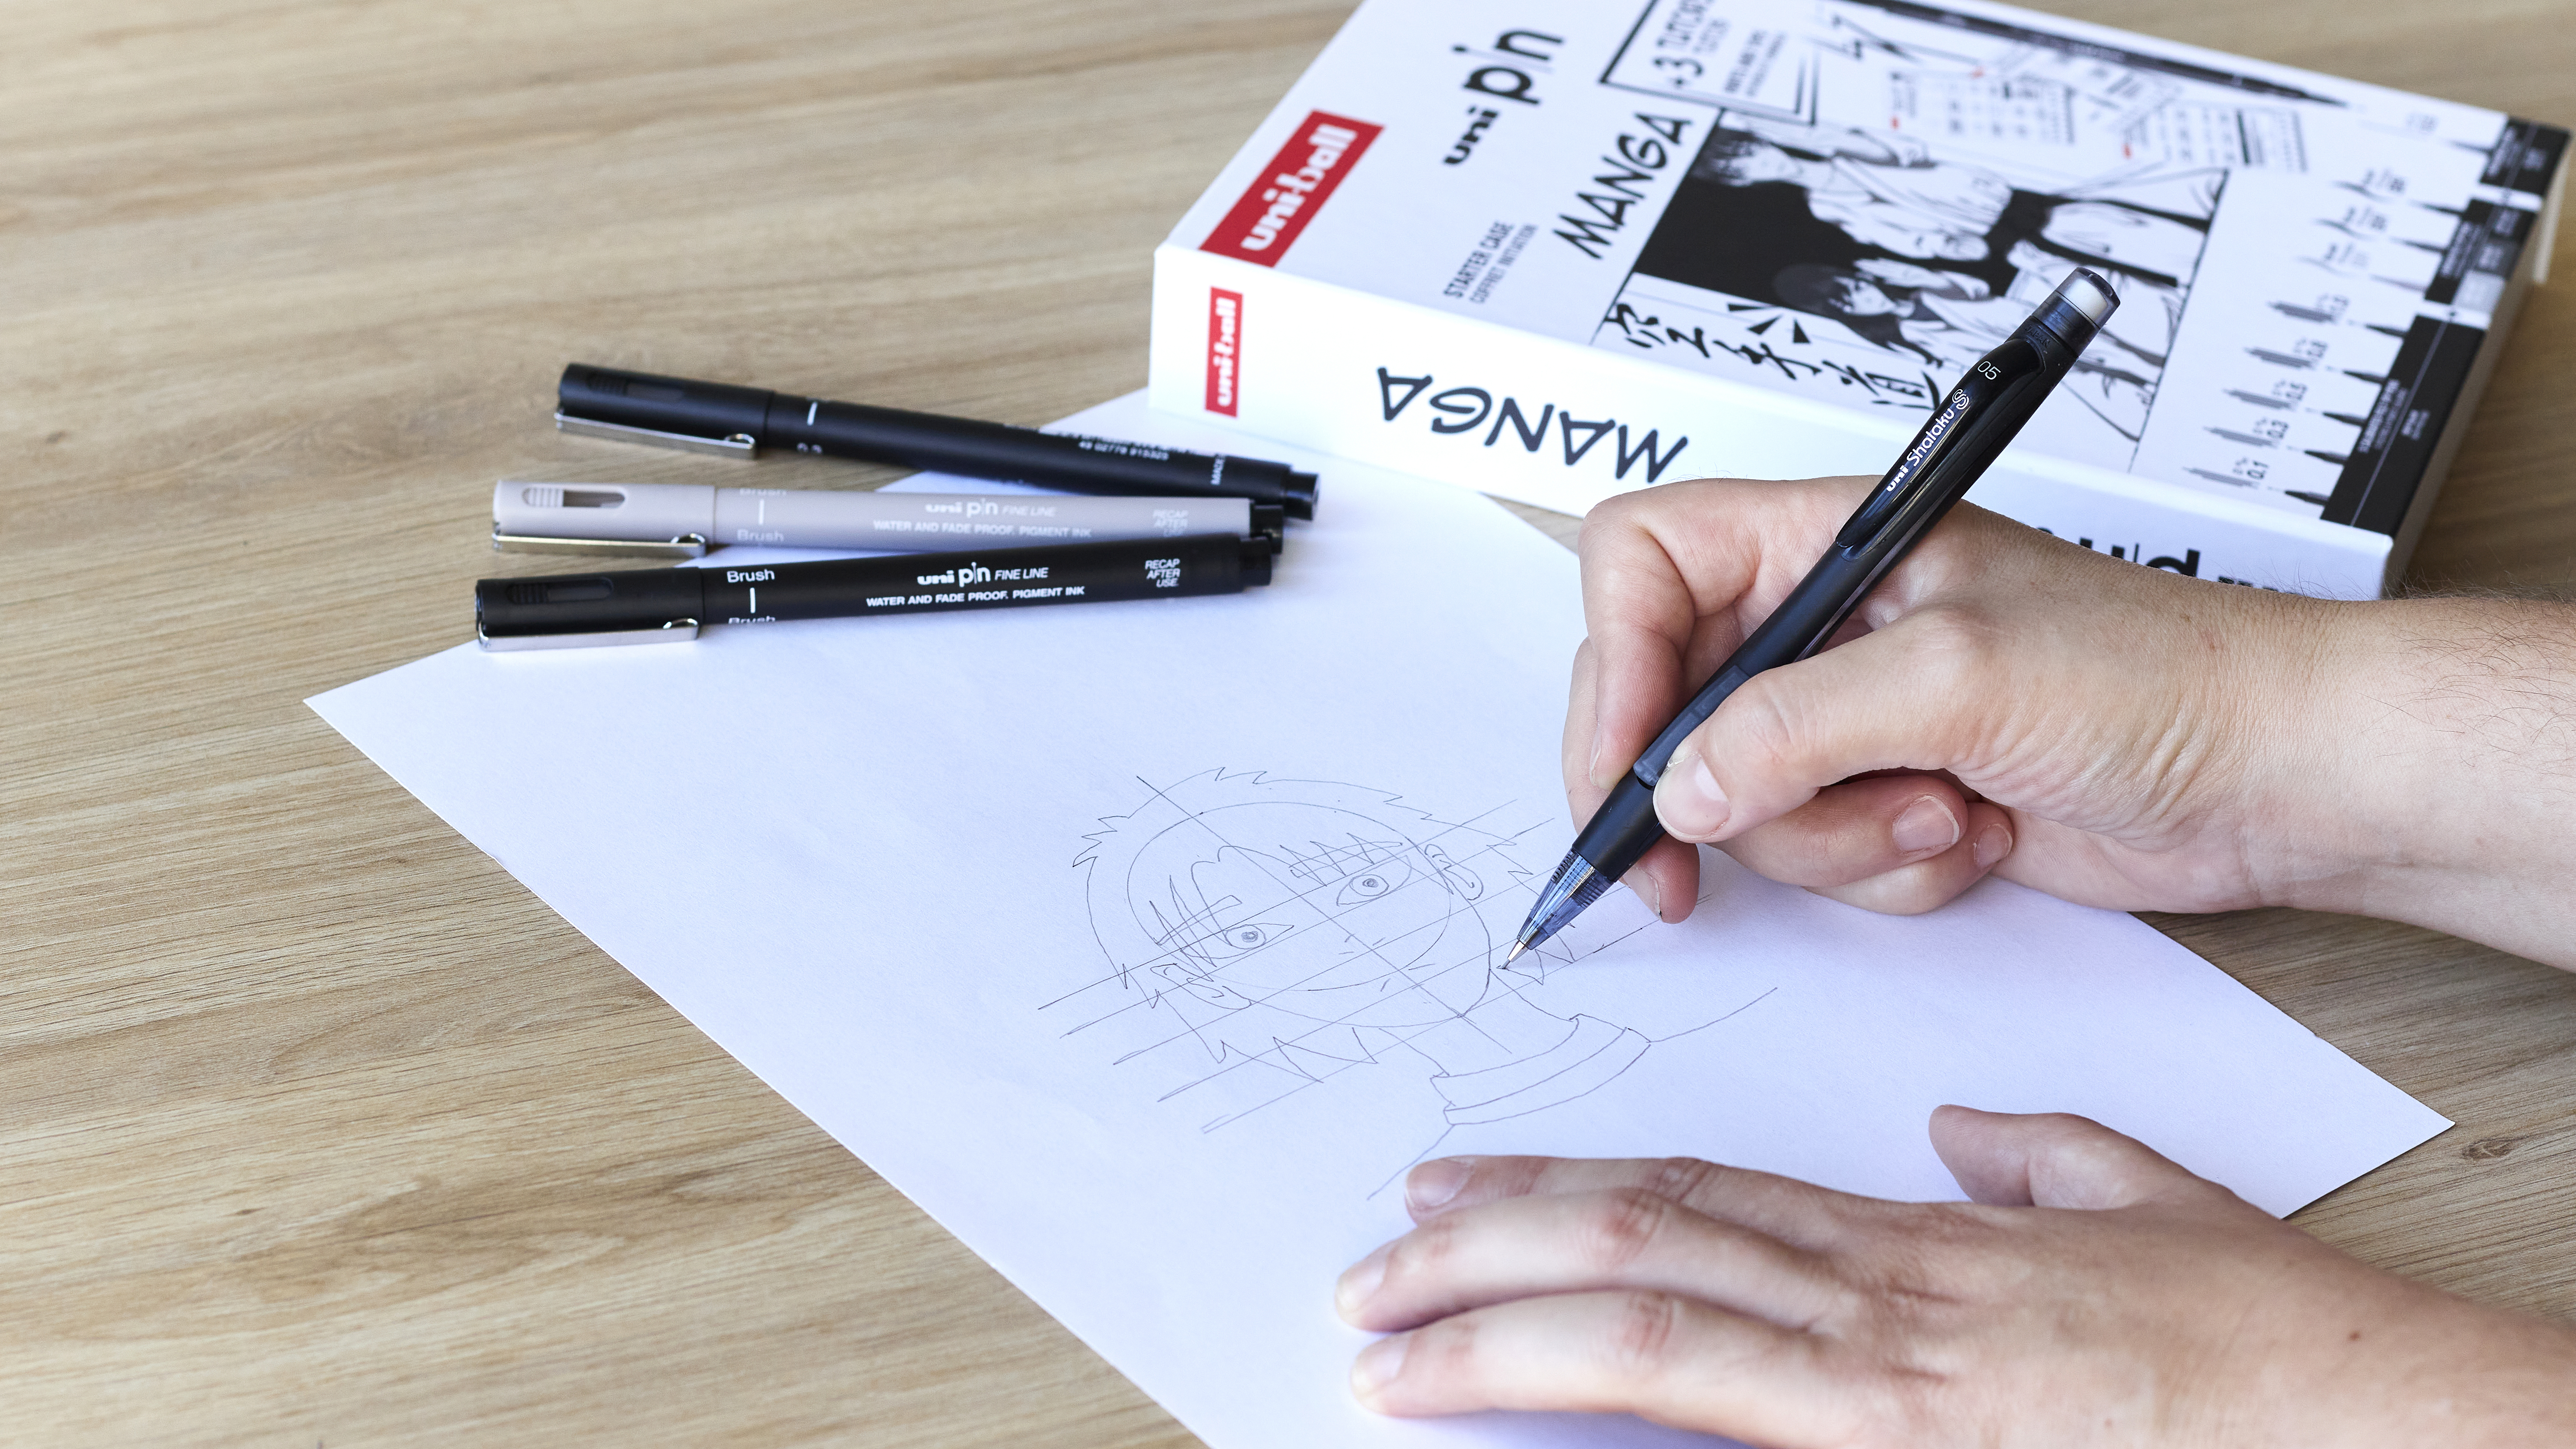
Step 3: Sketching
Move on to your initial sketch. Outline the face shape, following the circle for the top of the head. Use the centerline to draw the nose and mouth in a centered manner. The parallel lines will help you sketch symmetrical eyes and ears. Feel free to use the models included in the kit for reference. Finally, choose a hairstyle! Will your character have long curly hair or a shorter cut? If you're not satisfied, don't worry; the eraser on the mechanical pencil is there to help!
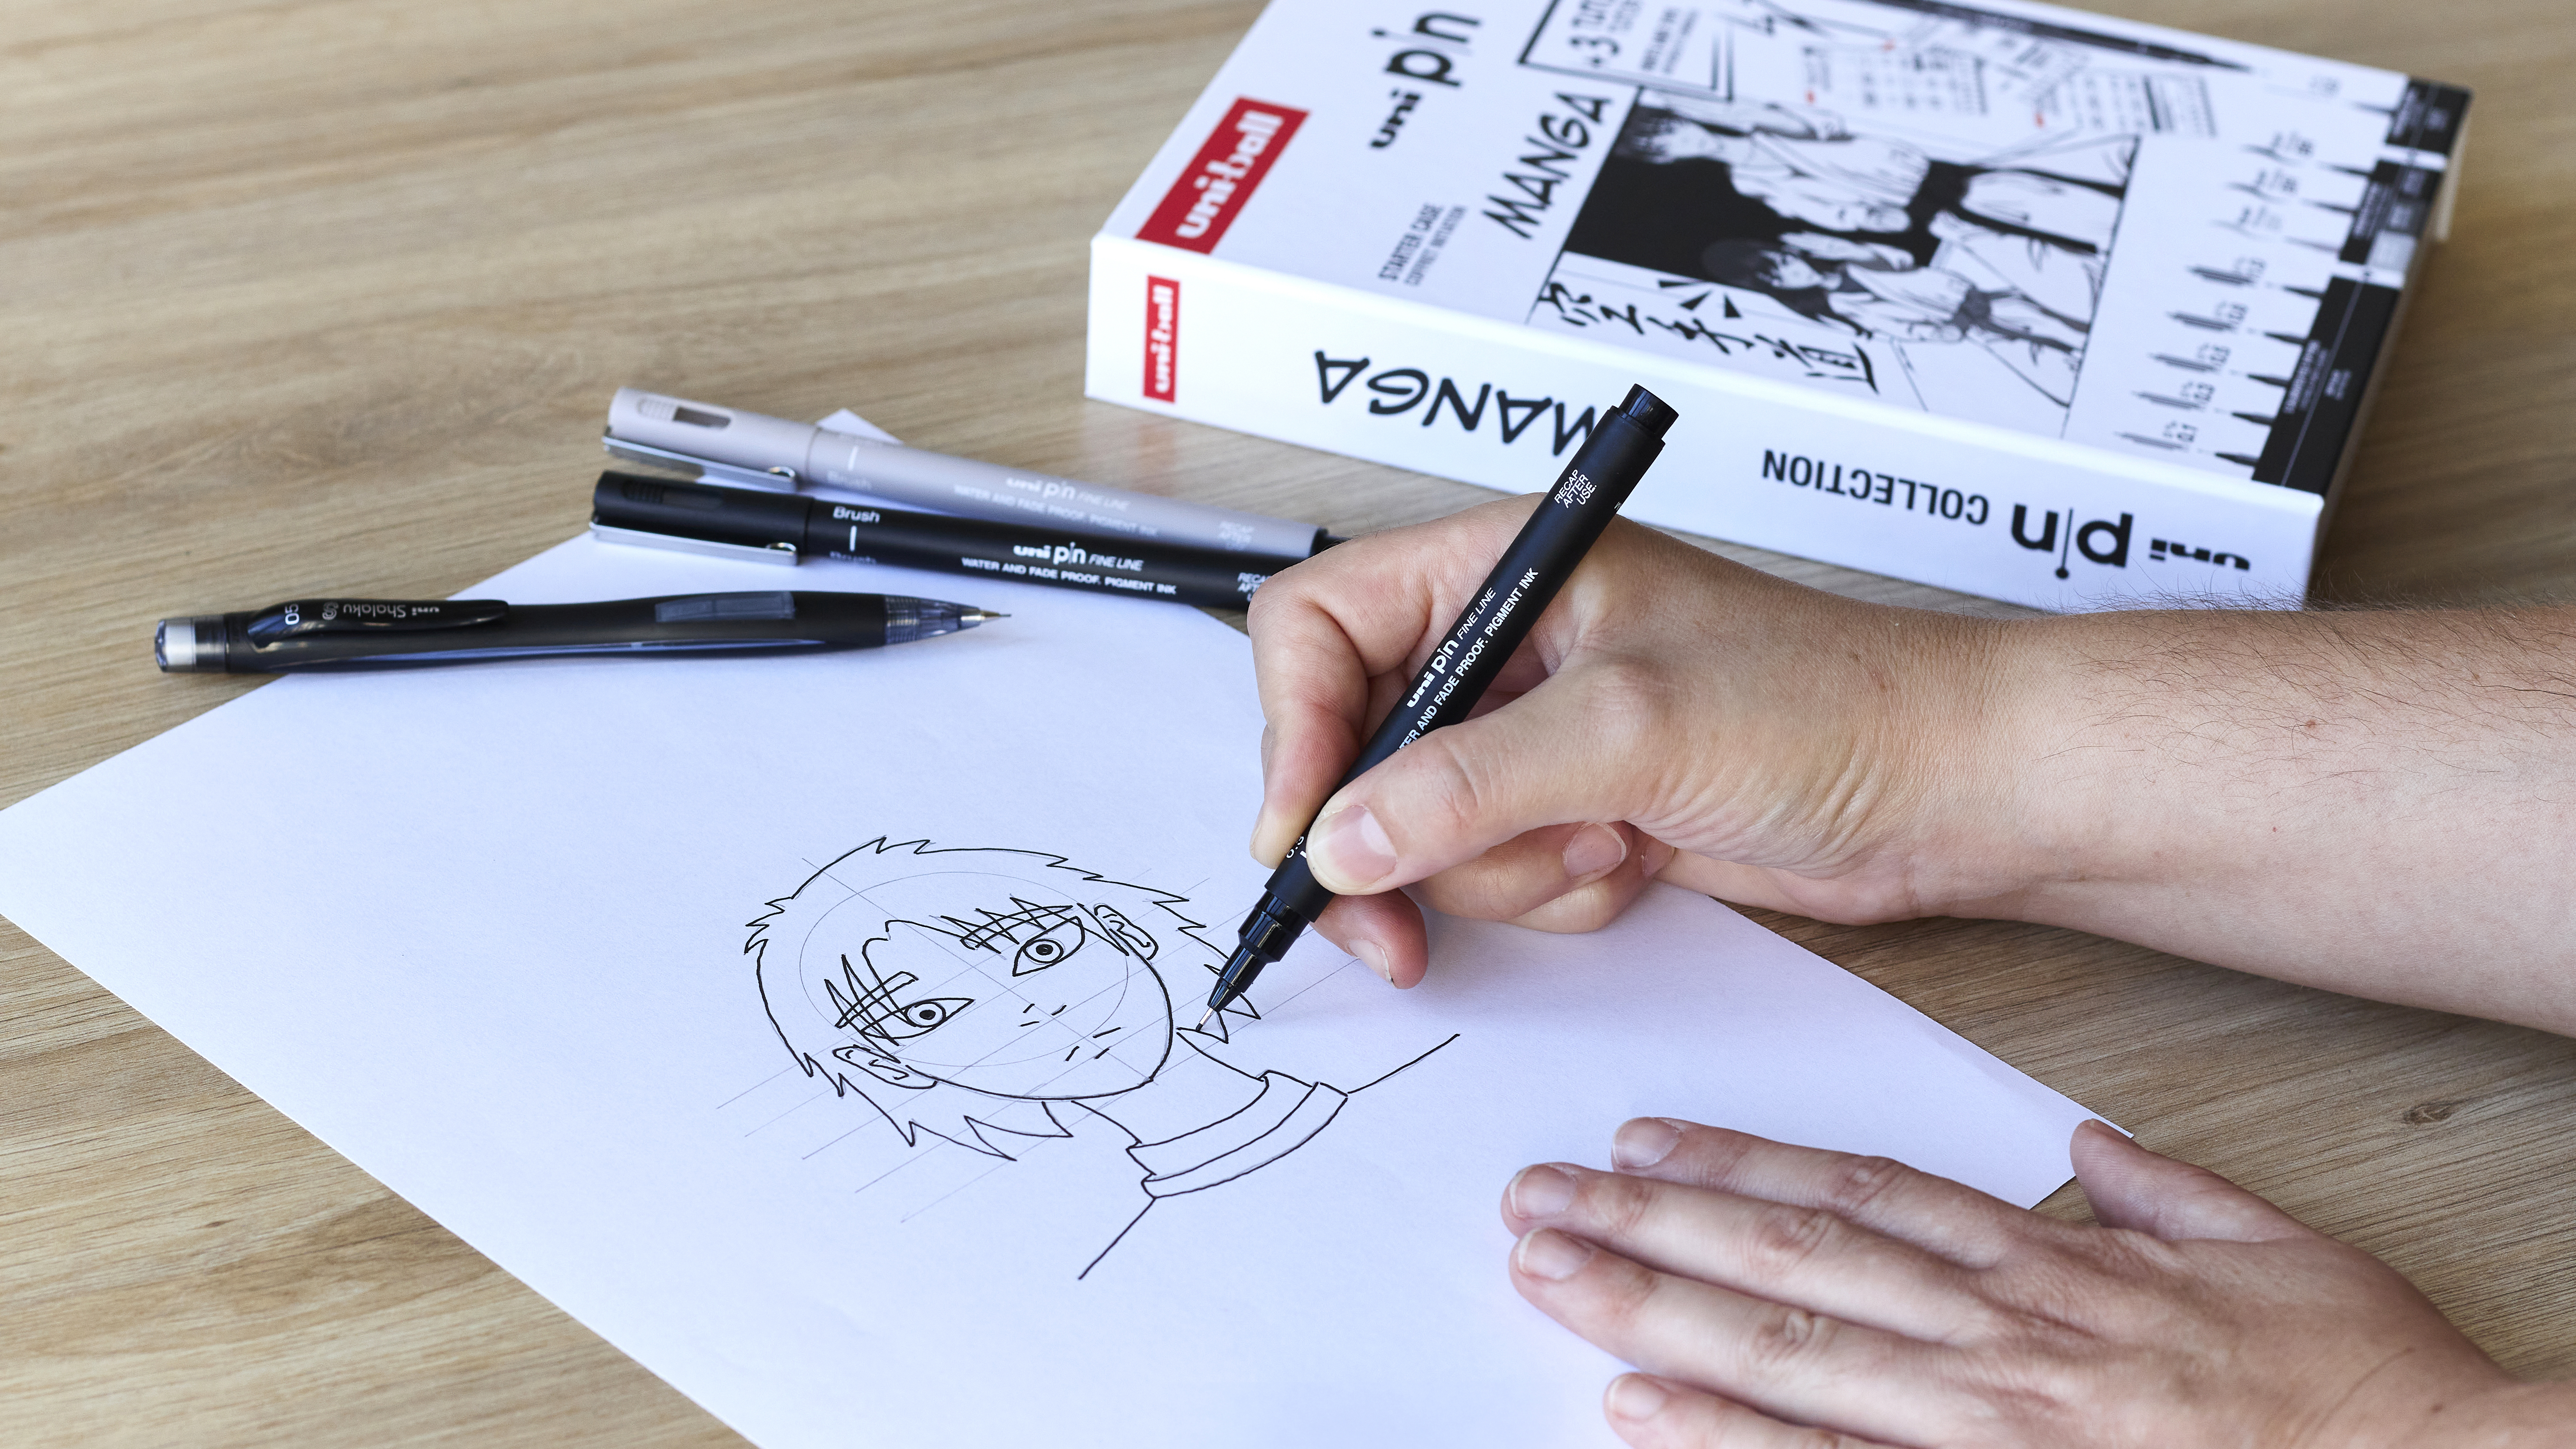
Step 4: Clean Outlines
With the Uni Pin 0.3mm tip, carefully go over all the outlines of your portrait. The Uni Pin range ensures intense black lines! You can then erase your guidelines.
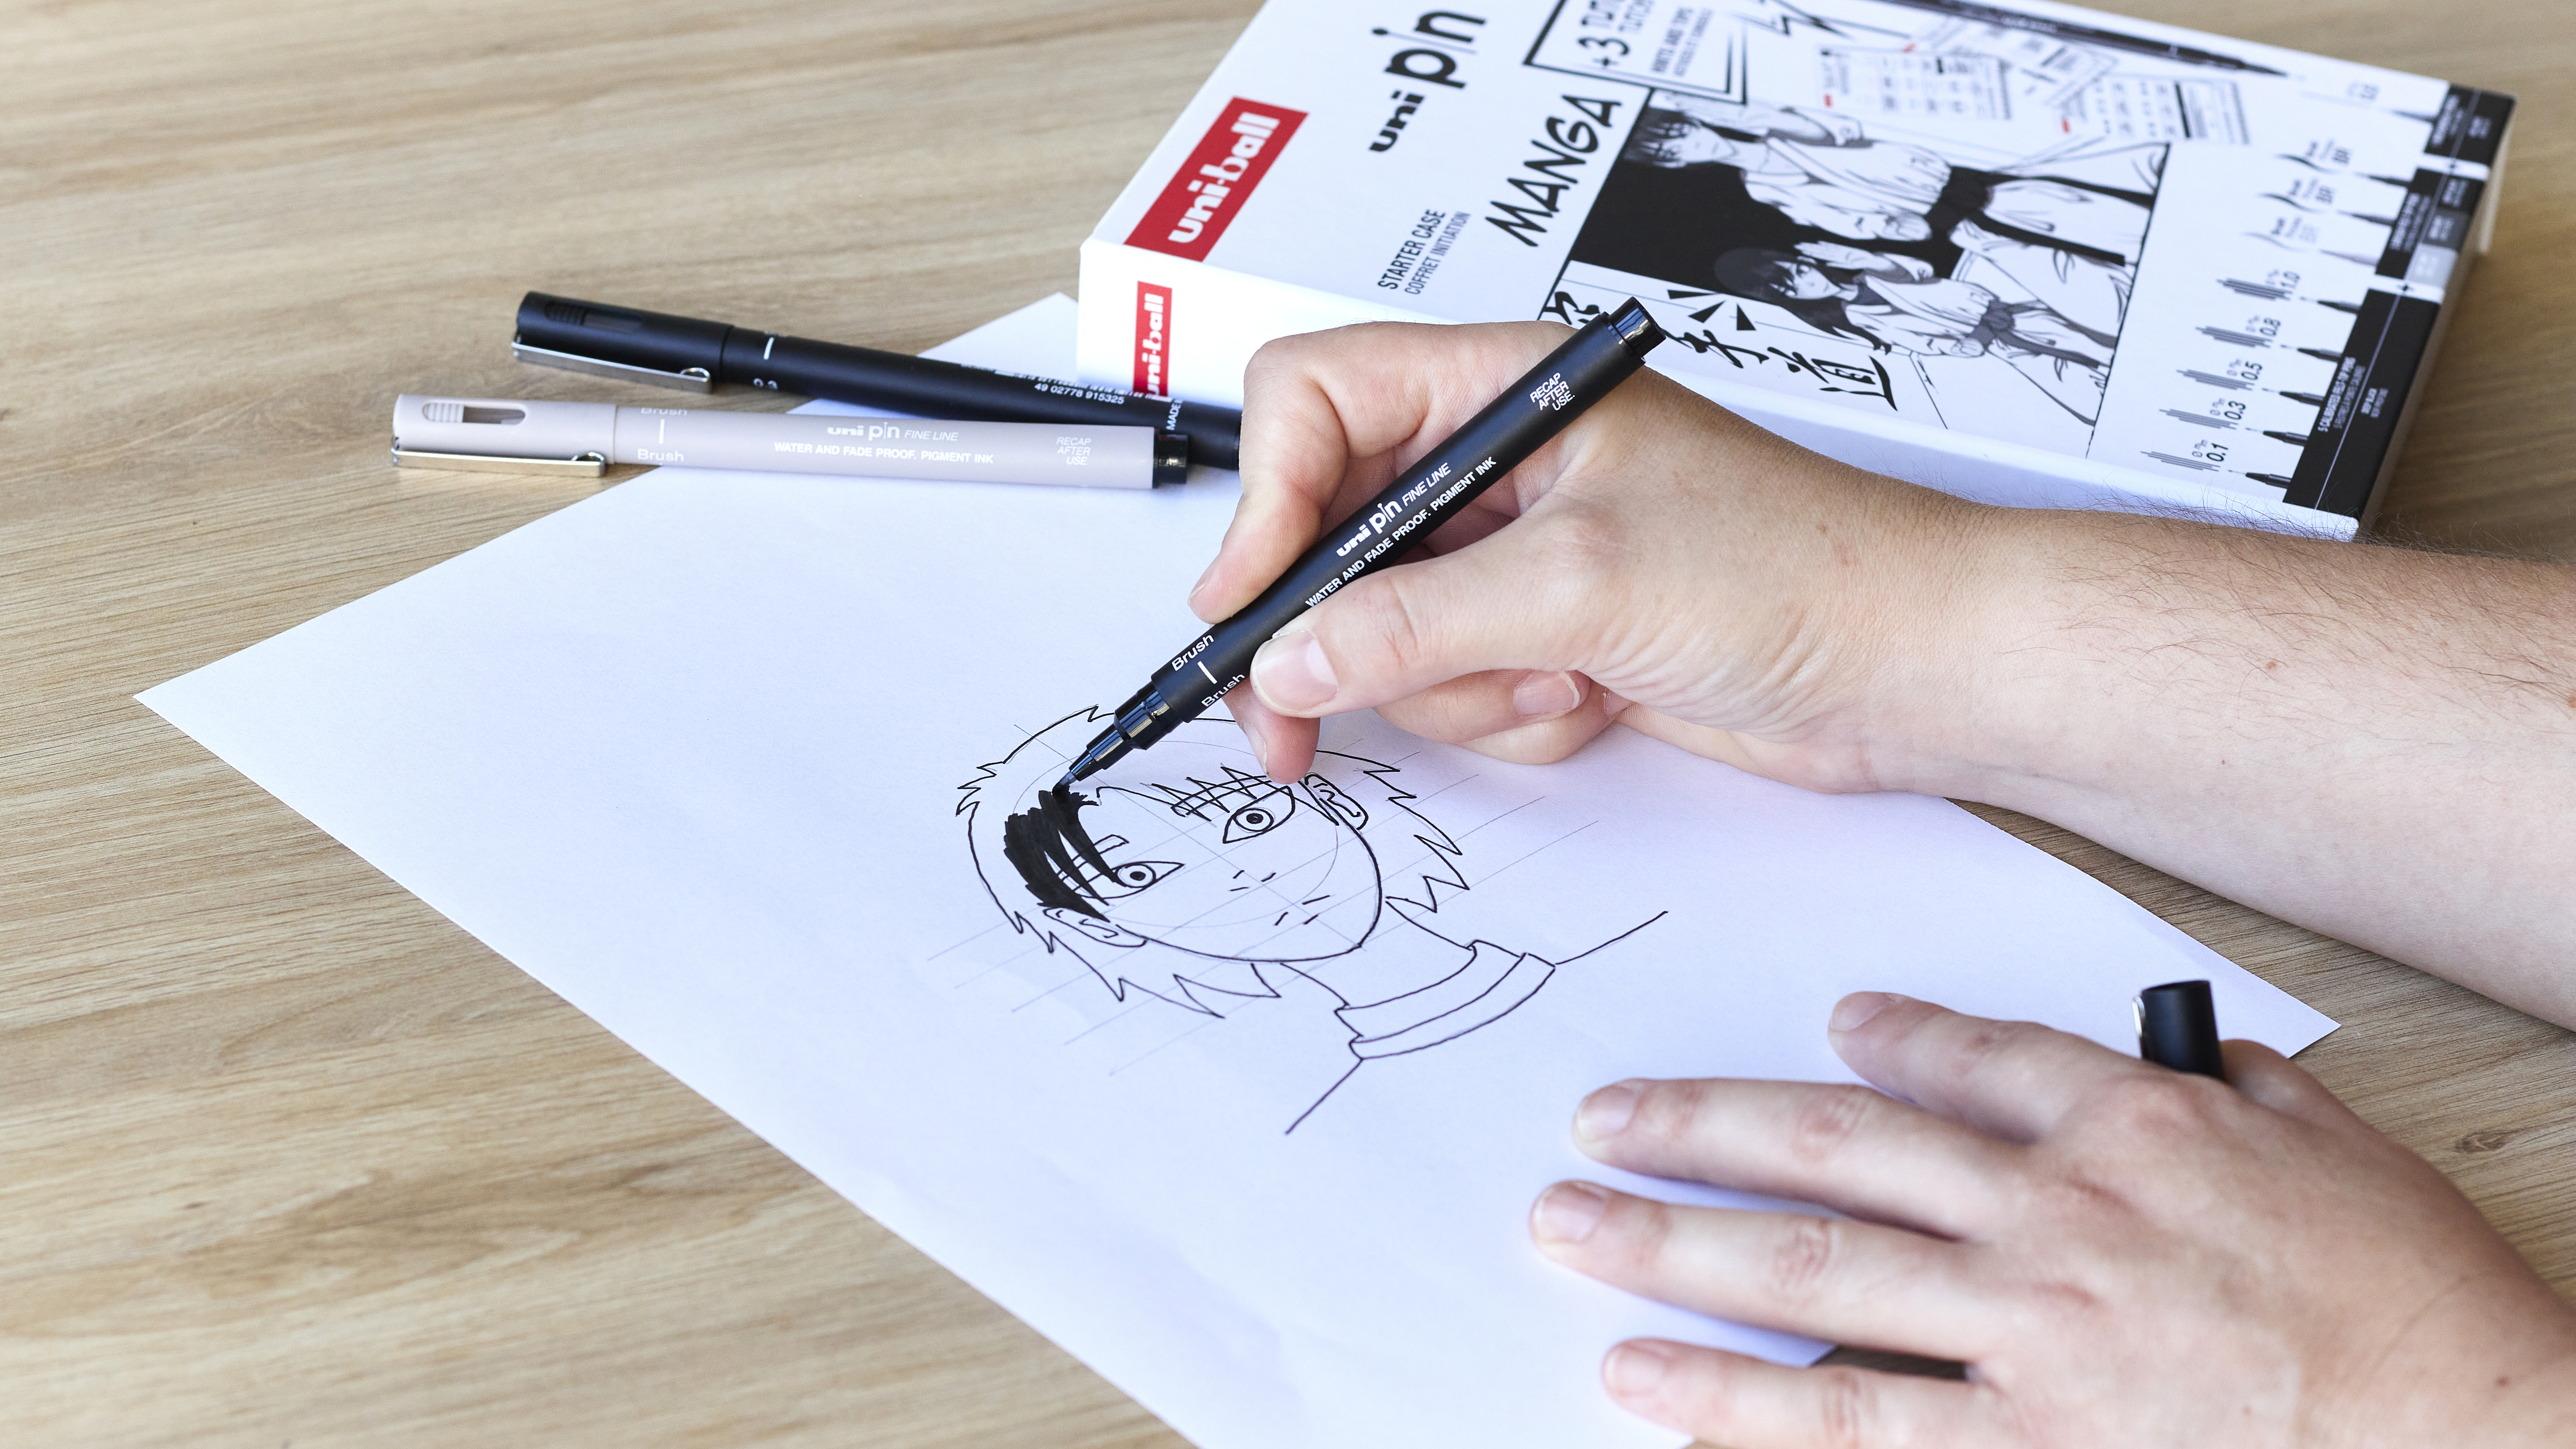
Step 5: Filling and Details
Bring in the brush tips! Color certain areas like hair, eyes, eyebrows, and the upper part of the torso according to your portrait's size. With the light gray pen, you can also create shadows, such as in the hair strands or under the chin. These shadows add depth to the final result.
Step 6: Final Result
Your first manga portrait is complete! Now, practice creating more characters with increasing ease! Don't forget to share your result on Facebook or Instagram. It's time for you to create!