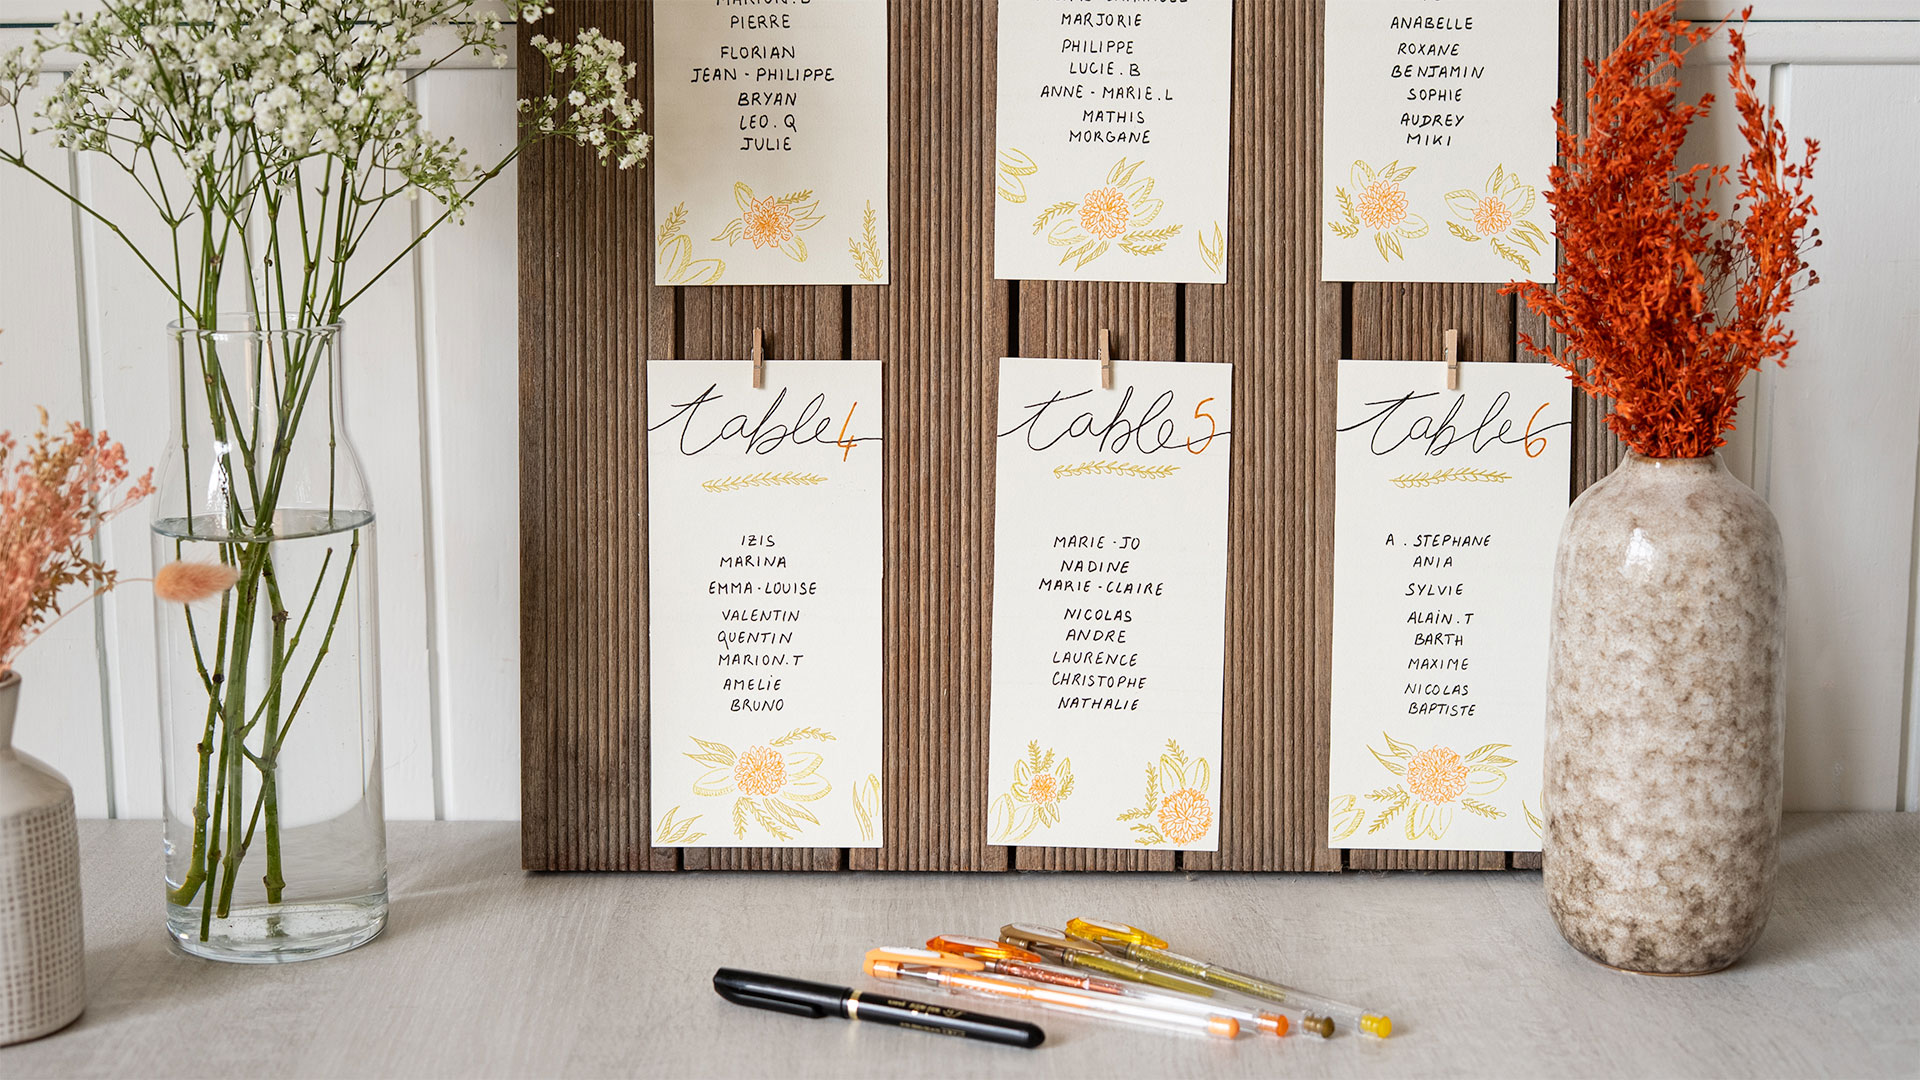


Create your seating plan with Sign Pen felt-tip pens and Signo rollerballs

Planning a wedding or a big celebration? Why not create your own handmade wedding seating plan?
In this tutorial, we’ll show you how to design a personalized and elegant seating plan — perfect for guiding your guests with style. Thanks to the smooth flow of the Sign Pen writing felt-tip pens and the sparkling finish of the Signo rollerballs, you can craft a layout that’s neat, readable, and decorative.
Let your creativity flow and follow each step to make a unique, charming table display.
What you’ll need:
• Cardstock sheets
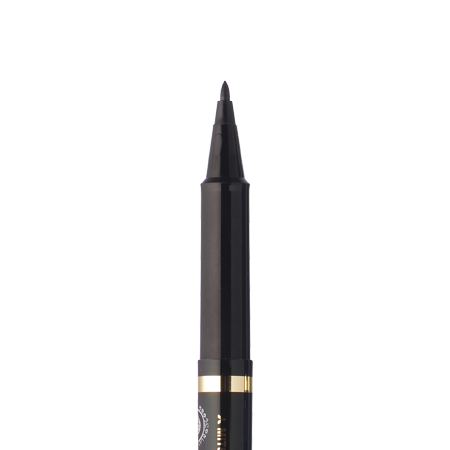
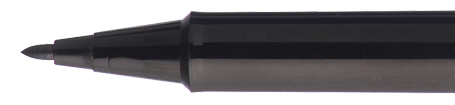
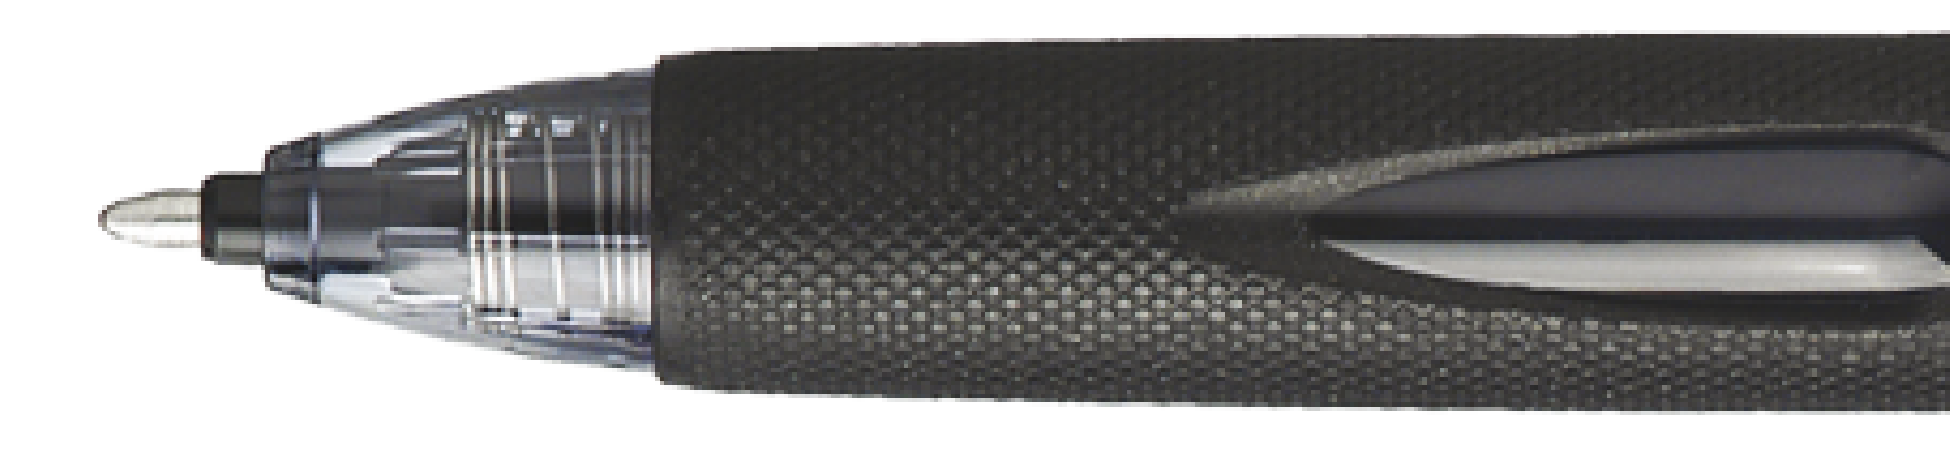
• A Sign Pen writing felt-tip pen
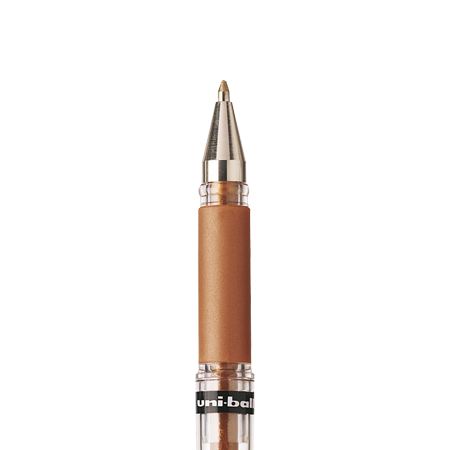
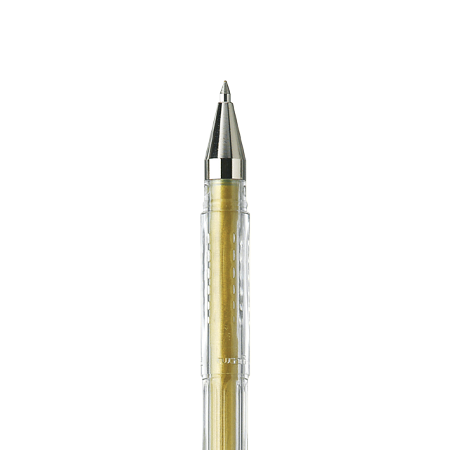
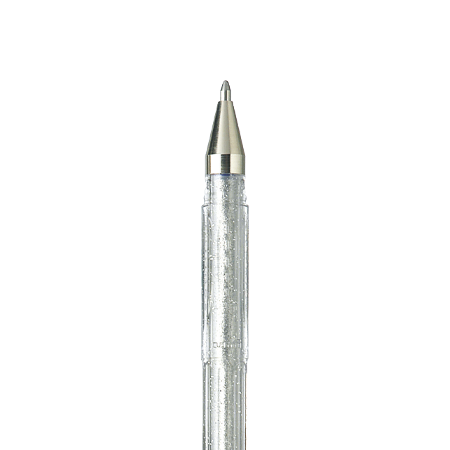
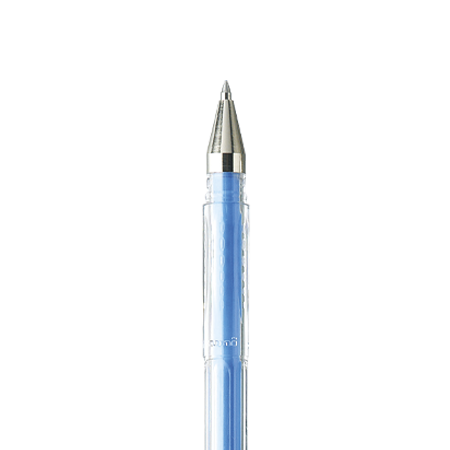
• Signo rollerball pens
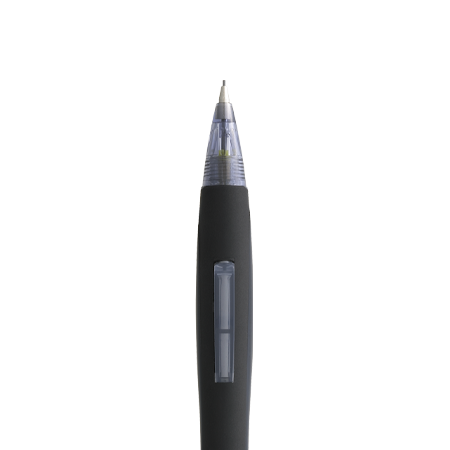
• A Shalaku S mechanical pencil
• A ruler
• The display support of your choice
Materials
To get started, you’ll need cardstock in the size of your choice, a ruler, and a Shalaku S mechanical pencil with its super practical built-in eraser. And of course, the stars of this tutorial: a Sign Pen writing felt-tip pen and your selection of Signo rollerball pens. With a wide range of colors and finishes to choose from, feel free to get creative!
For the support, we chose a wooden board with small clips — but you can personalize it as you like.
Ready? Let’s go!

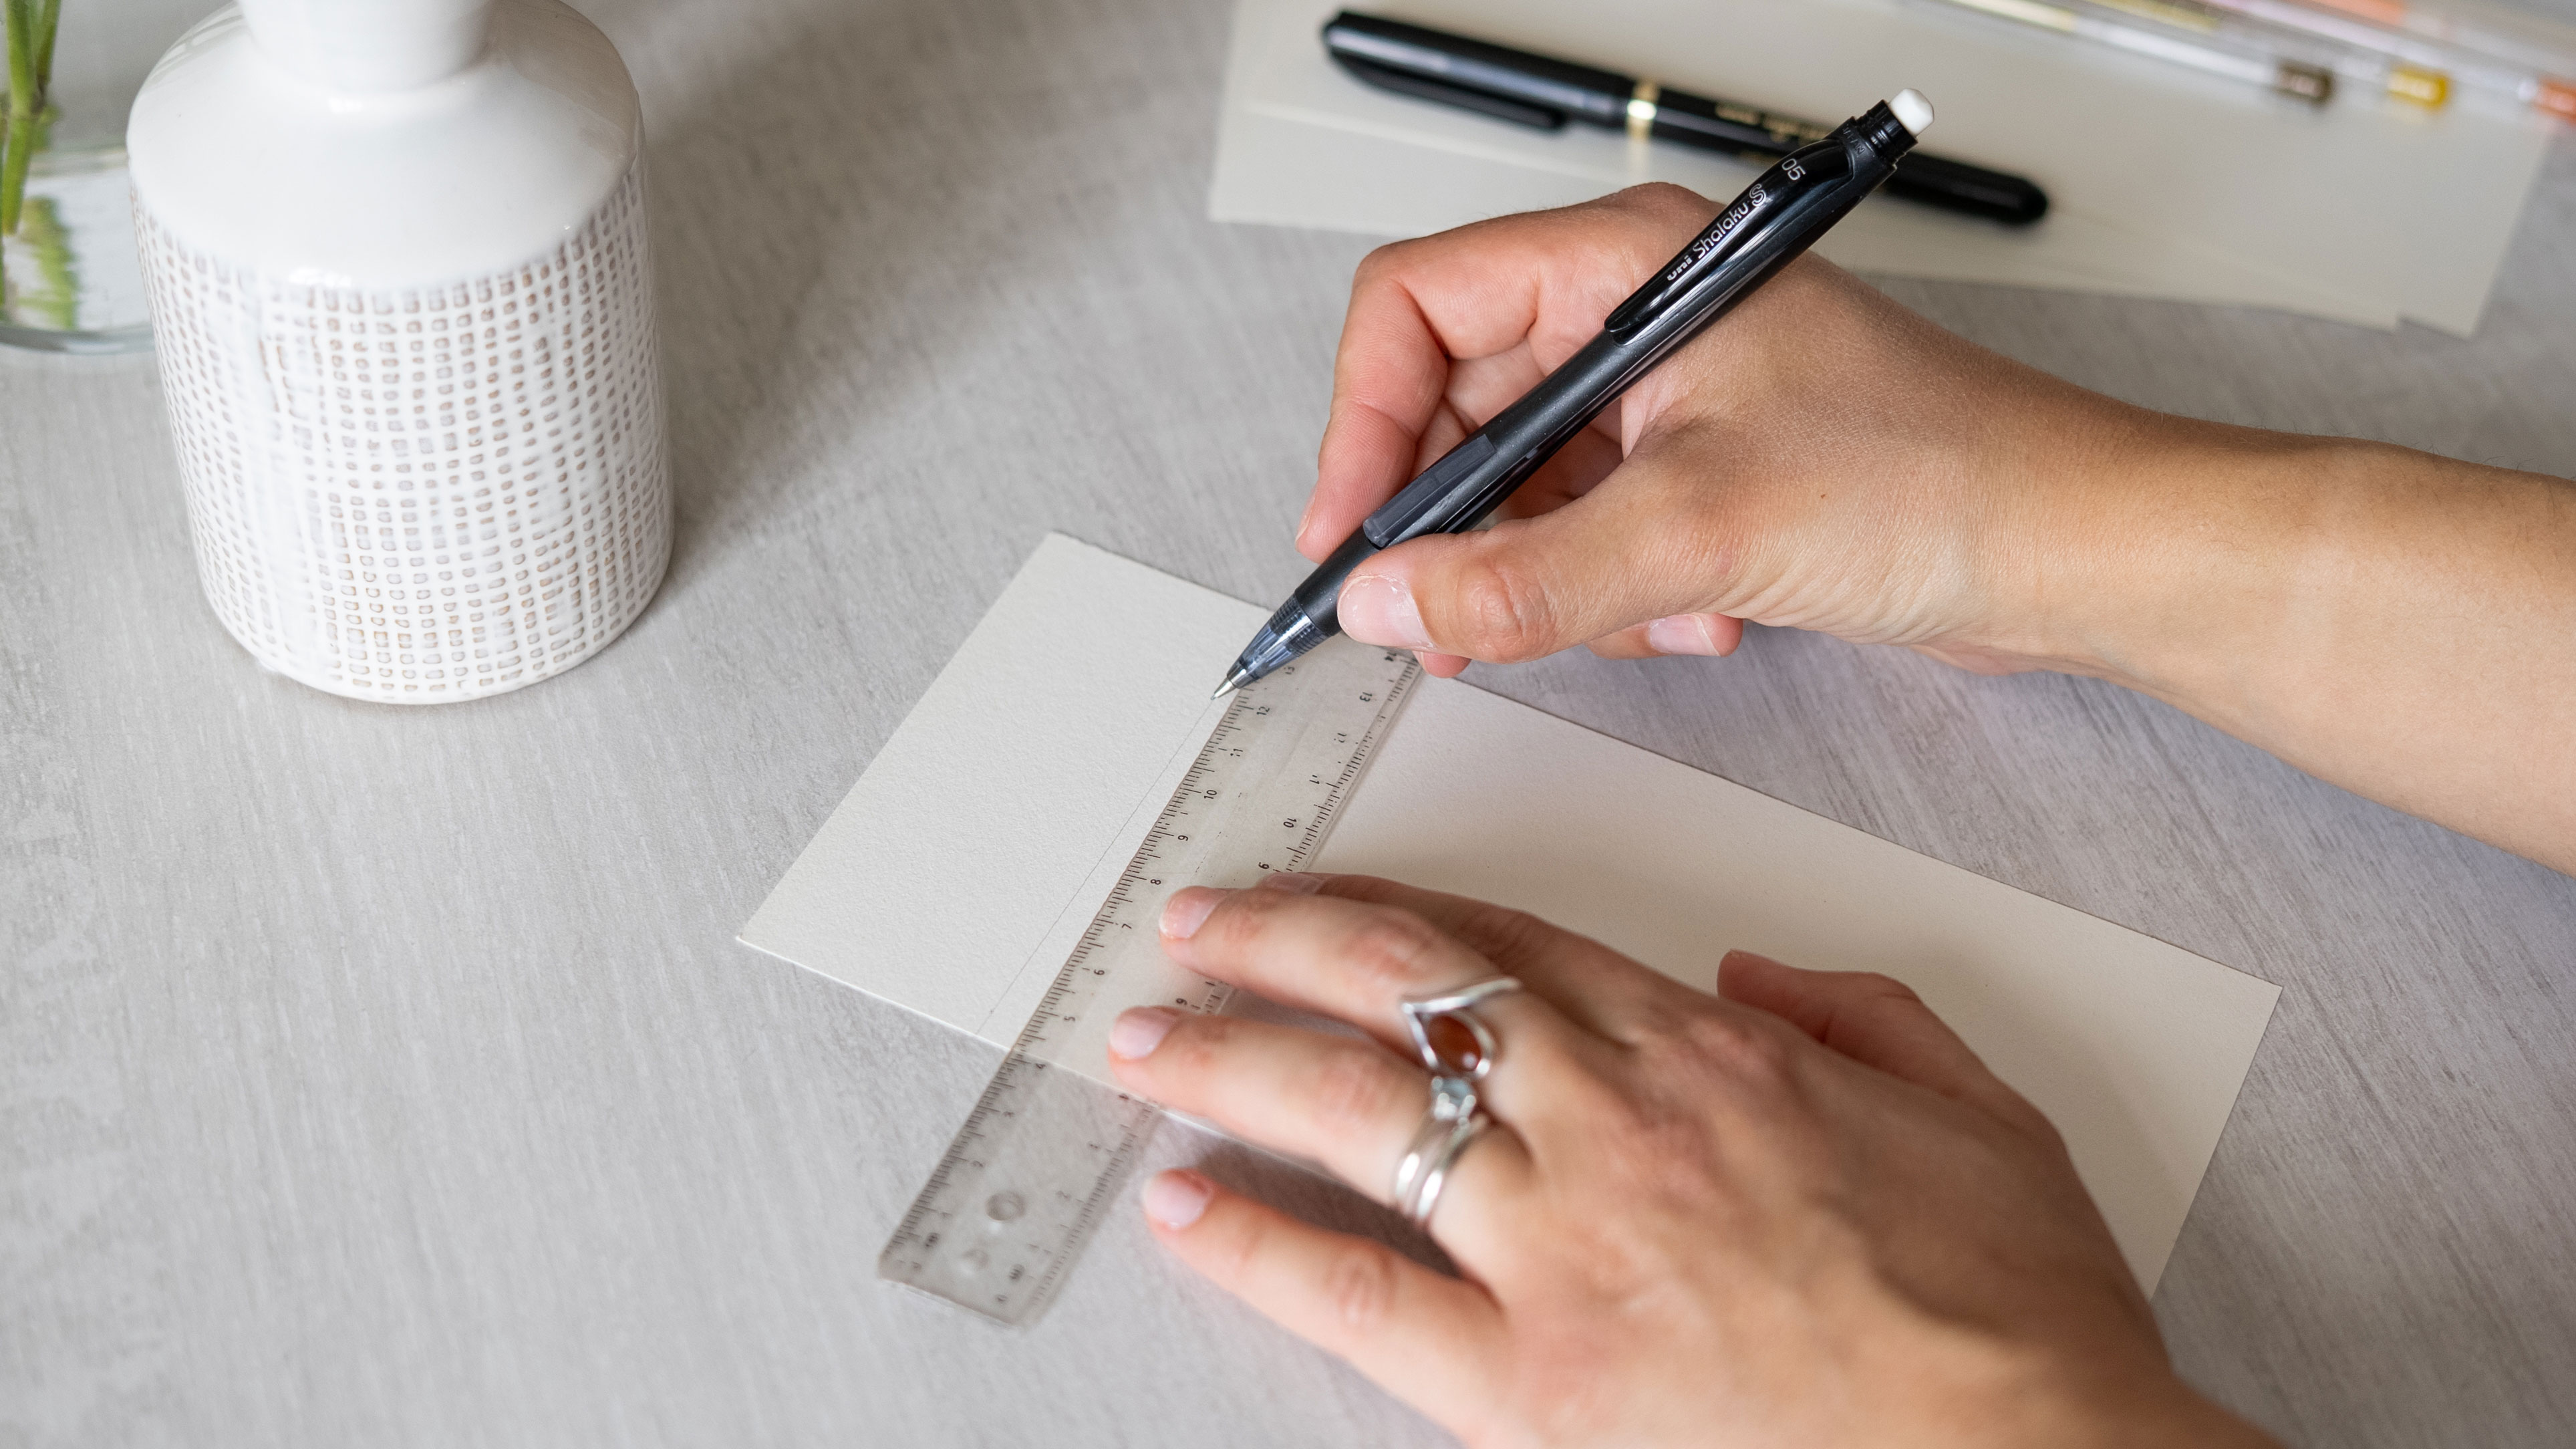
Step 1: Draw your guidelines
To make your seating plan clean and elegant, take your cardstock sheets and use the Shalaku S mechanical pencil and ruler to draw guidelines. This will help keep your writing straight and tidy.
Just look at those nice, even lines — satisfying, right?
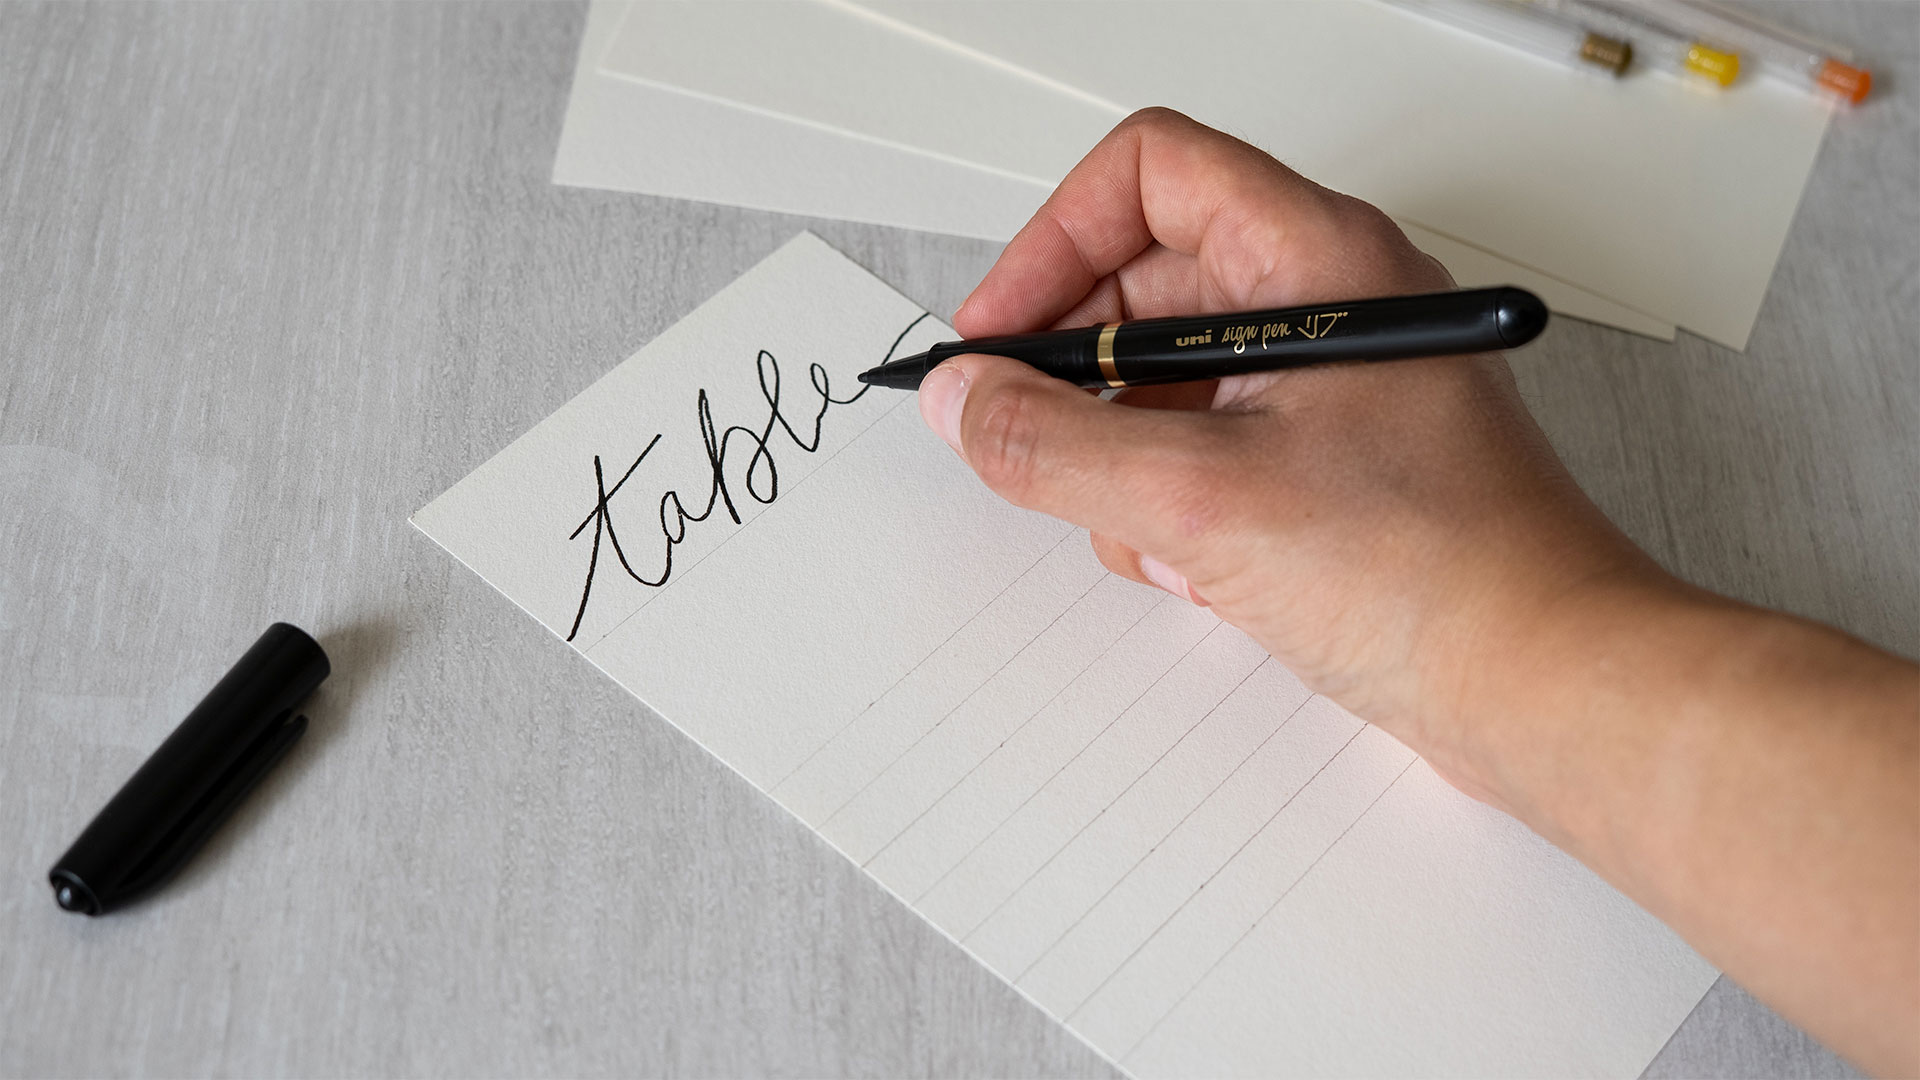
Step 2: Add the titles
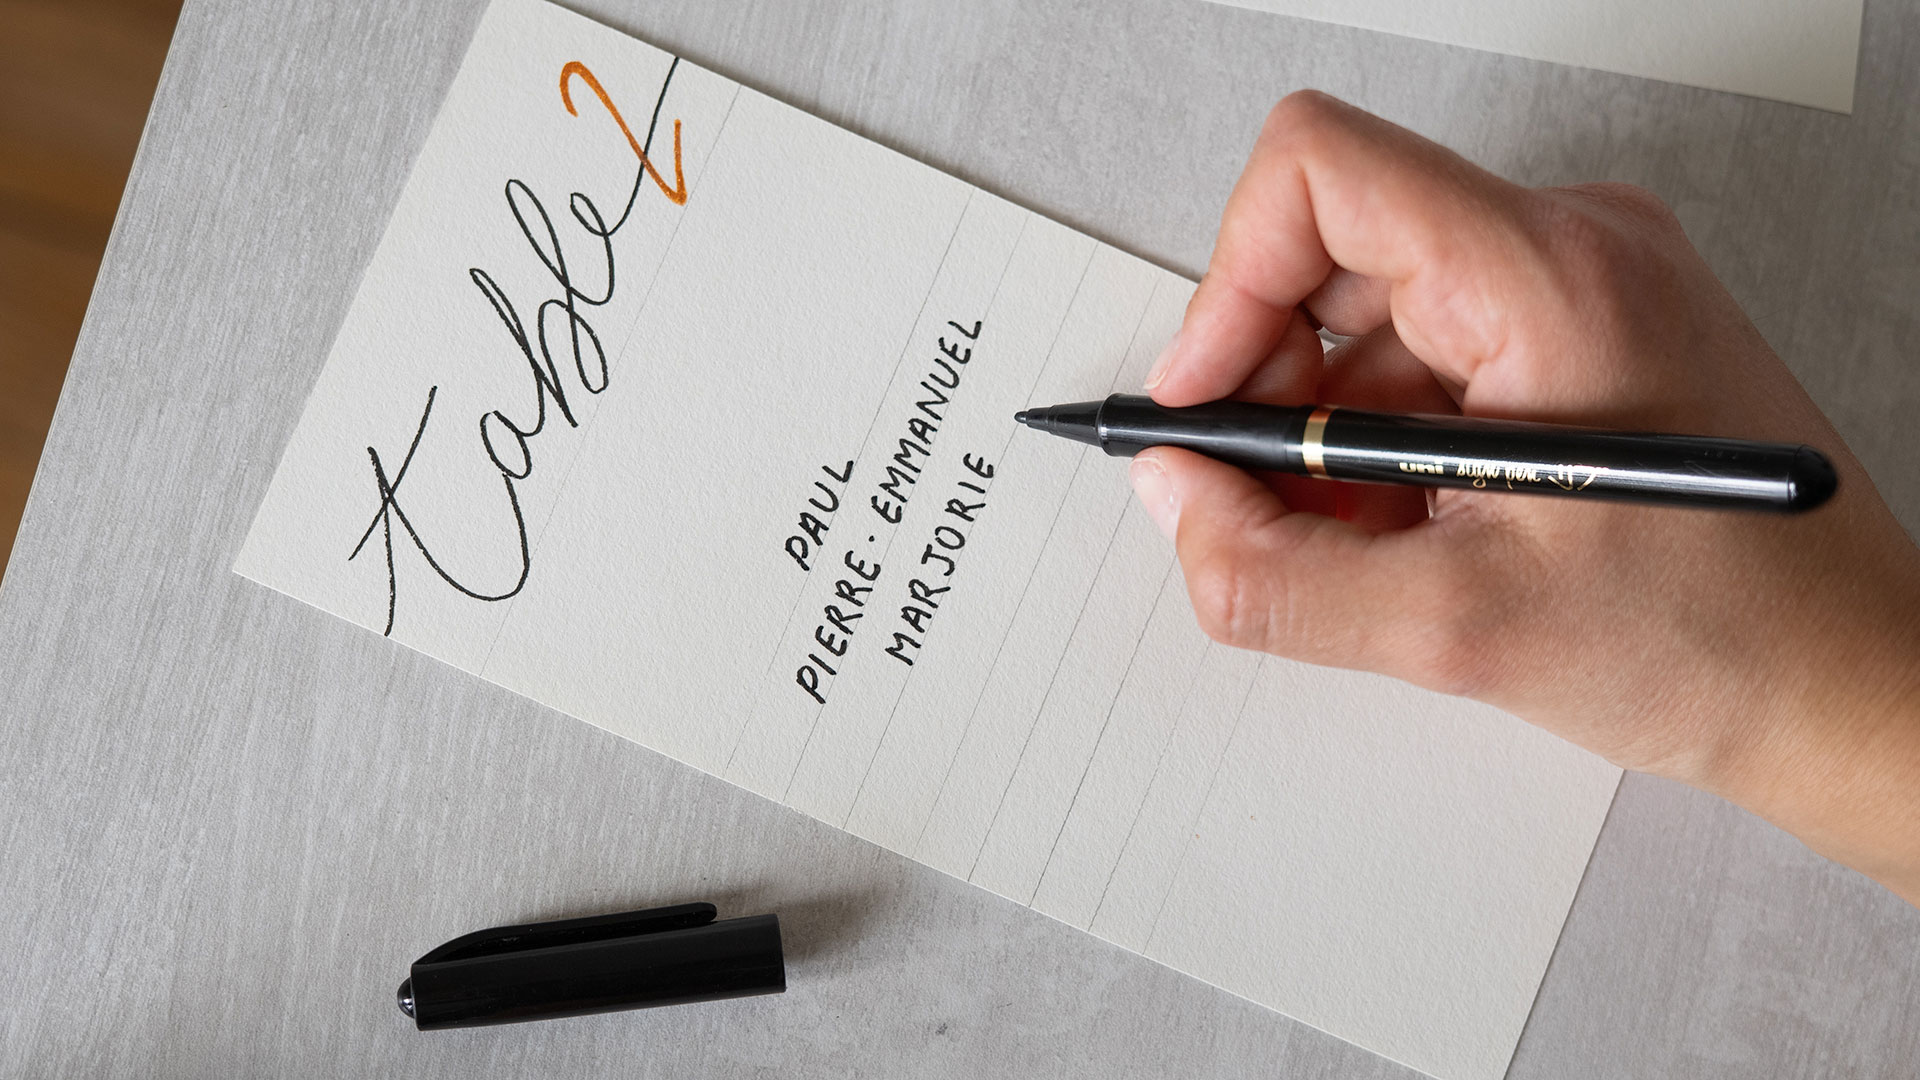
Grab your Sign Pen writing felt-tip pen and start by writing the title — for us, it’s "Table".
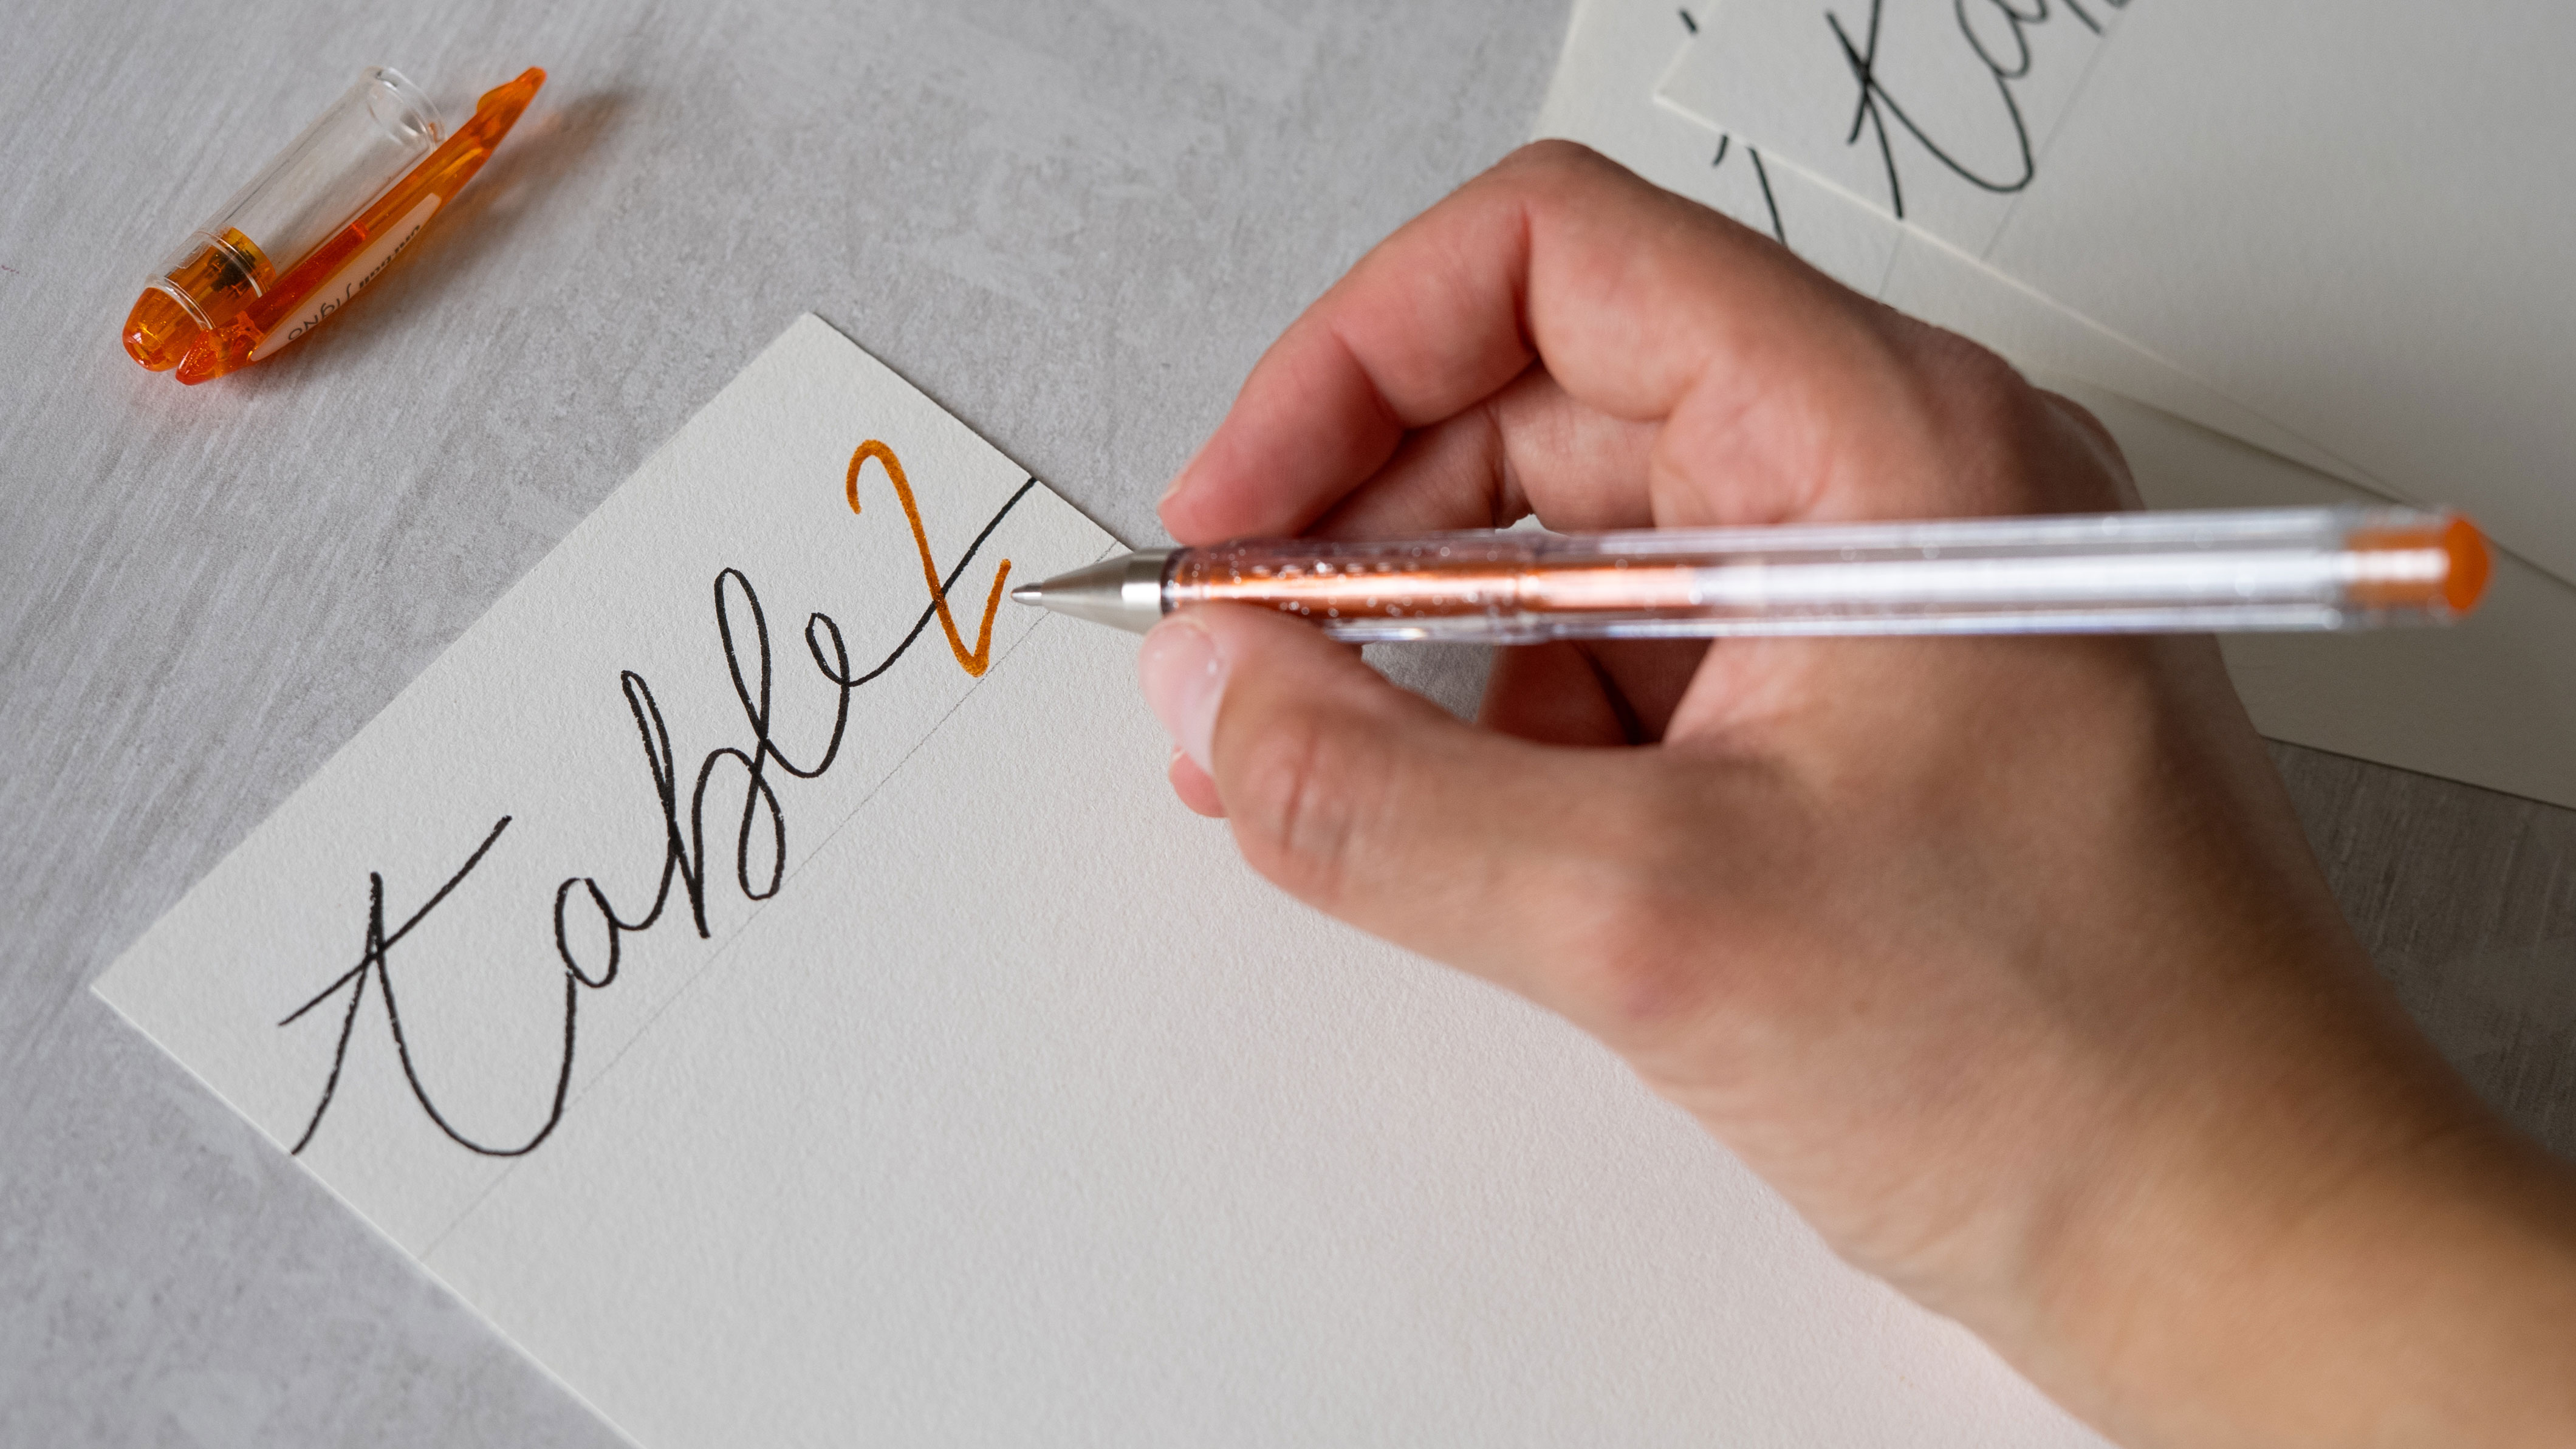
Don’t forget to include the table number, which will make organizing much easier. You can also add a first touch of color using a Signo rollerball pen!
Step 3: Write your guests’ names
Now it’s time to assign your guests to each table!
You’ve probably already done the hard work of deciding who sits where, so now you can calmly write each guest’s name using your Sign Pen writing felt-tip pen, following the guidelines you drew earlier.
It’s starting to come together, isn’t it?
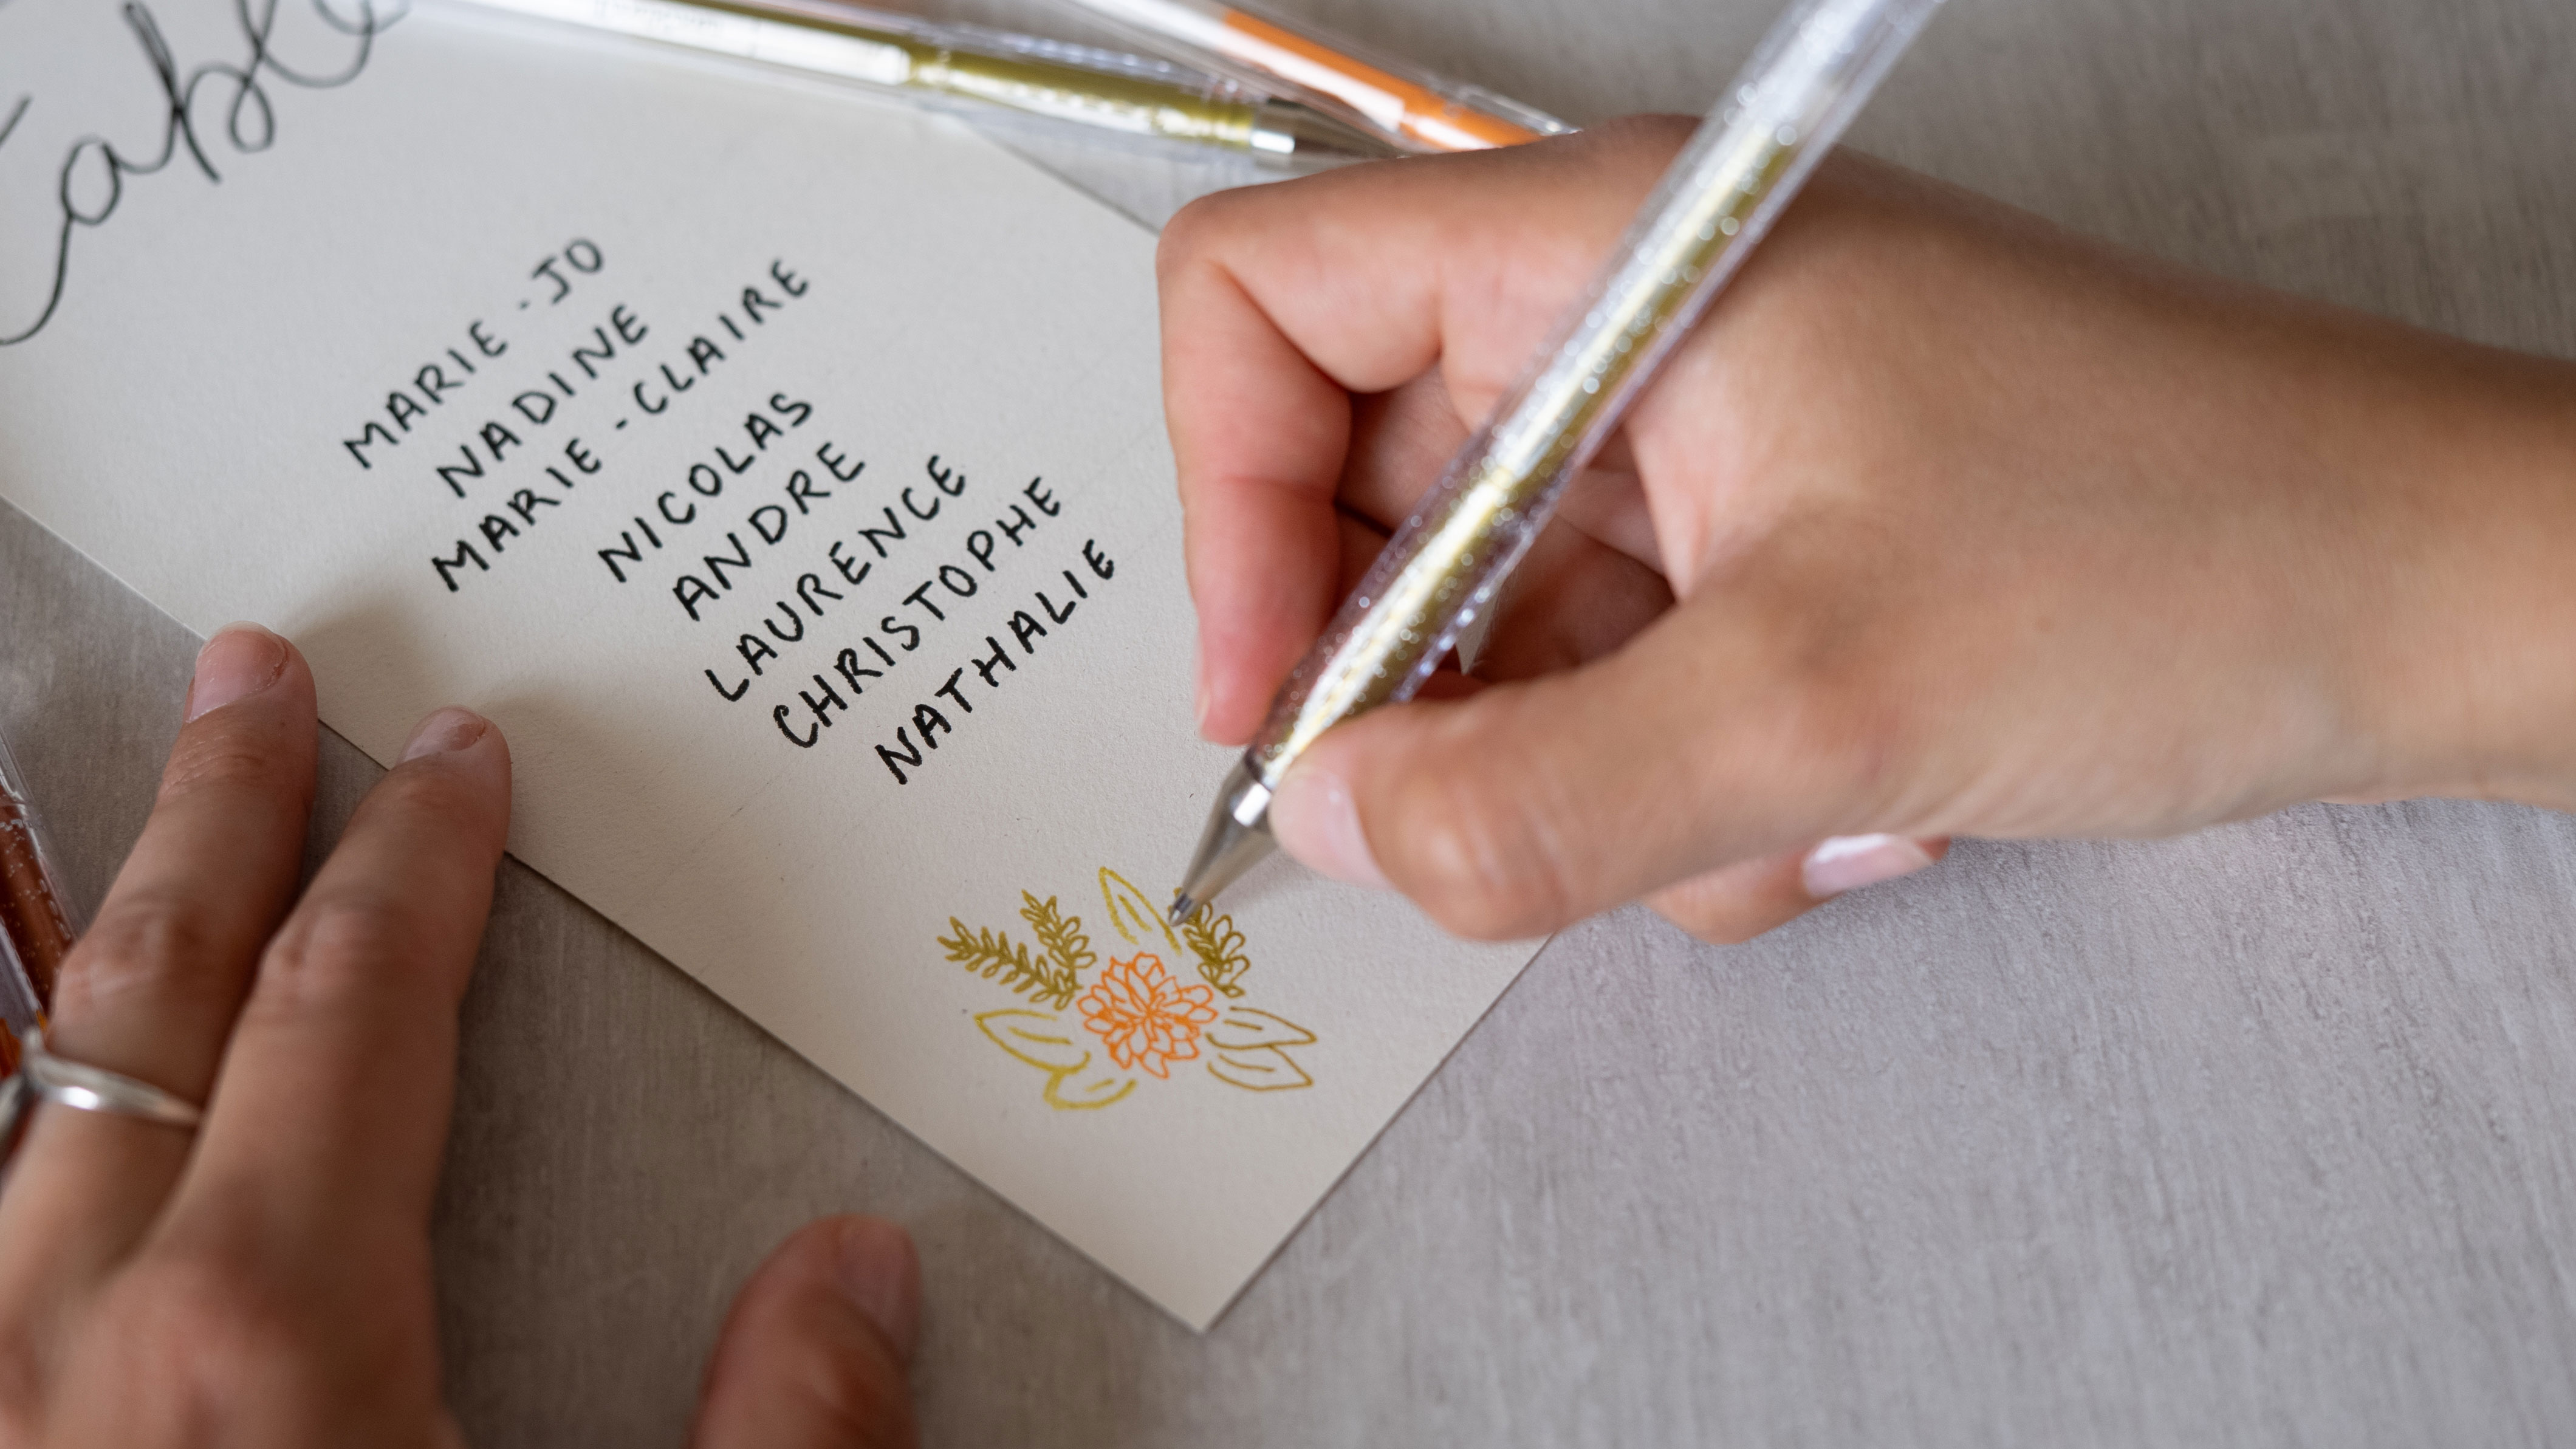
Step 4: Add decorations
Feeling like it needs more color?
Let’s fix that — use your Signo rollerball pens to add small decorations. This is where your color selection really shines!
We went for cute little flowers, but feel free to match your design to the theme of your event. For example:
• Dolce Vita? Lemons
• Boho? A feather
• Rustic? A sprig of wheat
• Retro? A camera
Running out of ideas? Time for the final step!
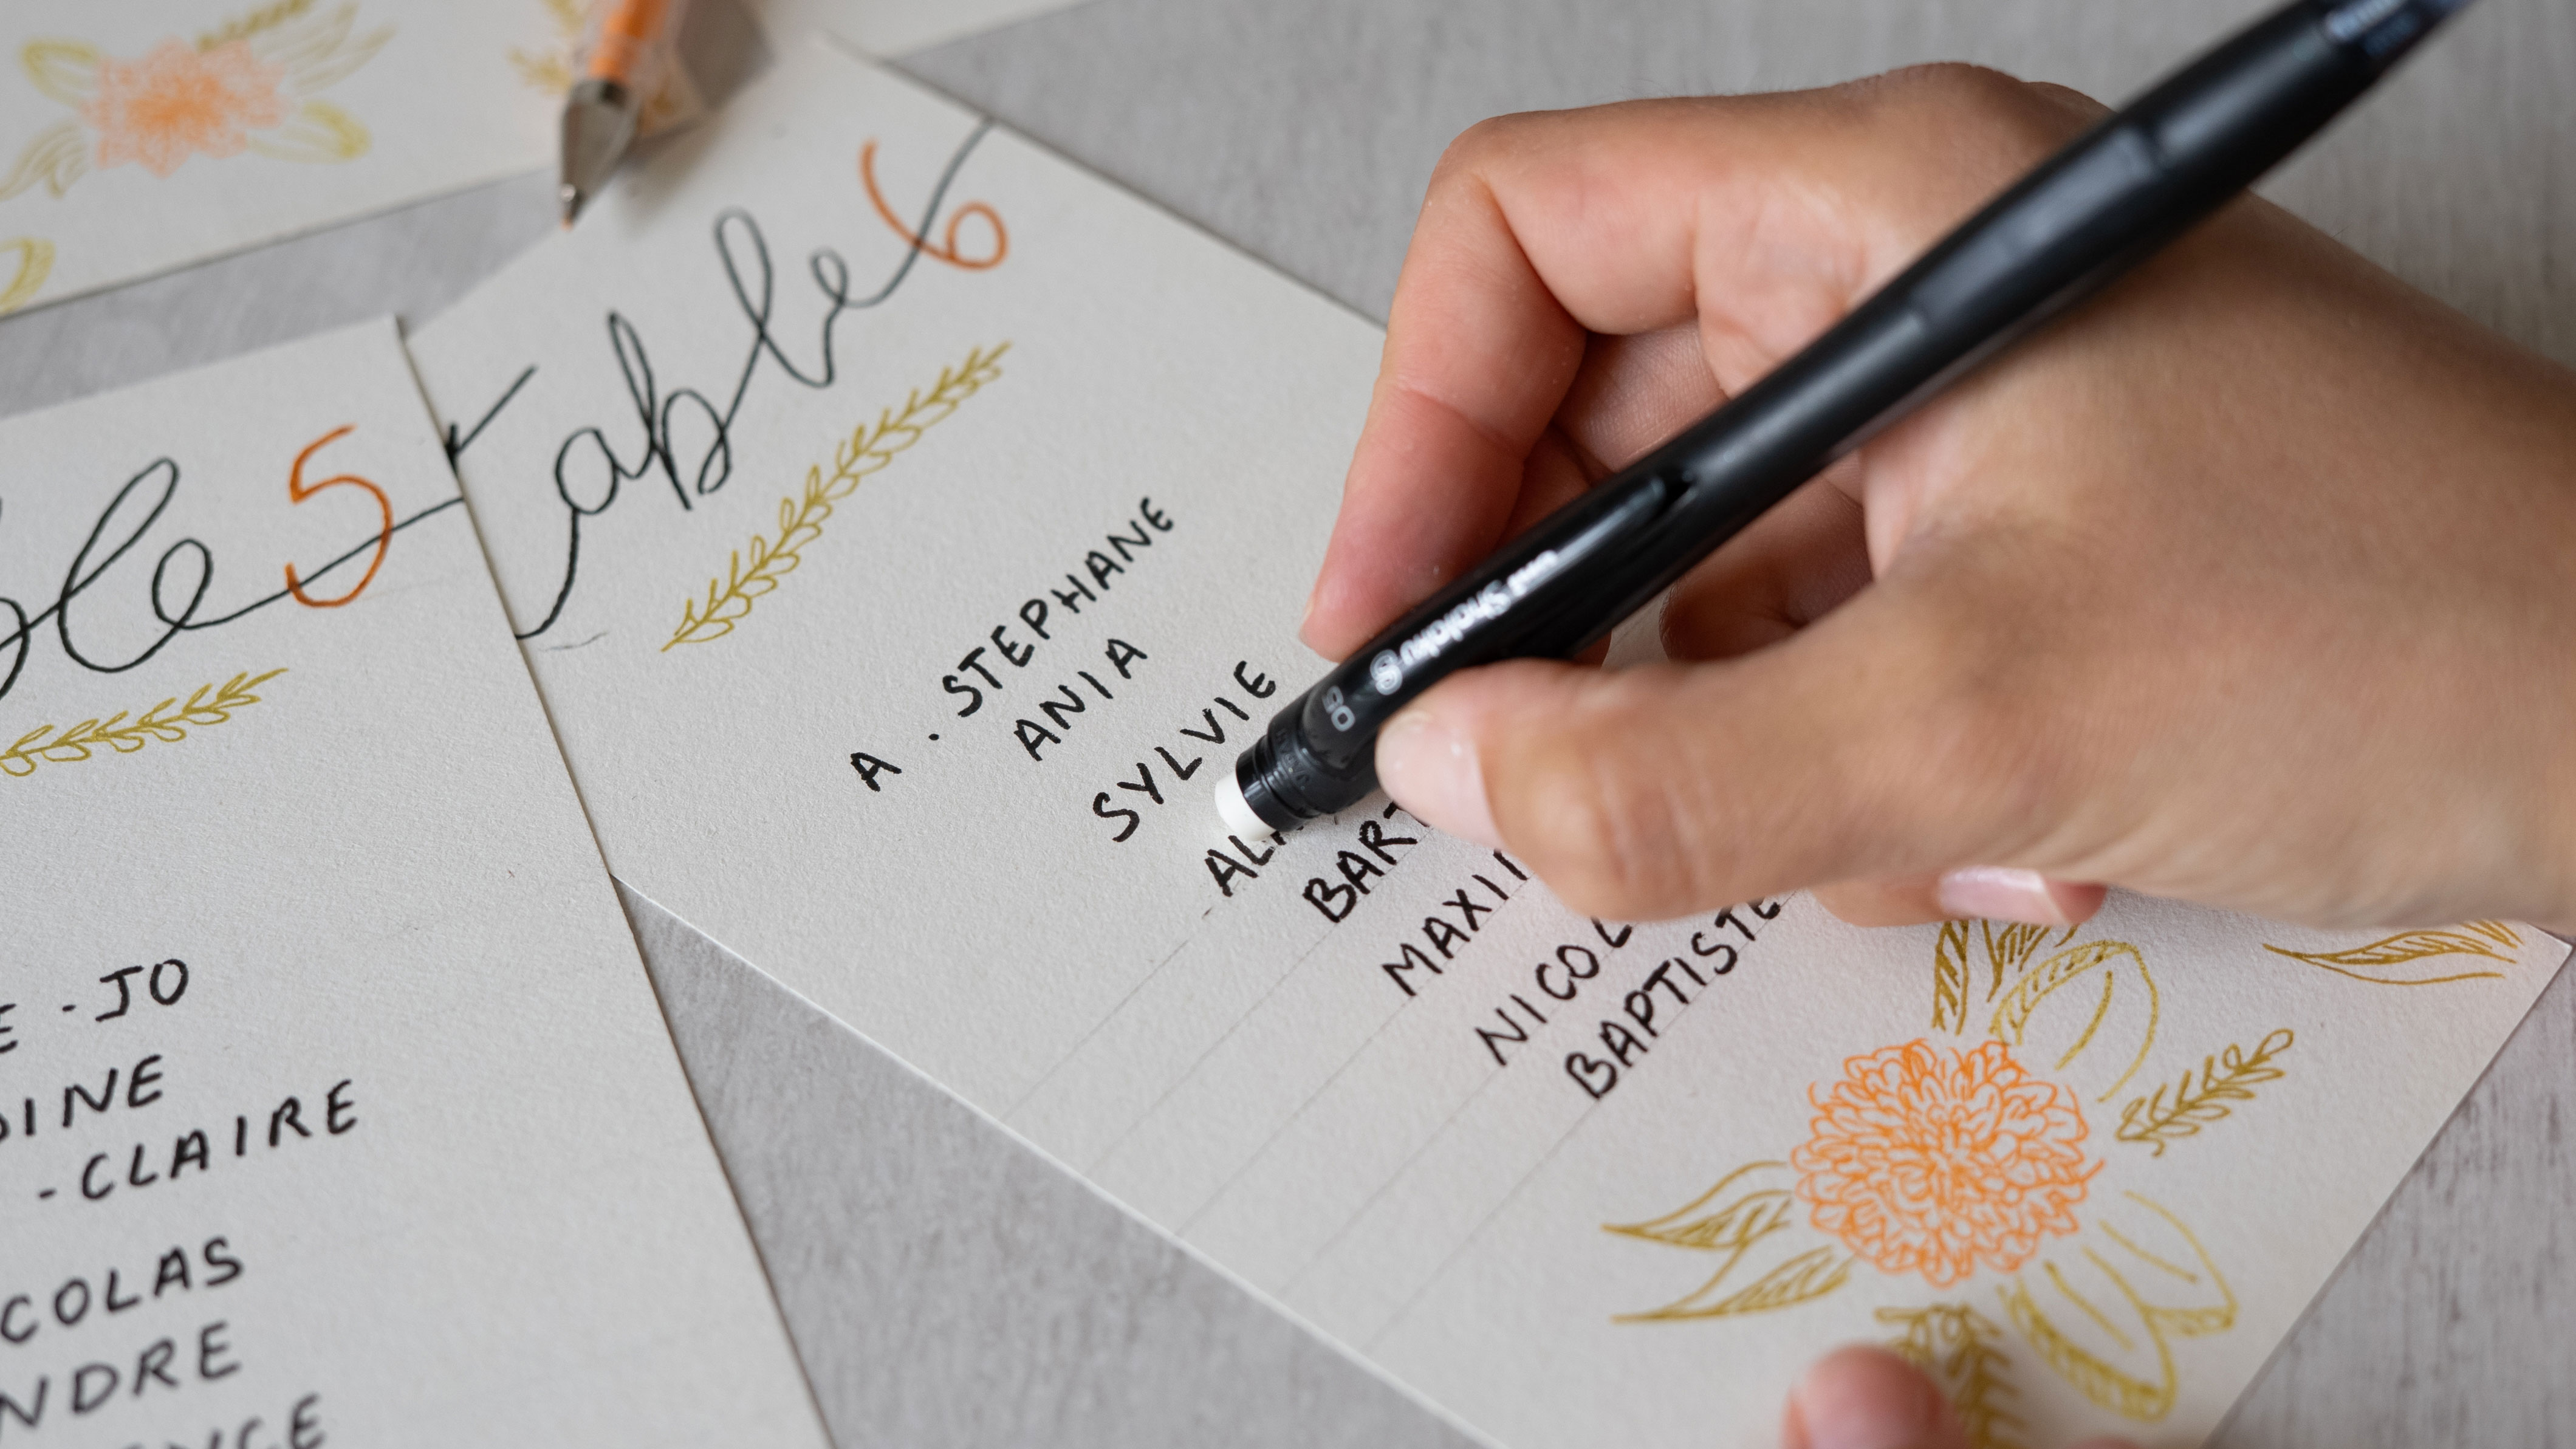
Step 5: Erase the pencil lines
Before proudly displaying your wedding seating plans, and because we want everything to be perfect, erase any visible pencil marks with the built-in eraser on the Shalaku S mechanical pencil.
Looks great, doesn’t it? You’re now ready to display your beautiful creations!
Don’t forget to share your masterpiece with us on Instagram using #uniballfrance, or drop a comment on our Facebook page @uniballFR!
Now it’s your turn to create!