


DIY Upcycling: Create your very own peacock place mat using Signo rollers

Fancy trying your hand at some DIY upcycling?
We all have more clothes pegs than we really need, don’t we? This is why we want to share a suggestion to bring a whole new lease of life to them by transforming these into a place mat. With a sprinkle of creativity, anything is possible! And the result? A handy object which also adds a decorative touch to your table!
Follow the guide!
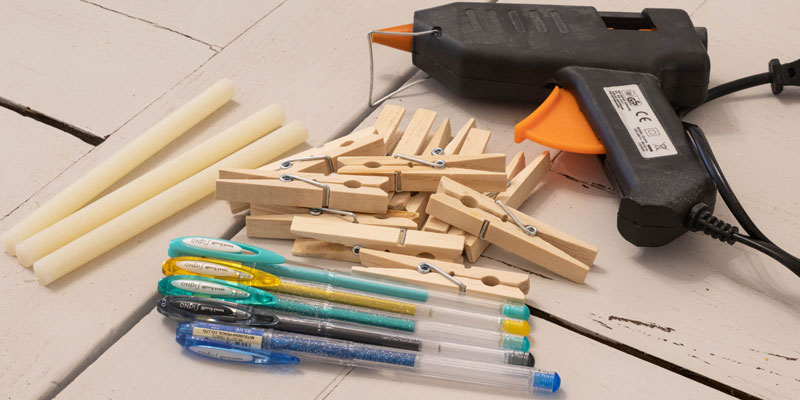
For this tutorial, you will need:
- Wooden clothes pegs
- A glue gun and sticks
Step 1: The material
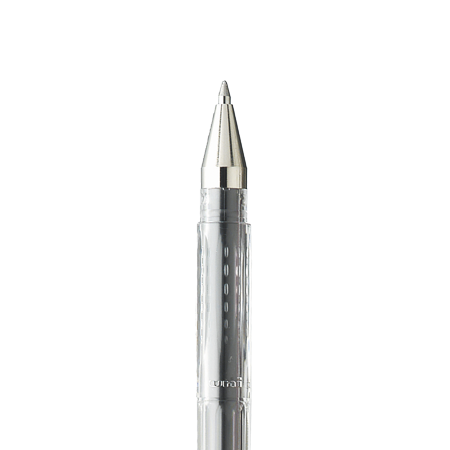
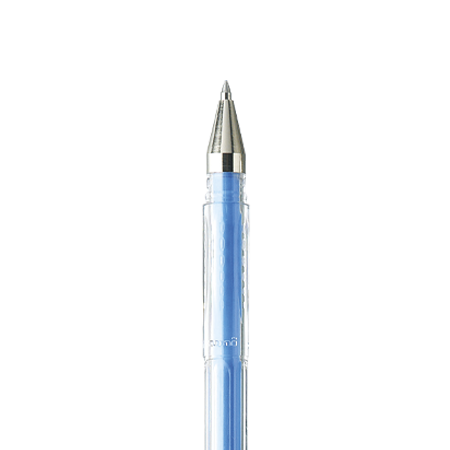
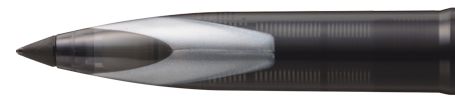
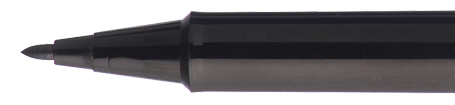
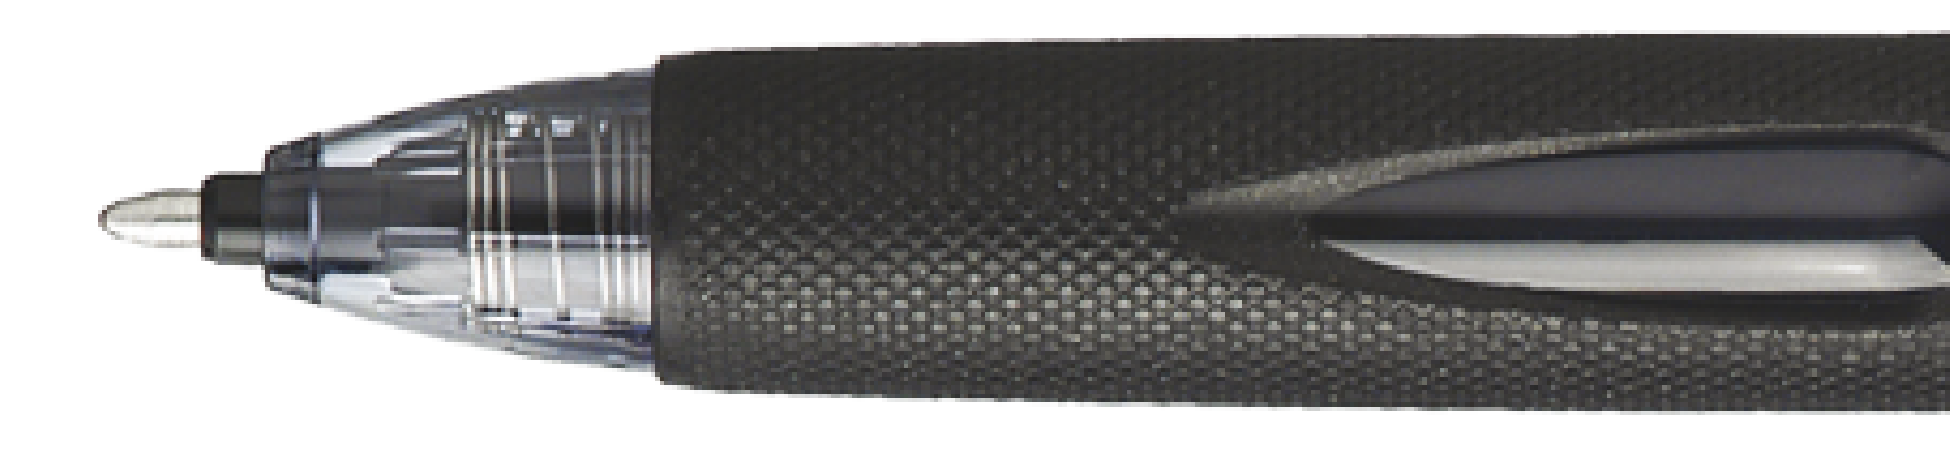
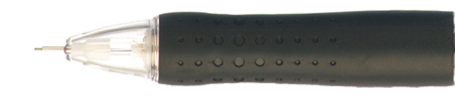
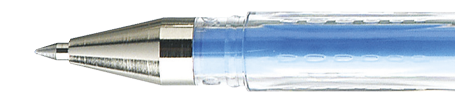
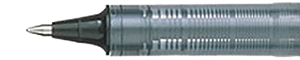
For this new tutorial, reach for your best Signo rollers, clothes pegs, a glue gun and, of course, some glue sticks (this tutorial should be followed with adult supervision)!
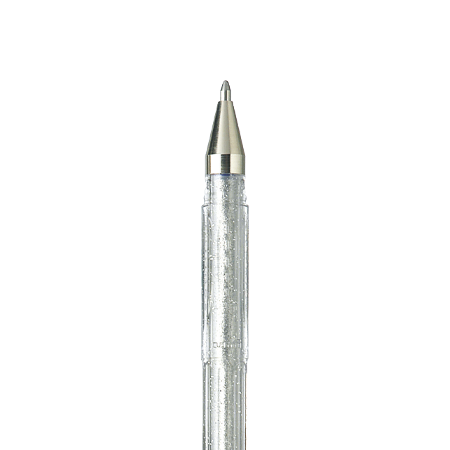
For the peacock motif, choose black and shades of blue, yellow and green. For the glitter, pastel or metallic effects, let your imagination run wild! Reach for your favourite colours.
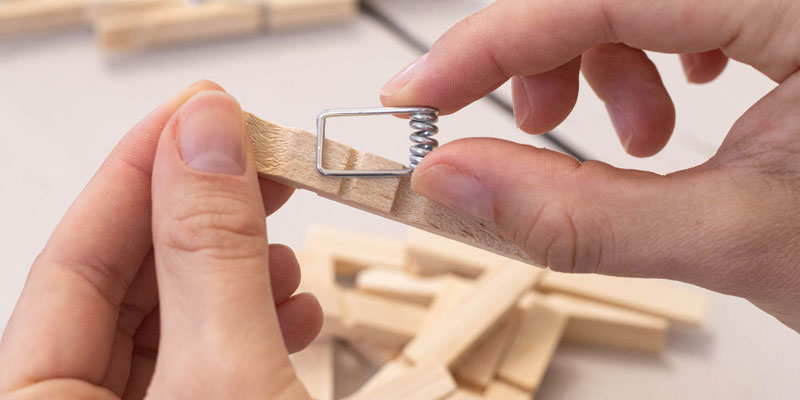
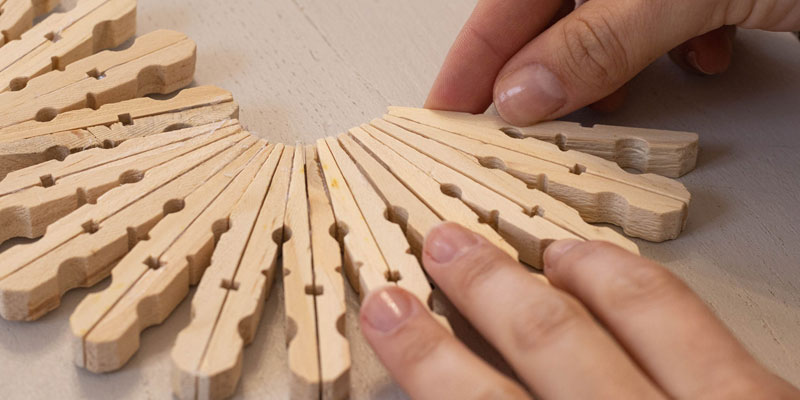
Step 2: Disassemble to clothes pegs
To start, disassemble the clothes pegs. For this tutorial, we will only need the wooden parts of the peg.
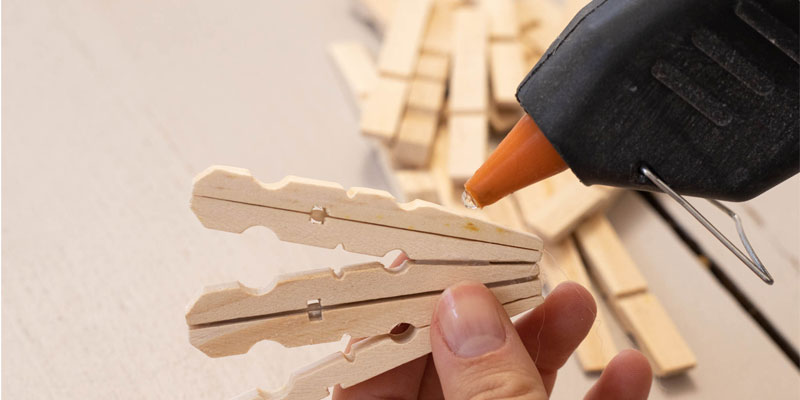
Step 3: Get sticking
Then, using your glue gun, which you have previously charged up with a glue stick, carefully apply some glue to one side of the peg (sometimes along the entire length of the peg, sometimes just on one section, depending on the curves of your pegs).
Stick the pegs together to form the arcs of a circle. You will need three different ones.
Step 4: Bring the arcs of the circle together
Then stick the arcs of the circle together, changing the direction each time, to end up with an original shape across the entire length.
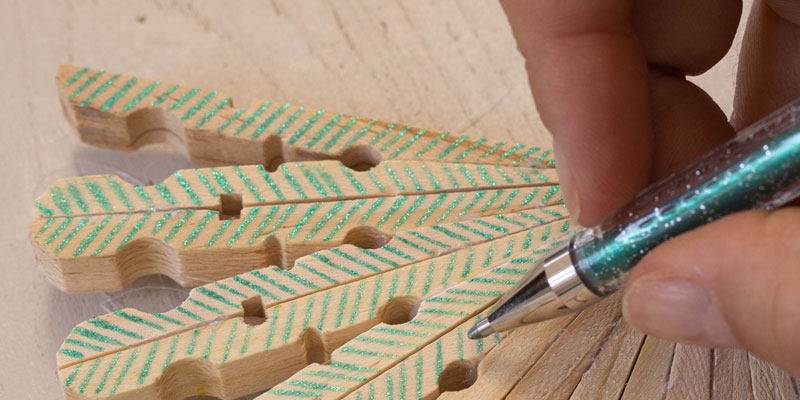
Step 5: Shading
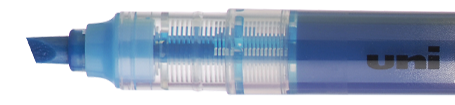
Using a glitter Signo roller, begin to shade the pegs which are now stuck together.
Our Signo roller is ideal for creative past-times, and is fit for many purposes and ideal for use on wood. As you will see for yourself, bright, shiny and sparkling colours are all represented!
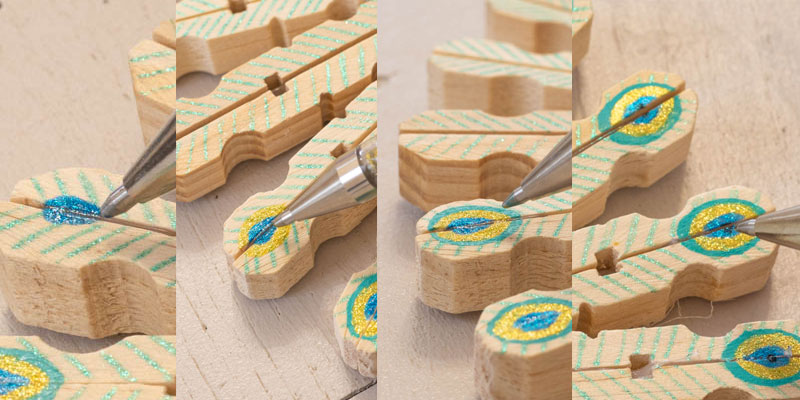
Step 6: Add some detail
Still using the Signo rollers (here we have used green, gold and glitter blue as well as pastel green and black), drawn the eyes on the feathers. Repeat this on all pegs, forming a perfect oval and alternating the colours: the inside in glitter blue, the middle circle in glitter gold and the outer circle in pastel green. Add a finishing touch of black to the inner circle in glitter blue to form the centre of the eye!
The SIGNO colours will draw over each other once dry.
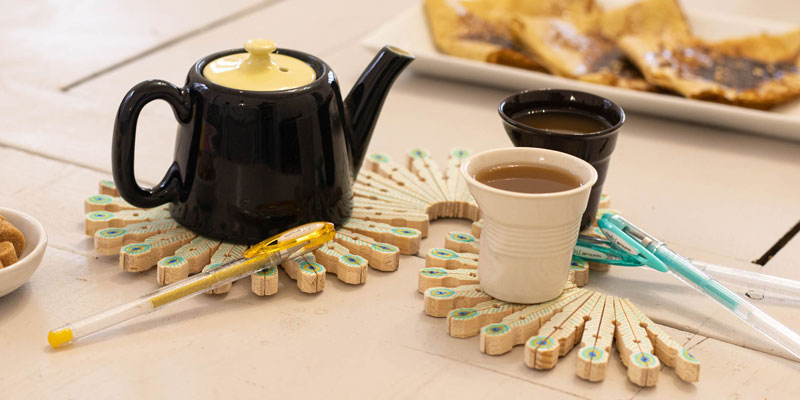
Step 7: The end result!
Now you have a wonderful personalised place mat! Perfect for dinner, or alternatively for your tea pot and cups. It will be sure to impress your guests at tea time!
Head over to Instagram and use the #uniballfrance hashtag or leave a comment on our Facebook page to share your wonderful creations!