


DIY: Customise your very own jewellery box for Mother's Day

Each year for Mother's Day, we all hunt out the perfect gift to show our love to mum. Today, we are delighted to give you an idea which will do just that: personalising a jewellery box using Signo creative rollerballs, which work perfectly on wood. A customised gift that your mother will admire each and every day! Sound good? Let’s get started!
For this tutorial, you will need the following:
- A wooden jewellery box (which you can find in decoration and creative hobbies shops)
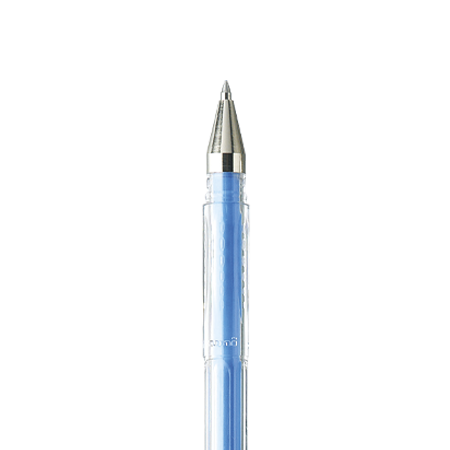
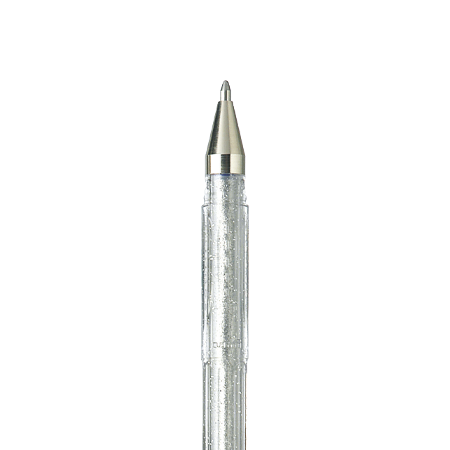
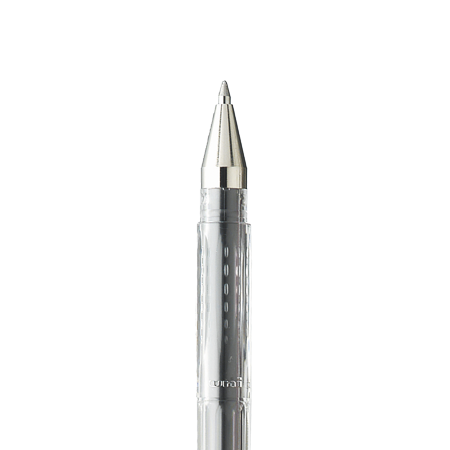
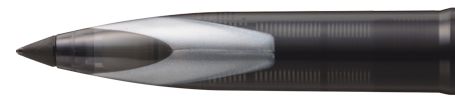
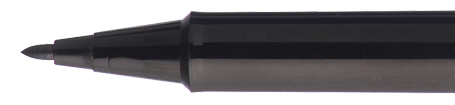
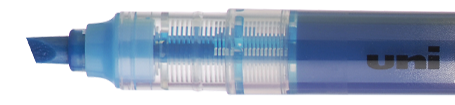
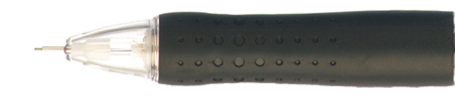
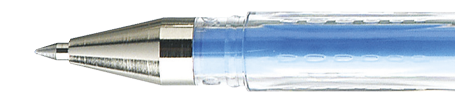
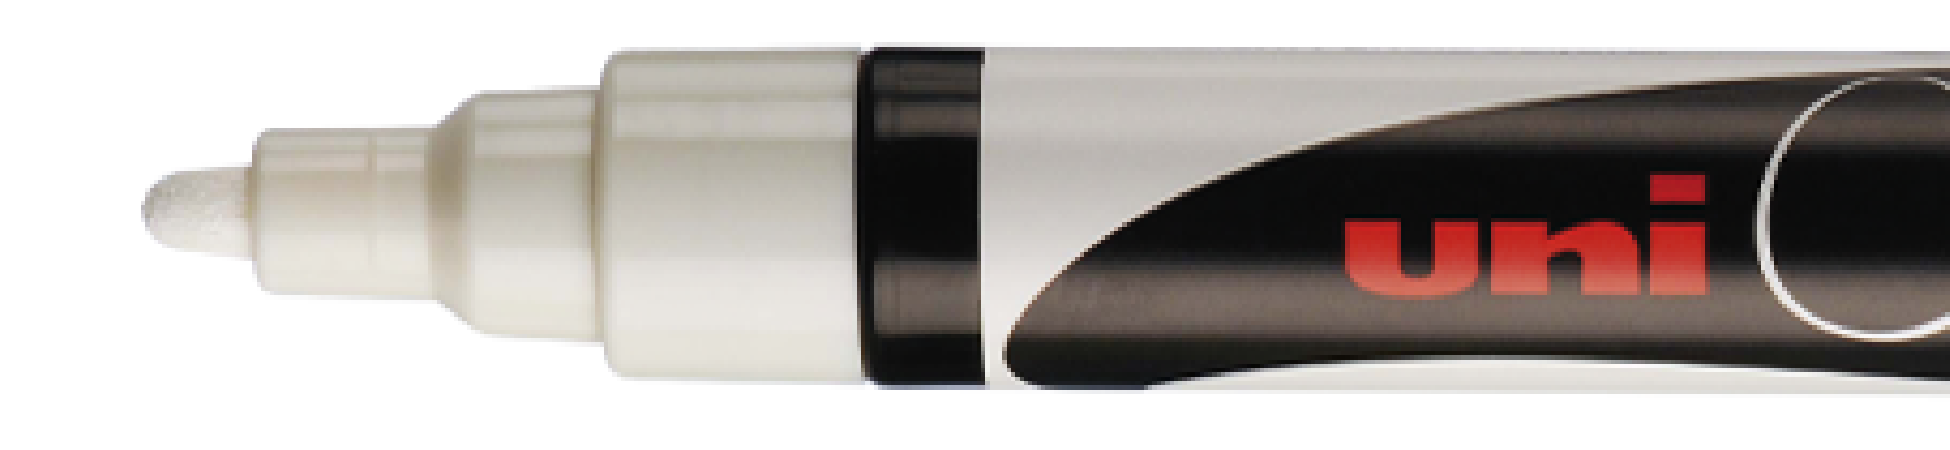
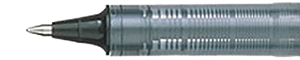
- Signo creative rollerballs (here we have used 0.7mm Black and White tips, 1mm Sparkling silver tips)
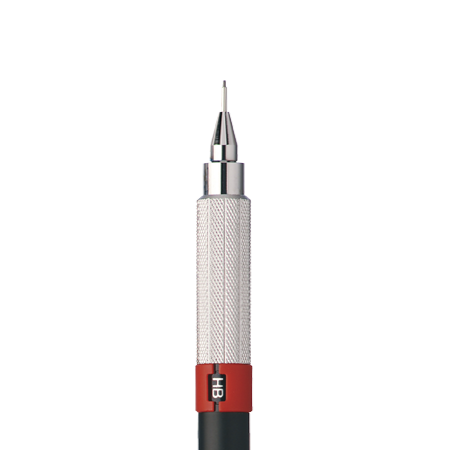
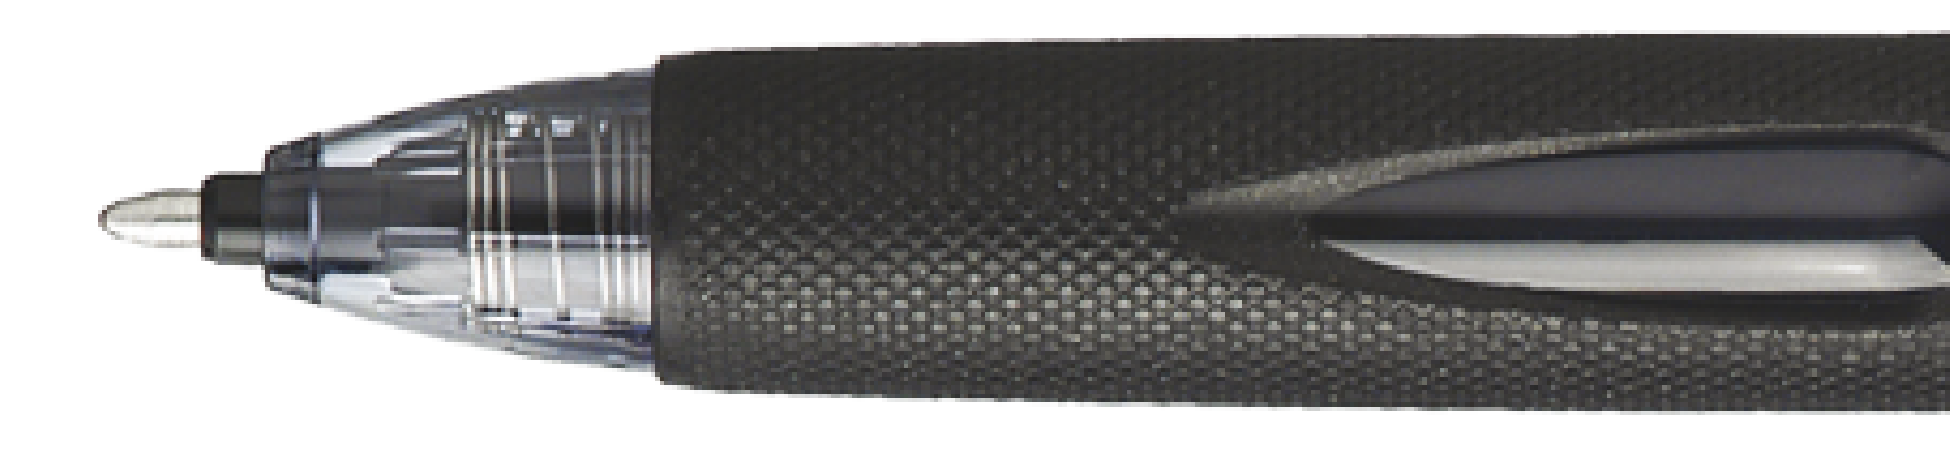
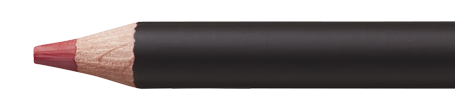
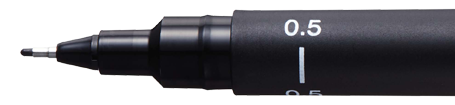
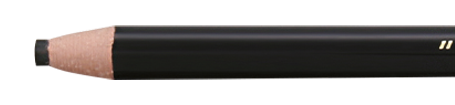
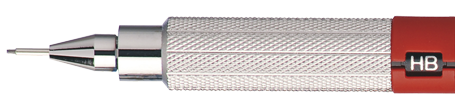
- A porte-mines premium mechanical pencil
- Your selected motif (our peony motif can be downloaded here)
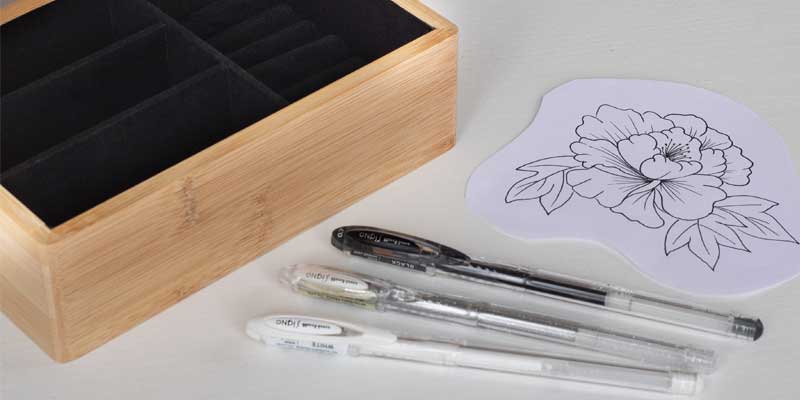
1st step: the materials
It's a safe bet that your mother loves jewellery. And well, very soon she will be able to store them in a personalised jewellery box made especially for her!
For this you will need your selected wooden box, a design template (feel free to download our template if your mother likes peonies!) and Signo creative rollerballs.
Thanks to their full, deep and bright colours, the result will be clear, striking and permanent! Yes, indeed, thanks to the pigments in their ink, the colours will continue to shine over time.
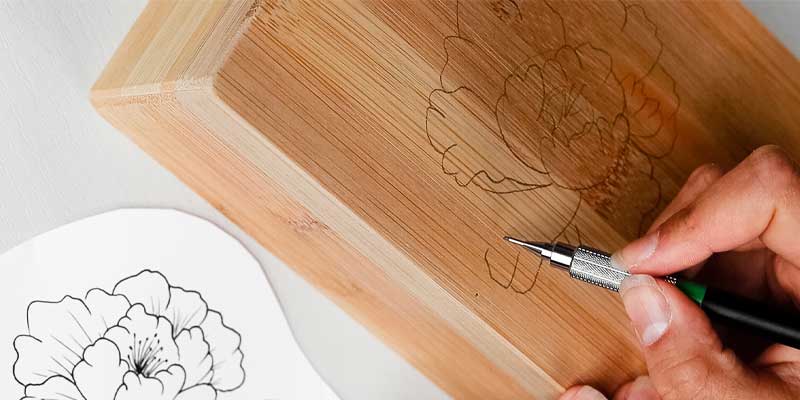
2nd step: A first draft
To avoid any mistakes or slips, we recommend you sketch an initial draft using a luxury mechanical pencil. This will then ensure your design is perfect.
Once you're happy with your design, you can then move on to the next step.
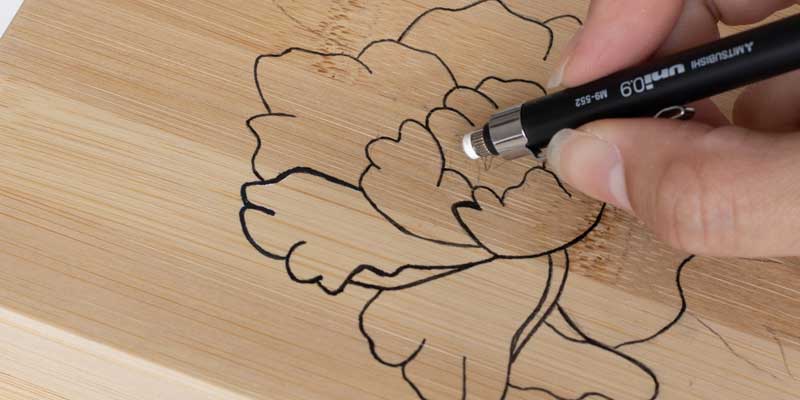
3rd step: A striking outline
Now take your Black Signo rollerball. Its perfect finesse for precision lines and fluid ink will allow you to trace over your initial draft with ease.
If necessary, you can intensity (thicken) some lines to make your outline even more striking.

4th step: Erase any unwanted lines
Once all of your lines are drawn using the black Signo rollerball and the ink has dried, you can erase any visible pencil lines so your design is as clear as possible. Fear not, Signo ink is quick-drying and will not fade under the luxury mechanical pencil built-in rubber.
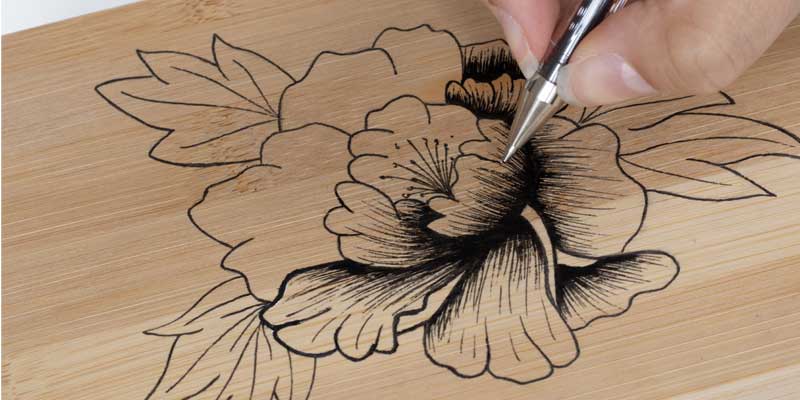
5th step: now get down to detail!
Still using the Black Signo rollerball, you can draw the stamen of your flower, and then add shading by colouring in the base of the petals and their upward lines.
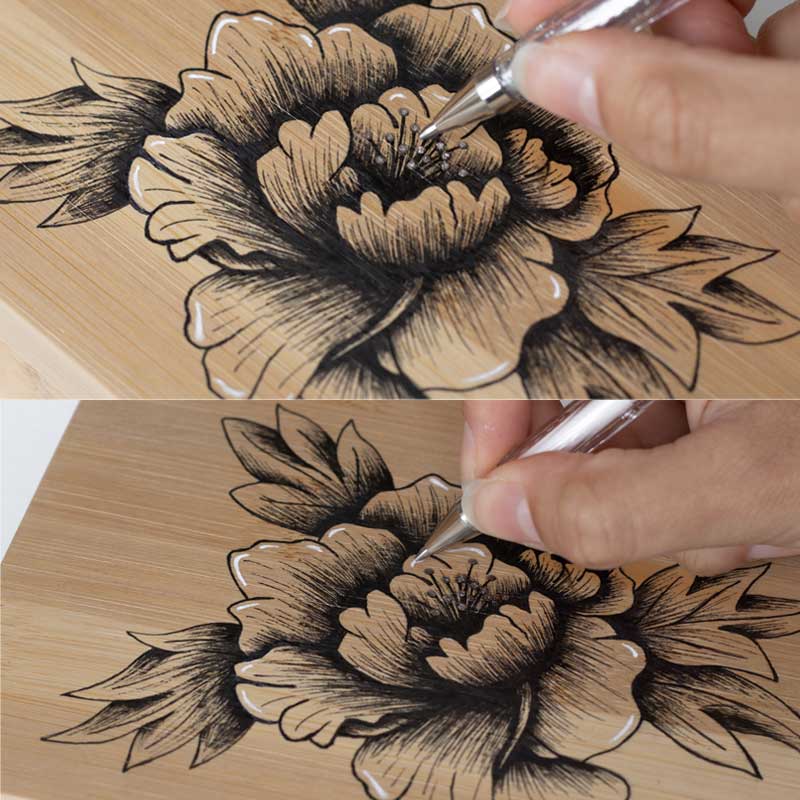
6th step: Add a little light
For an even more striking design, you can now use the White and Sparkling Silver Signo rollerballs to add a touch of light.
With a little silver on the stamen and white on the petal edges, your flower design will gain in emphasis and sparkle!
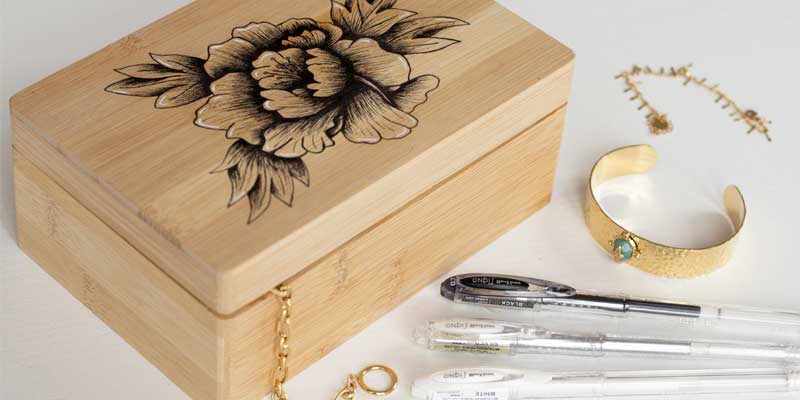
7th step: Your gift box is now ready!
All that remains is to wrap up your personalised jewellery box, and give it to mum on the big day!
We certainly hope she will appreciate all your loving effort.
Don't forget to share a photo of your finished article! You can tag us or use the #uniballfrance hashtag!