


Tutorial: customise a flag with Signo roller gel pens for a child’s bedroom

Feeling inspired by spring? Us too! Today you can bring lovely colours to a child’s bedroom with our new decorating tutorial. With us you can customise a flag using our Signo roller gel pens, the perfect creative tool for precision work, and not just on paper! They are equally as effective on fabric. Animals, flowers, patterns and colours, things that make you happy: that’s what we’ve got in store for you with this decorating DIY. Are you ready! Let’s go!
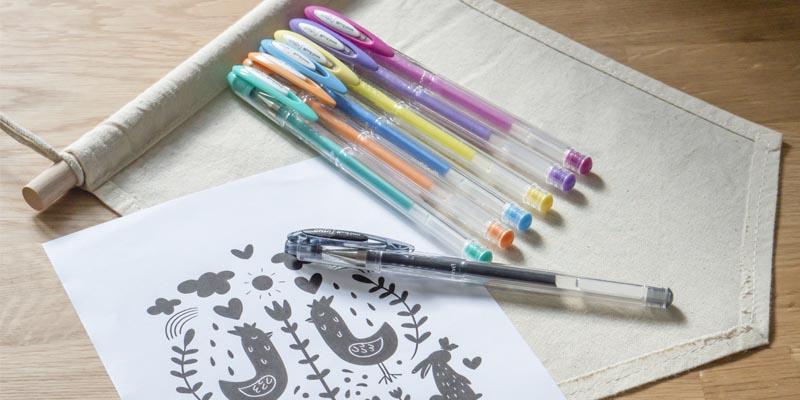
For this tutorial, you will need:
- A fabric flag (white or beige)
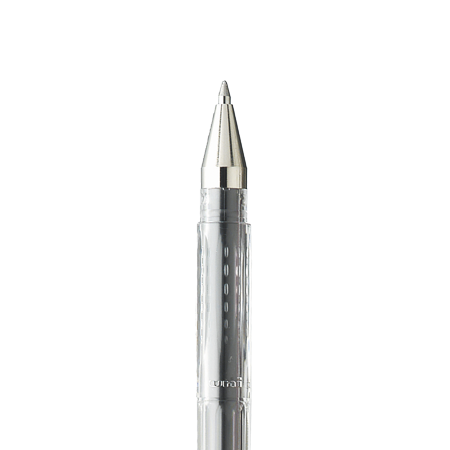
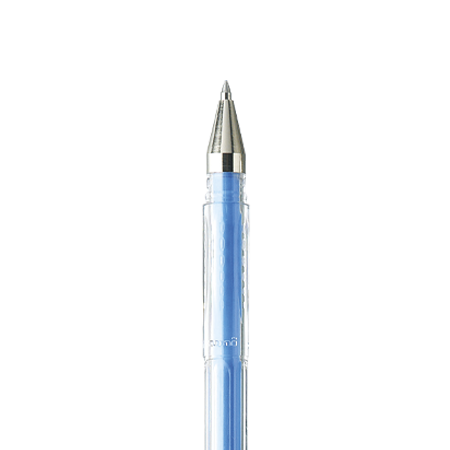
- Pastel Signo roller gel pens, we’ve opted for the following colours: blue, green, purple, pink, yellow and orange
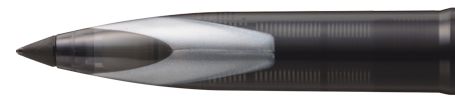
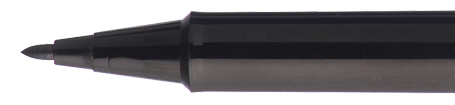
- A black Signo roller gel pen for the finishing touches
- If you want, you can also download our template.
Tutorial level: Beginner / Advanced / Expert
1st step: The materials.
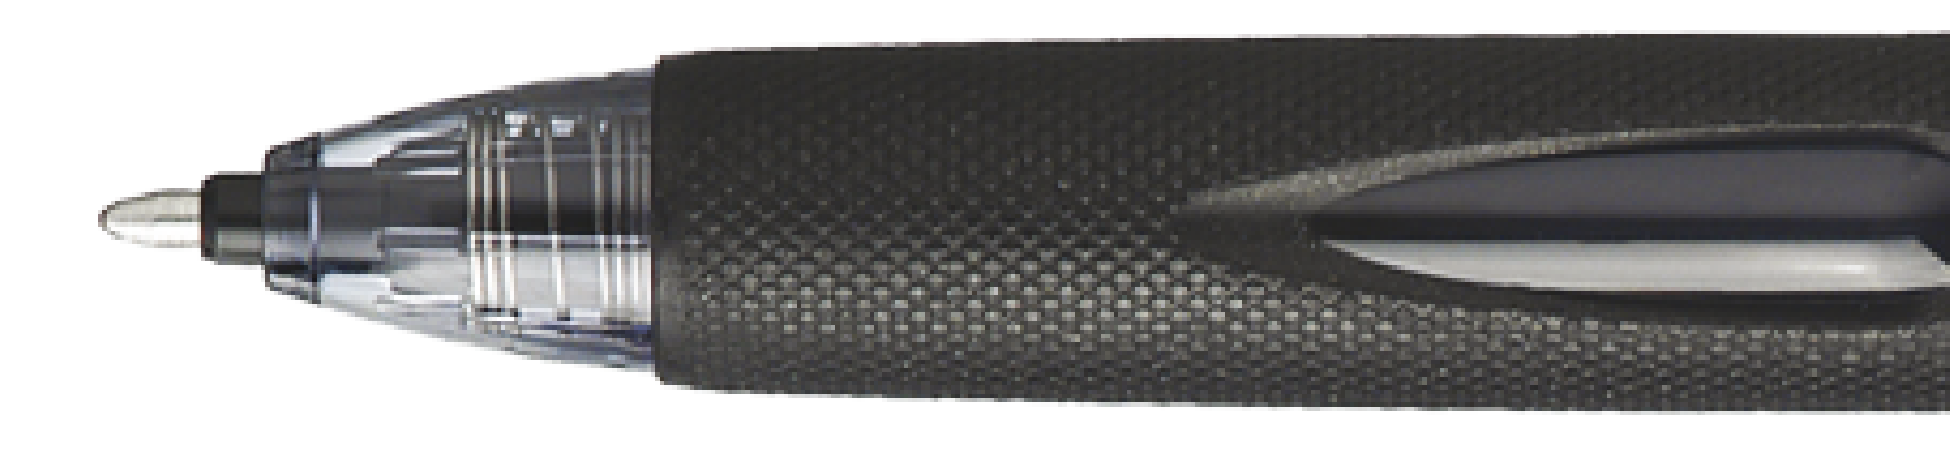
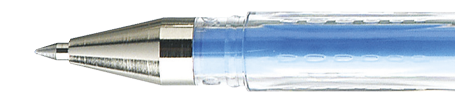
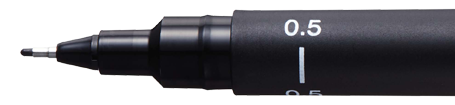
If you’ve never tested the Signo roller gel pens on fabric, here’s your opportunity to try it! A 0.7 mm tip for the precise and fine lines, pastel colours for the shades which are both soft and light at the same time.
For the flag, you can easily find them in arts and crafts stores, they’re affordable and ready to be customised by you.
Finally, if you want, you can print out patterns to guide you in your creation or reuse the ones we’ve chosen.
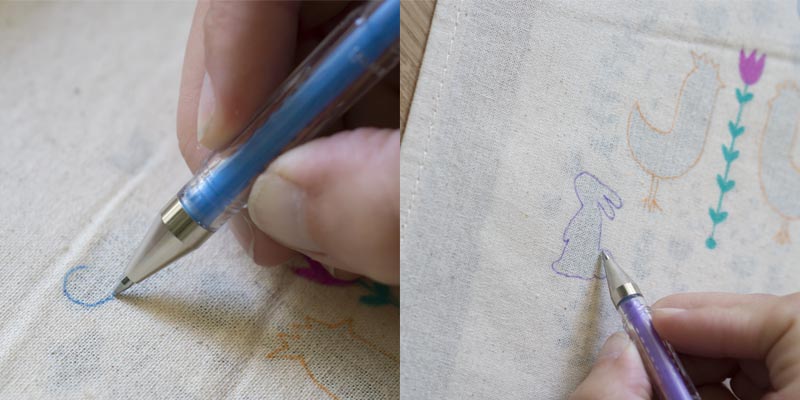
2nd step: Tracing the outline
If you’ve chosen to reuse our template (available here), or one you’ve selected on your own, place it on your flag in order to trace the outline of the different patterns.
For a nice colourful and harmonious result, we advise you to vary the colours and work in a symmetrical way.
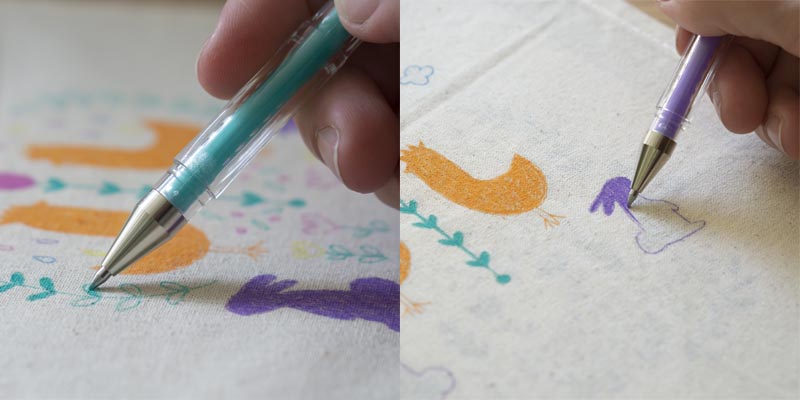
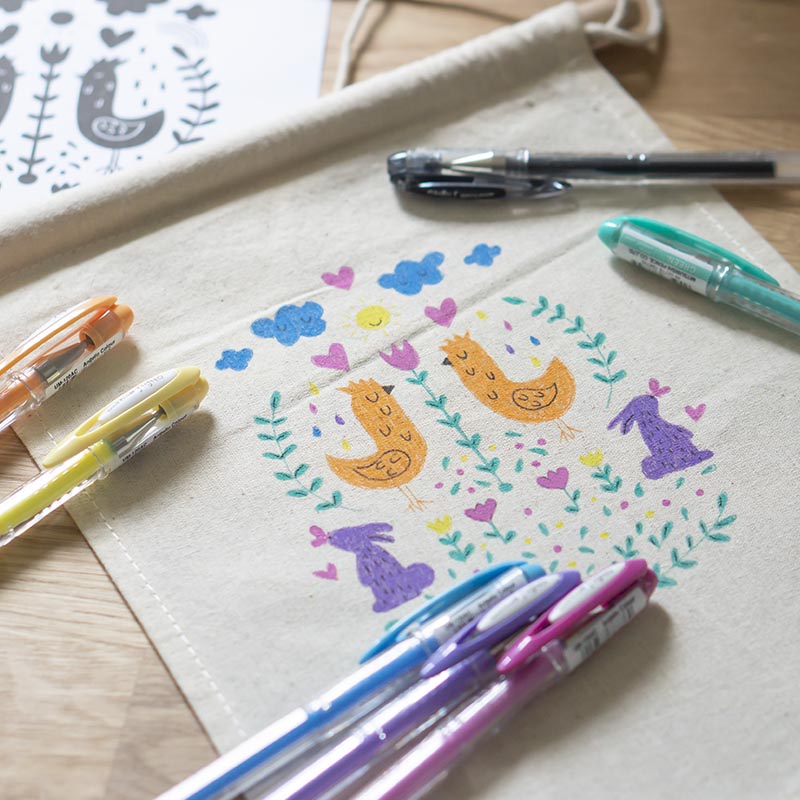
3rd step: Filling in
Then it’s time for filling in, an incredibly satisfying step! So easy: colour each pattern the same colour as its outline.
The moment for enjoying the coverage of the Signo roller gel pens’ multi-surface gel ink has arrived!
4th step: The finishing touches
Of course, the customisation isn't complete without a few details to provide contrast. With the help of a black Signo pen, draw some finishing touches on your patterns. For example, here, we’ve outlined the feathers and details of the animals’ fur, the beak, the eyes... Anything that brings the image to life.
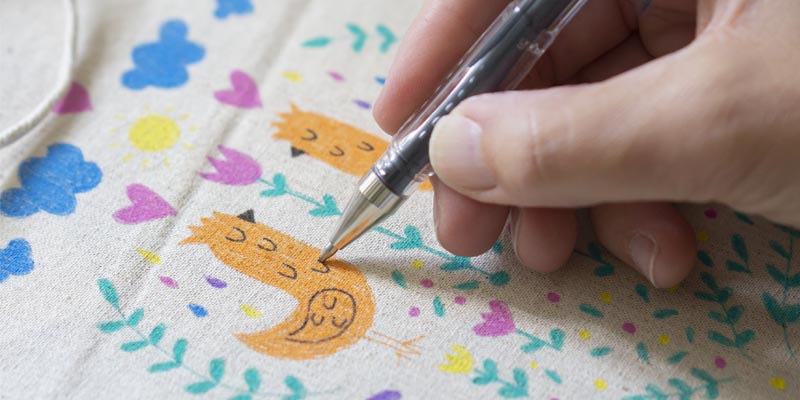
Let your imagination run wild!
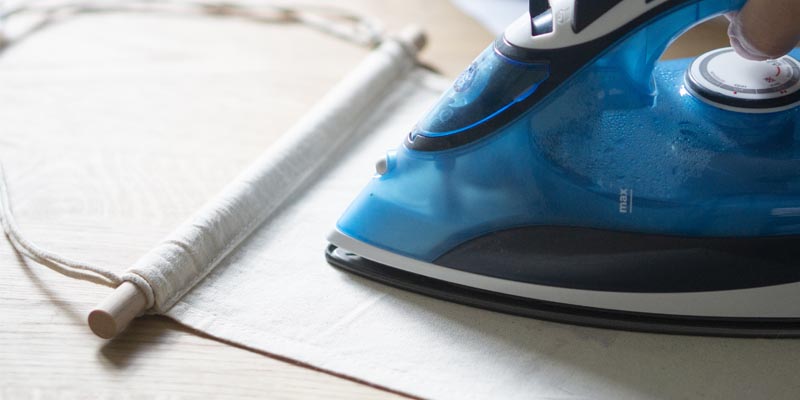
5th step: Setting the colours
Finally, before showing off your hand-made creation, don't forget to set the colours by ironing your creation inside-out without steam.
6th step: A colourful result to admire!
Your personalised flag is done, do you like it? In any case, we hope the kids who will display it in their bedrooms or playrooms will be happy with it.
If you recreate this tutorial, you can share your photos on Instagram with the hashtag #uniballfrance and by tagging @uniball_fr in your post. We'd love to see your creations and share them in our stories!