


Make your own chalkboard coat-peg using our Chalk markers

Back to school means new school supplies, new class, etc. And why not a brand-new coat-peg to avoid leaving your things lying around on the floor? We’ve thought of everything!
Follow our guide as we teach you how to make your very own chalkboard coat-peg using our Chalk markers, a DIY essential.
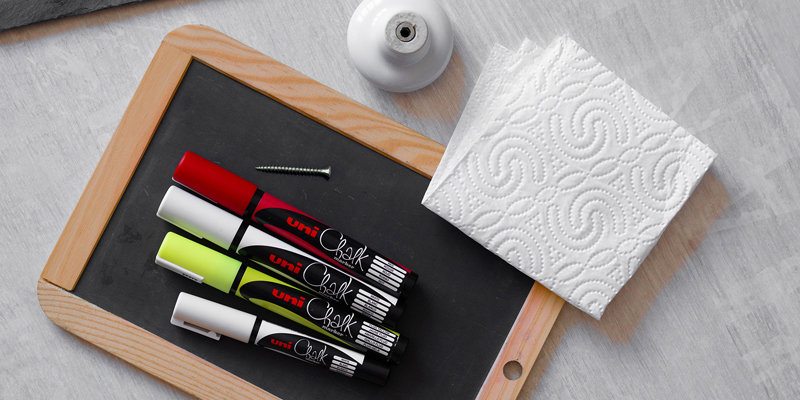
For this tutorial you will need:
- A (natural) chalkboard
Chalk markers can be erased from non-porous surfaces, if the surface is porous, they are not erasable
- A peg
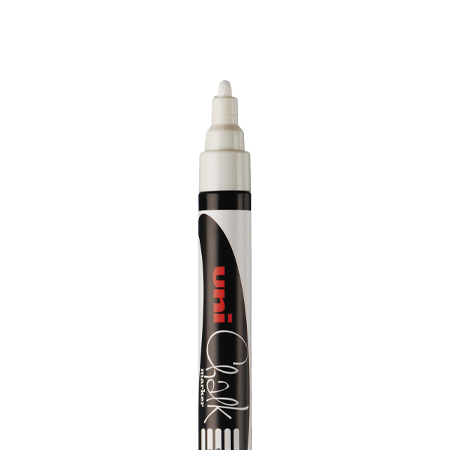
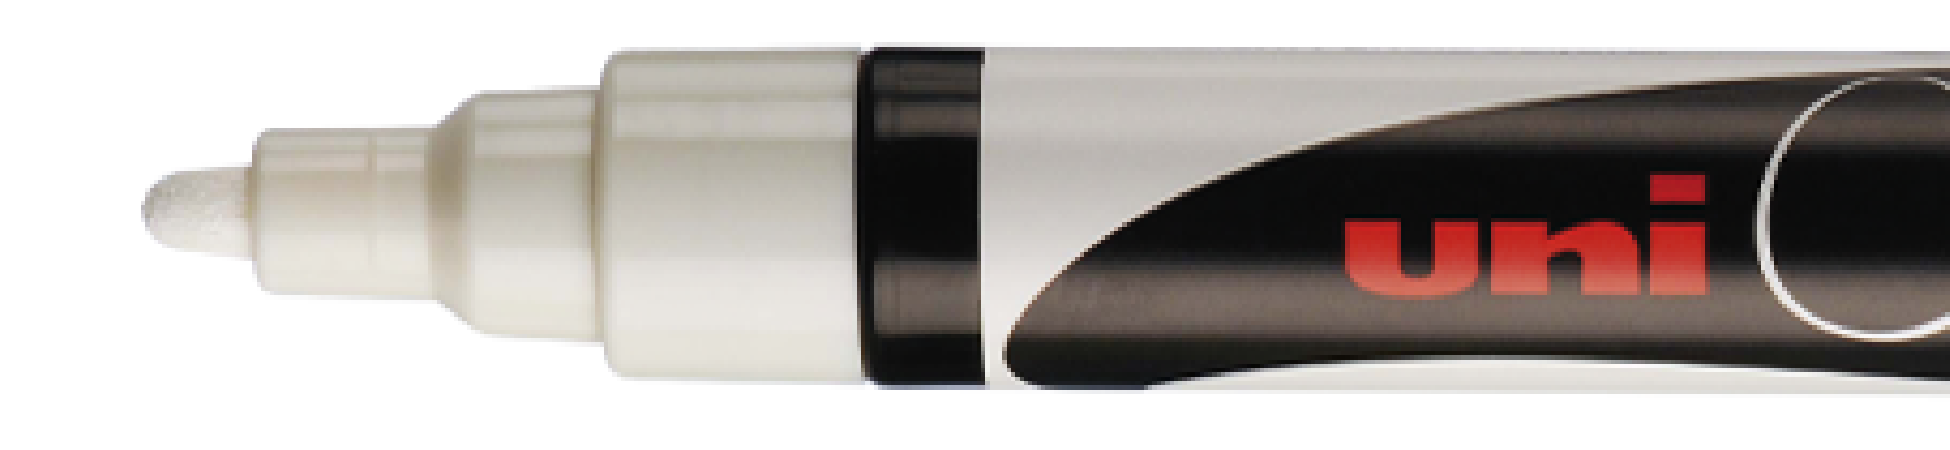
- Chalk markers (medium tip, 1.8-2.5mm) in any colour of your choice
- A cloth or damp sponge
Step 1: What you need
This back-to-school DIY exercise only requires a few items. The Chalk markers will allow you to customise your design to your heart’s content. The ink can be easily erased as long as they are used on a non-porous surface.
You will, therefore, also need a (natural) chalk board, which you will attach together, and a cloth or damp sponge to make any corrections.
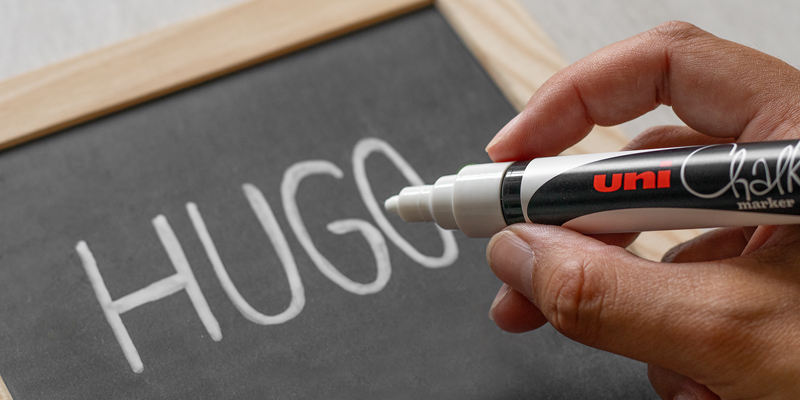
Step 2: Write your child’s name
Using the colour of your choice (we have gone for the timeless white), first write your child’s name on the chalk board. Using capitals makes it easier to read at a glance.
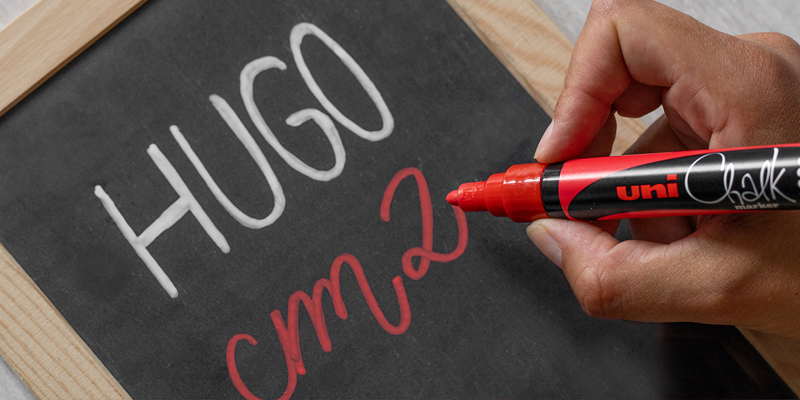
Step 3: The class
Then using a different colour (here we have opted for red), write down the class name for the new school year!
Just as with white, all 16 colours included in the range guarantee an authentic chalk marking, but without the dust.
Made a mistake or not happy with your design? Simply use a cloth or damp sponge to erase it and start over. Very practical!
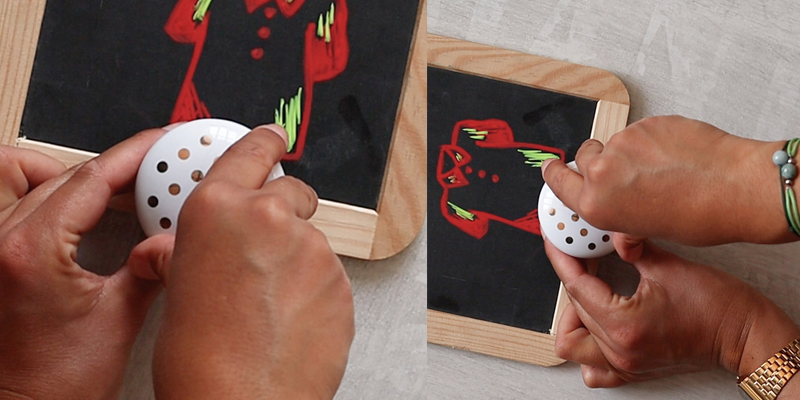
Step 4: A back-to-school drawing
To brighten up your new creation, how about letting your imagination run free and designing something next to your name and class.
Perhaps an item of clothing to show the purpose of the creation, or even a picture of your hobby or favourite subject.
You can also add your own decoration, with a neat surround or by underlining your writing for instance.

Step 5: Hang it up and you’re good to go
With the help of an adult, using super glue or a screw, attach the peg to one side of the chalk board. You can then hang up your things with pride.
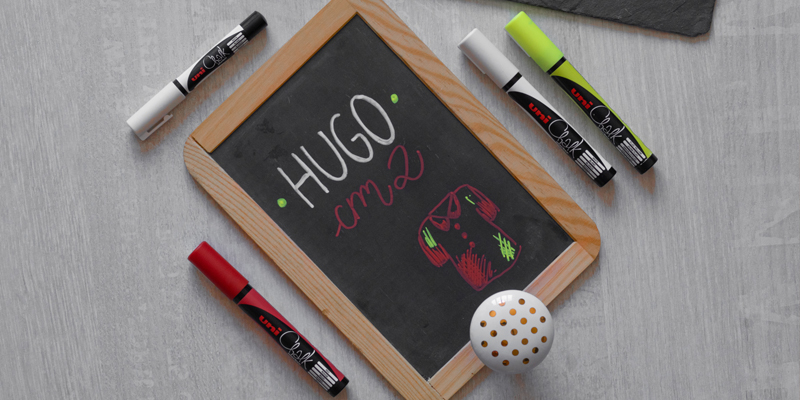
Step 6: The final result
Your brand-new coat-peg can now be hung on the wall and is ready to be used!
Don’t forget to share your creation with us on Facebook or Instagram.
And, of course, we wish you the very best at school this year!