


Make your very own fan decorated with SIGNO rollers

To help stay cool this summer, here is a fun and creative DIY tutorial to make your very own cardboard fan! Personalise your fan design to make it unique and colourful, and bring an original splash to your daily life. This accessory will soon become your most useful tool for the hot summer days! Ready to follow our tutorial? Then let’s go!
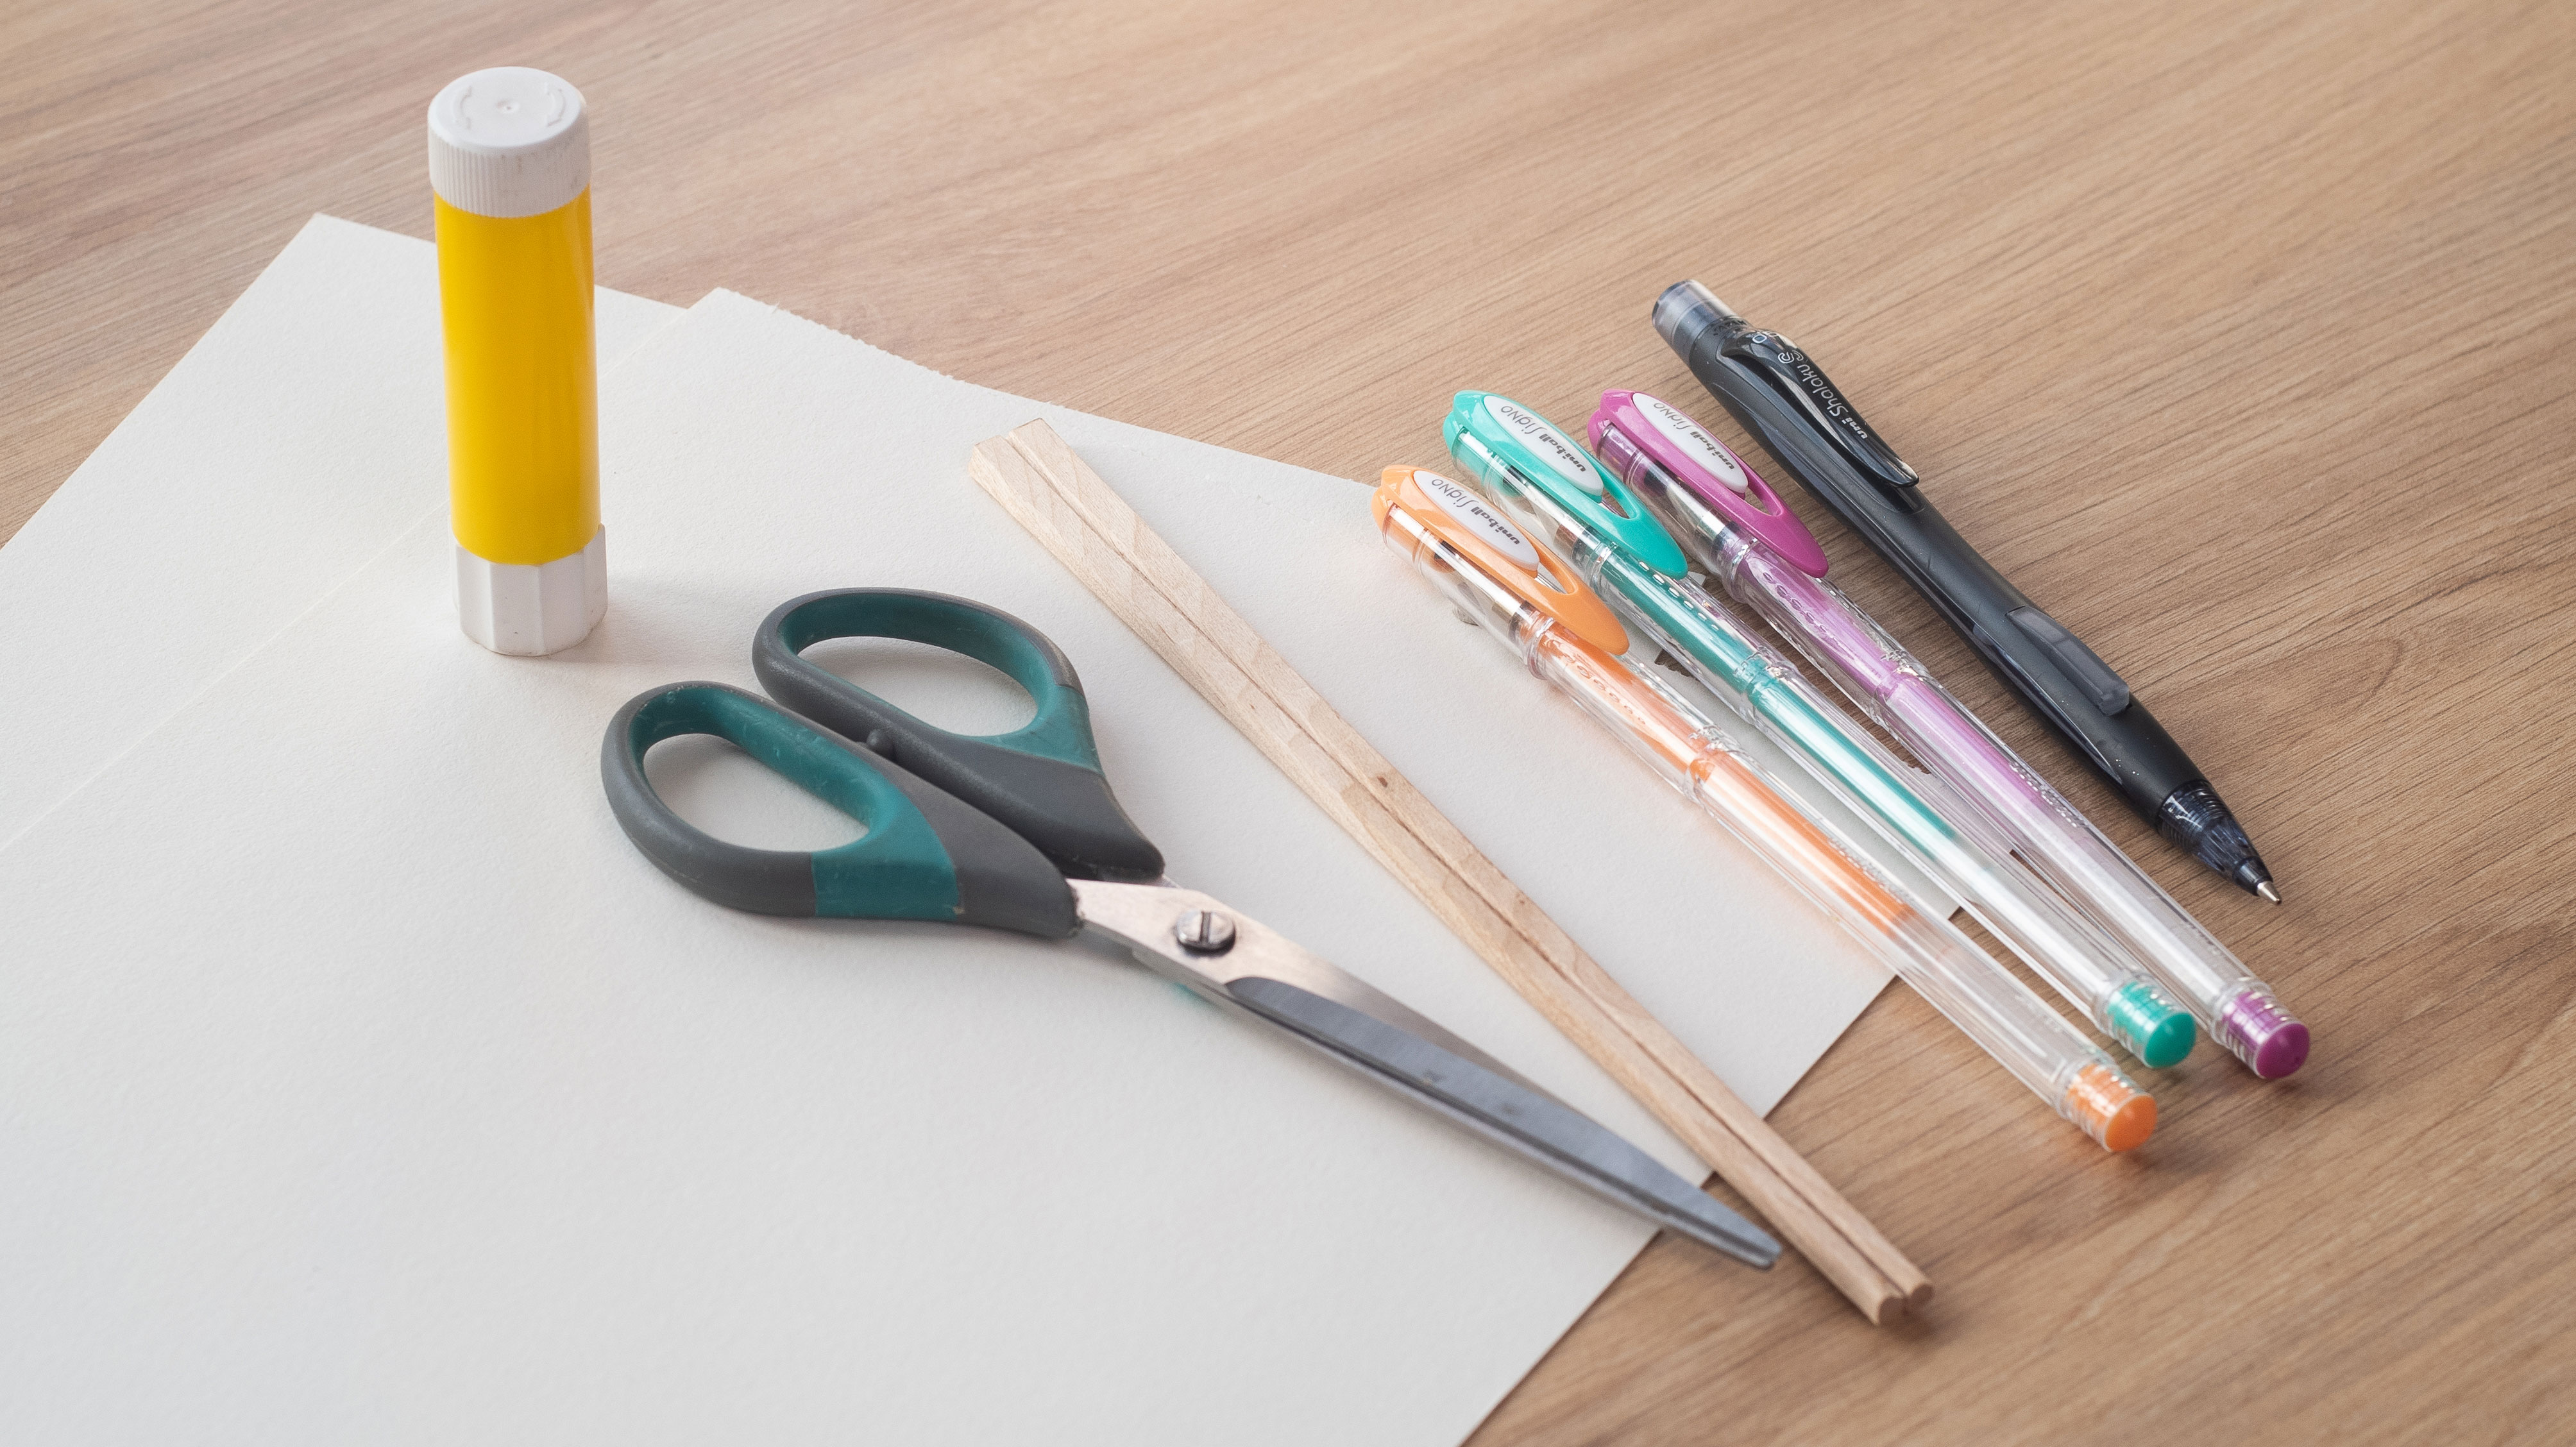
For this tutorial, you will need:
• Sheets of cardboard
• Wooden sticks
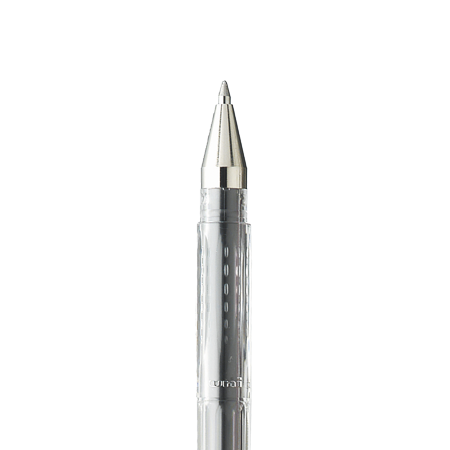
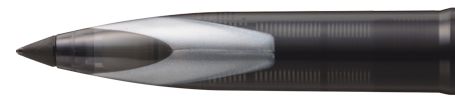
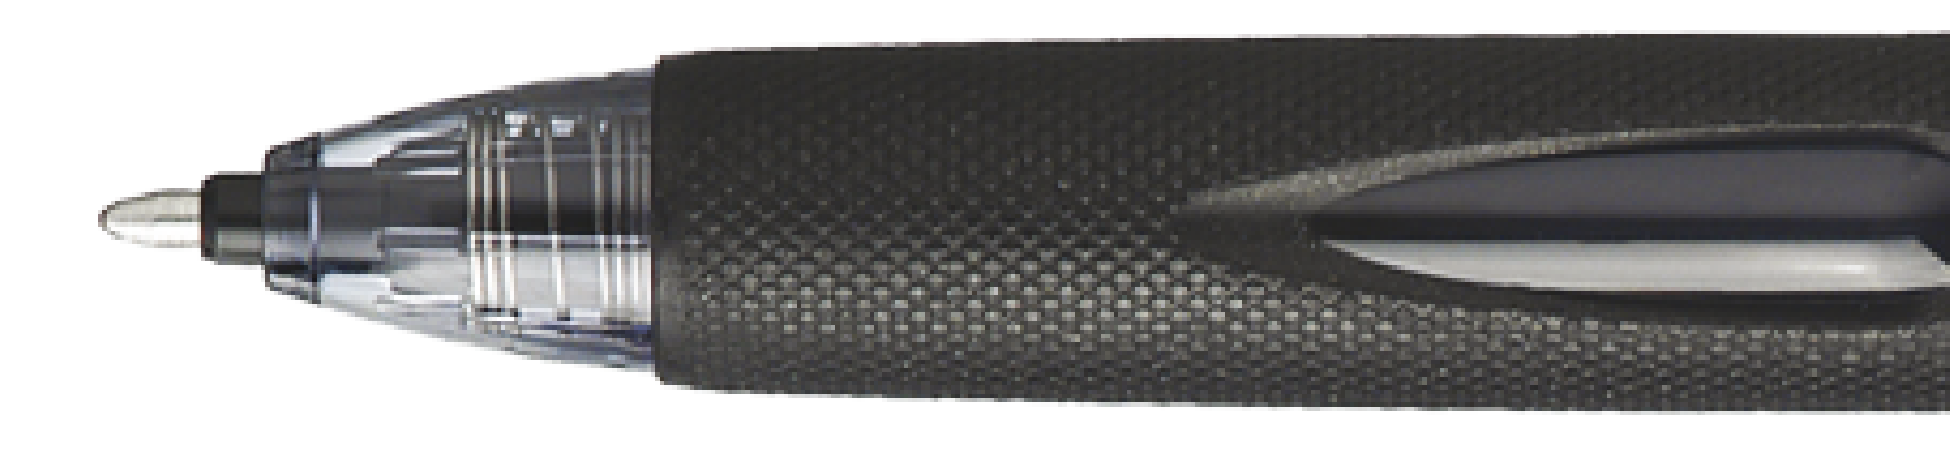
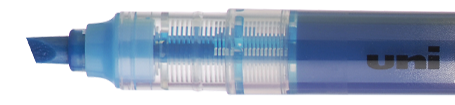
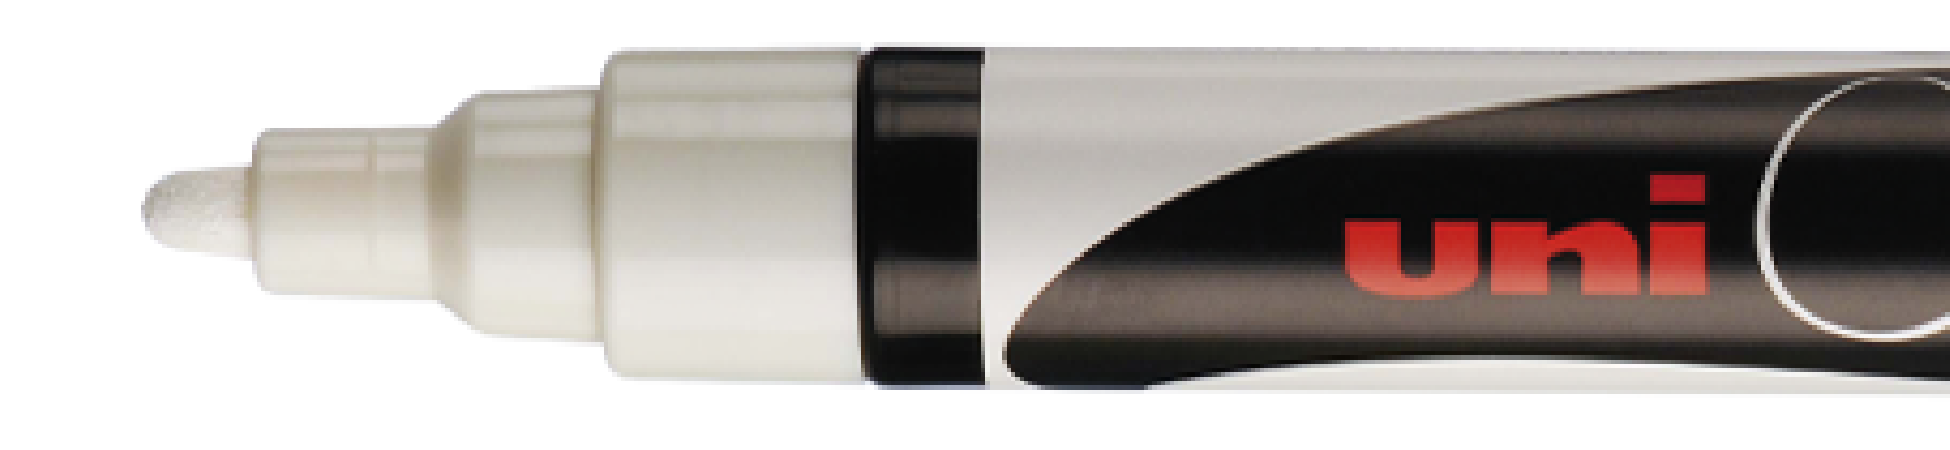
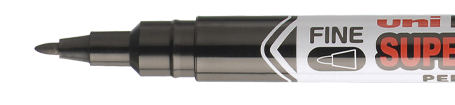
• SIGNO rollers
• A glue stick
• A pair of scissors
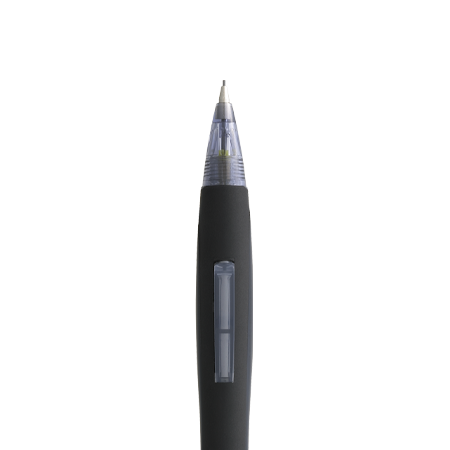
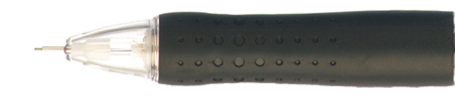
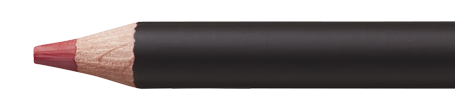
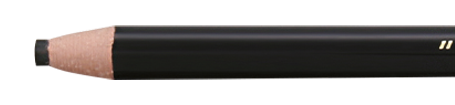
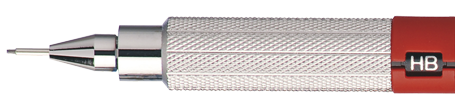
• A Shalaku S premium pencil
Step 1: What you need
To being, take your sheets or cardboard and sticks. These will be used as a handle to hold your fan.
Then take a pair of scissors and glue.
To bring your creation to life, opt for the Signo rollers in a wide range of colours. Here we have gone for the pastel range.
Don’t forget to keep the Shalaku S premium pencil to hand (with its inbuilt eraser) to draw your lines with precision.
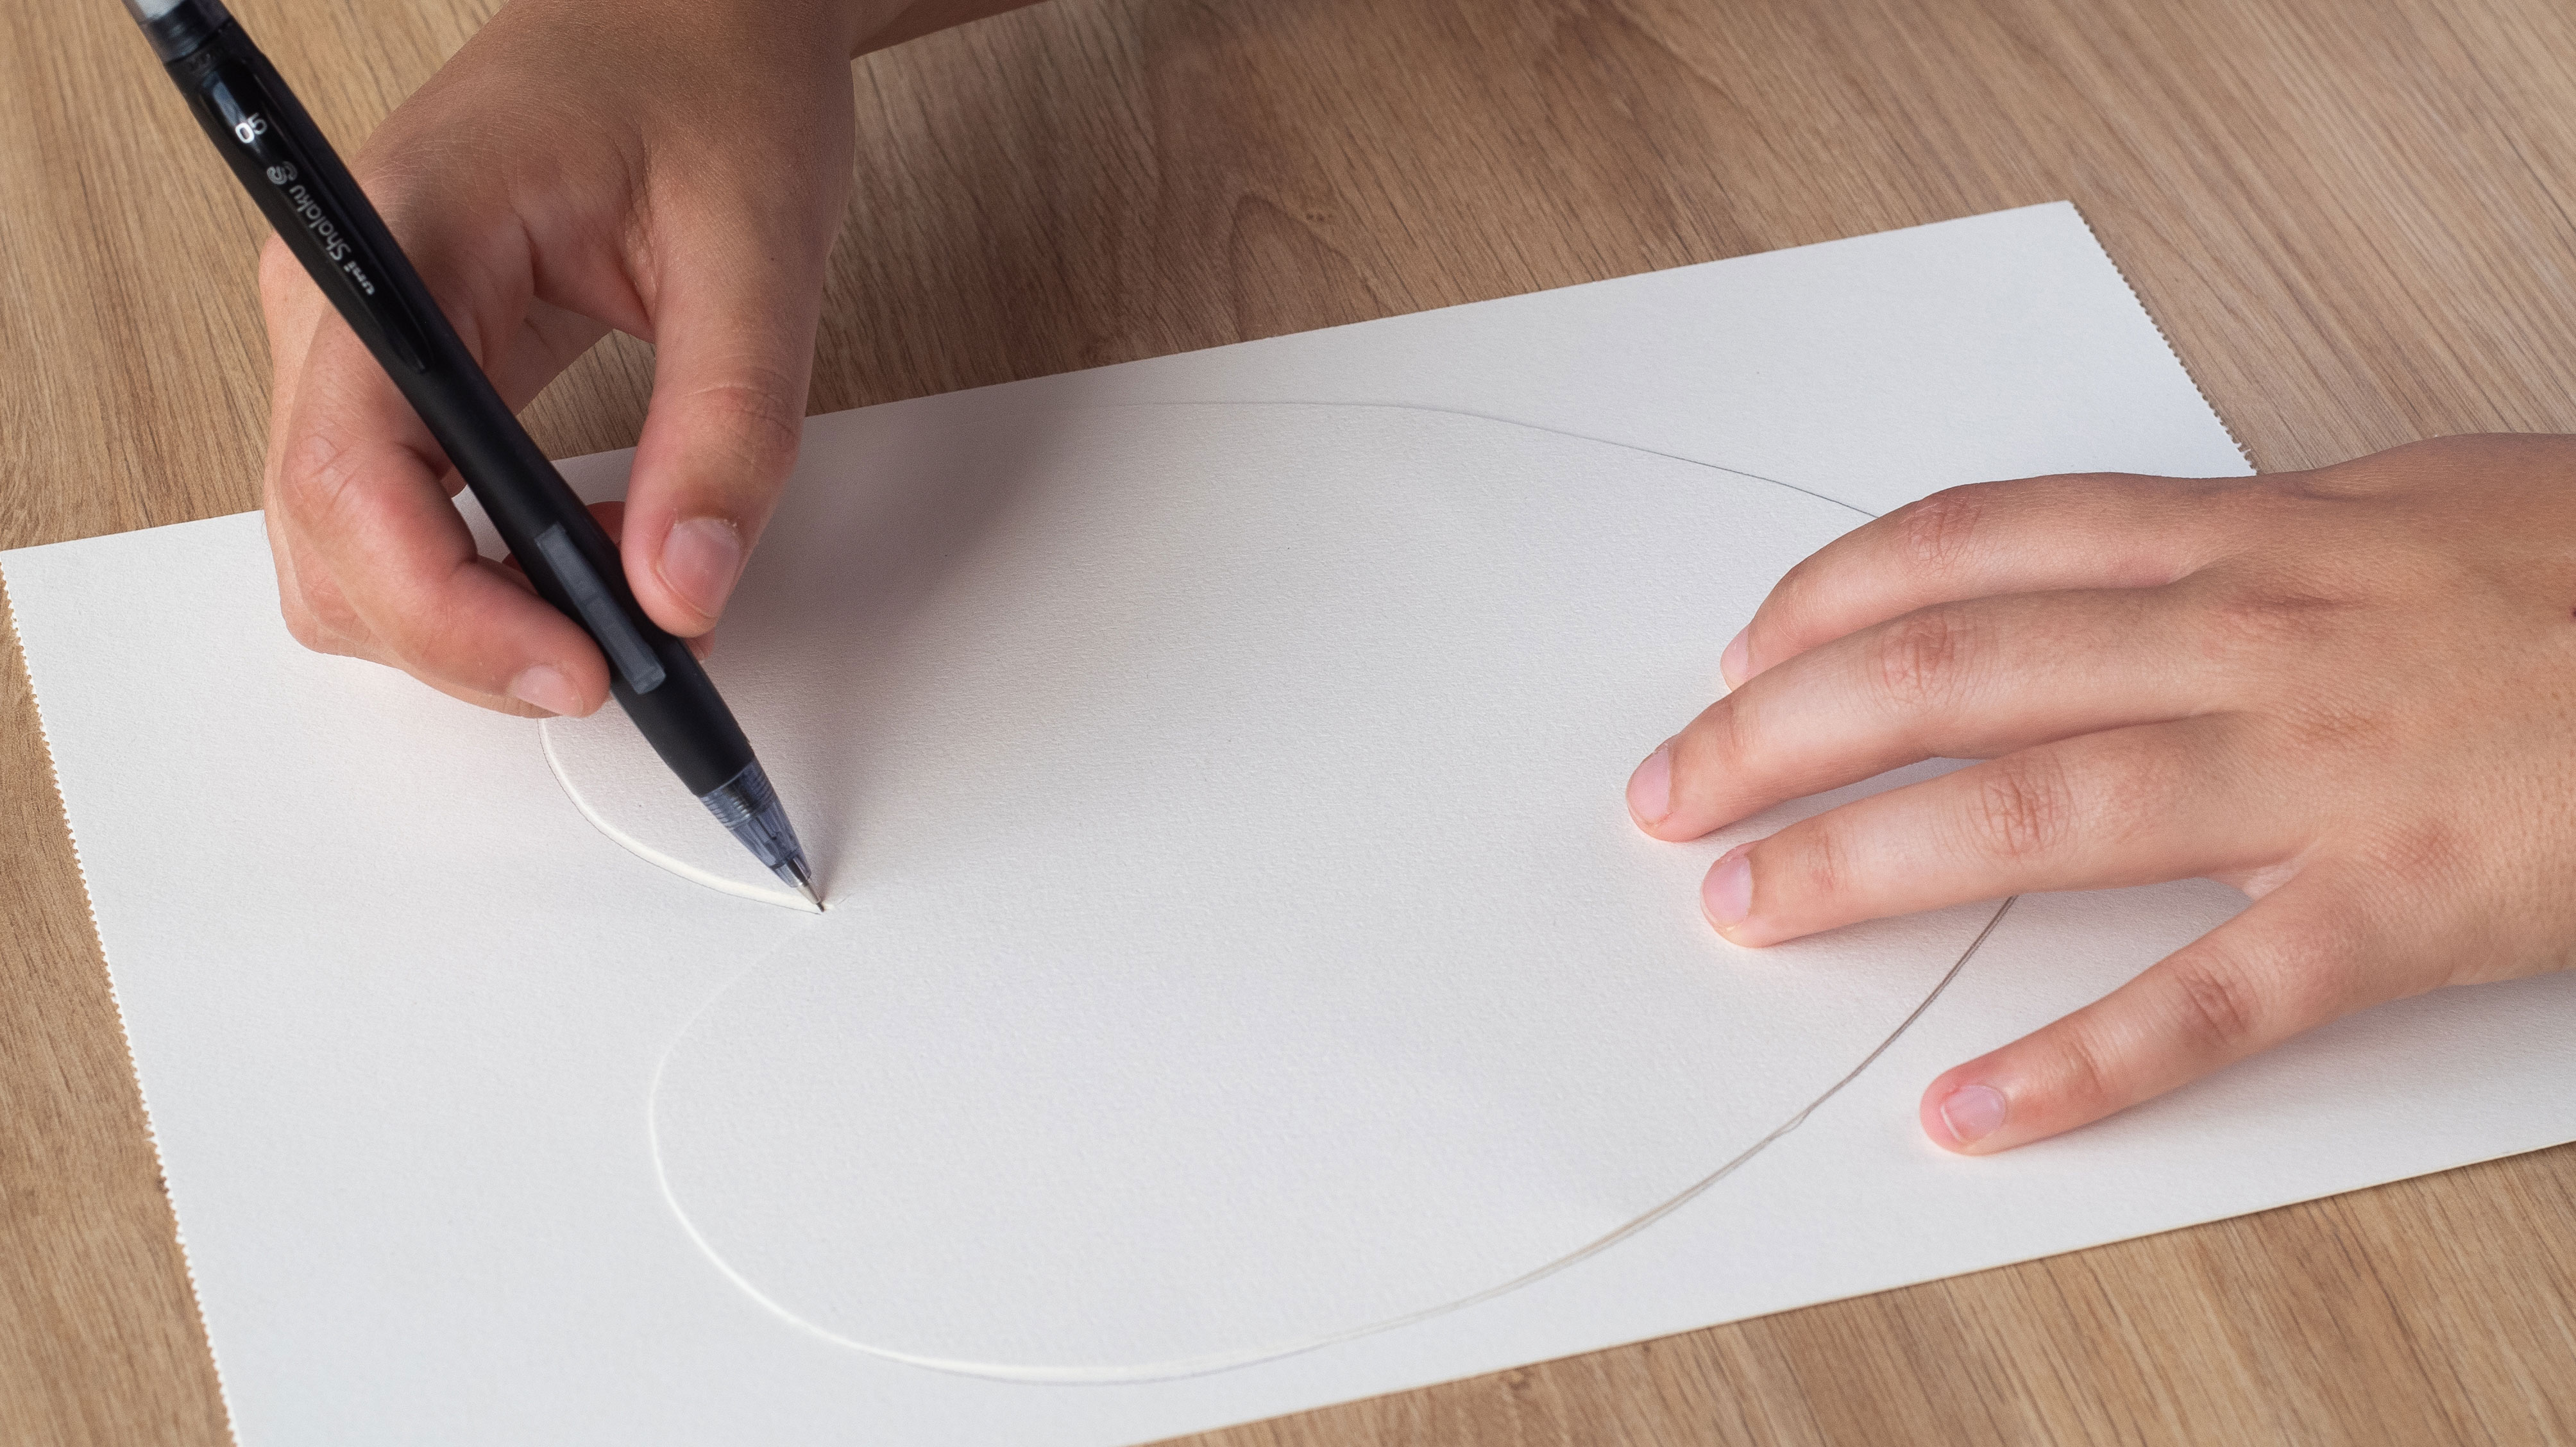
Step 2: Trace your lines
Using your Shalaku S premium pencil, begin by tracing the outline for your fan directly on a sheet of cardboard. As we have done, you can opt for a heart shape, or any other shape – for instance a circle. 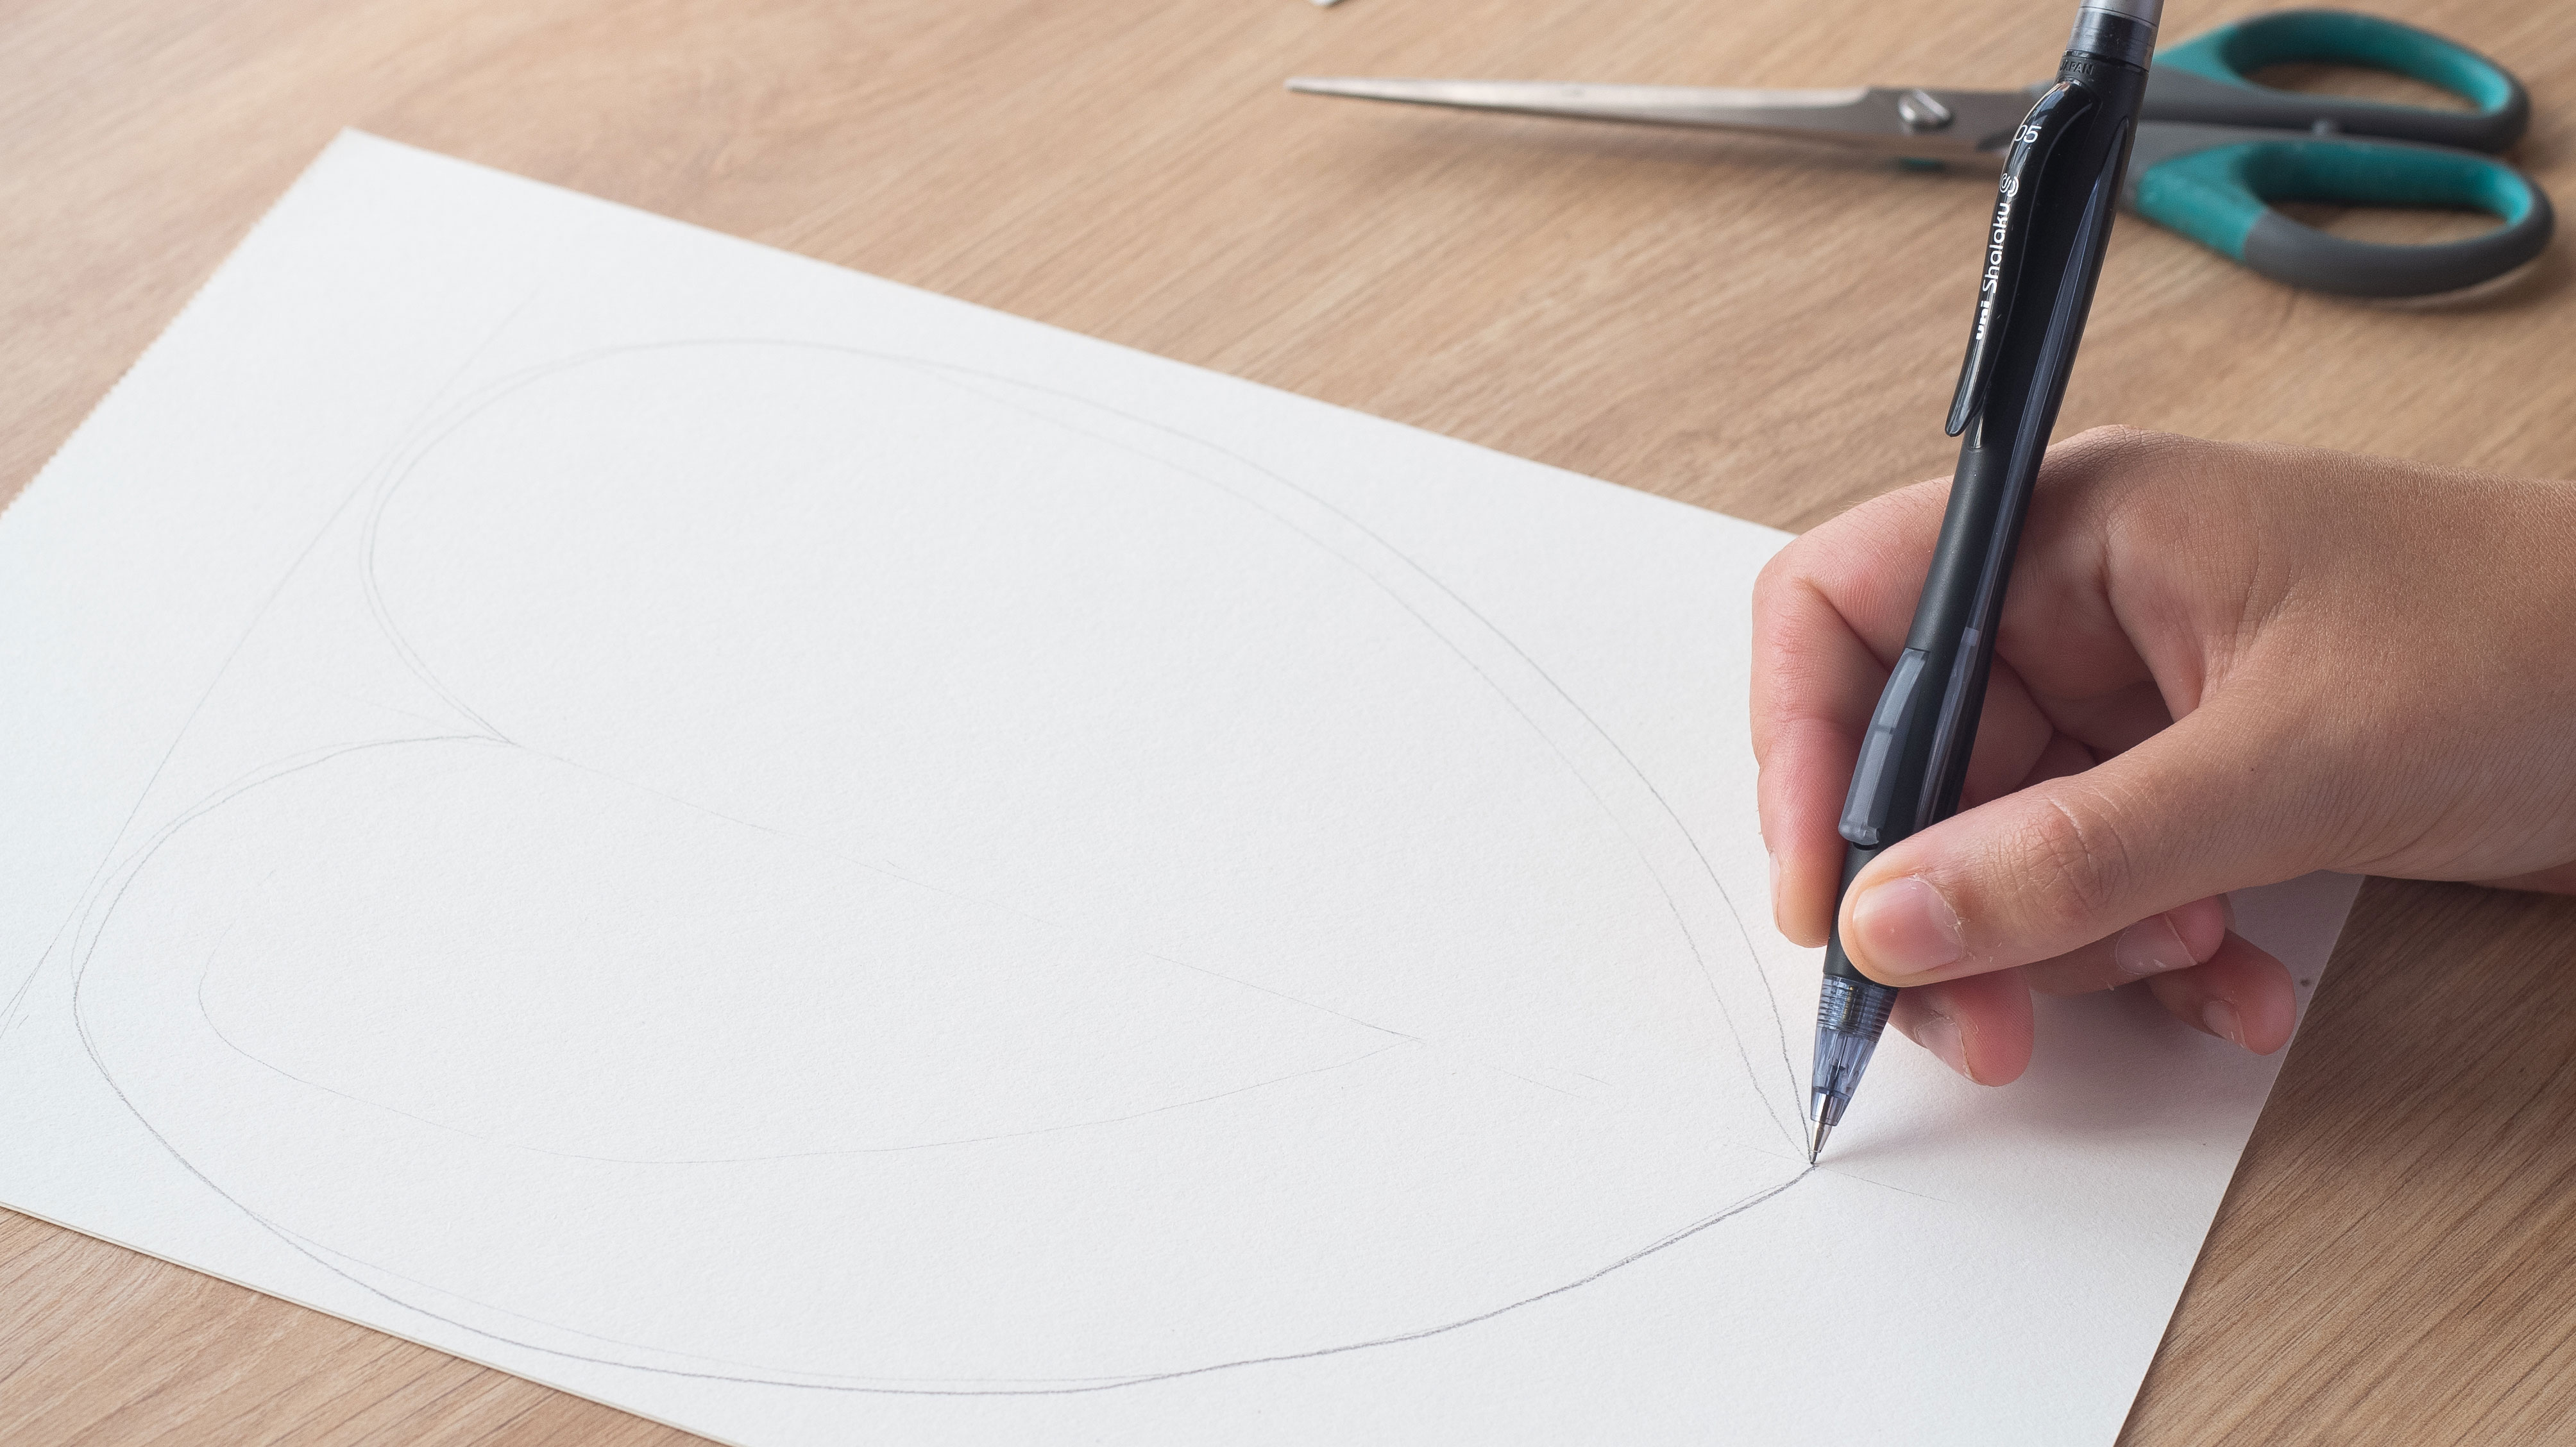
Step 3: Create the other side
Use the scissors to cut out the first side of the fan and them place this over top of a second sheet of cardboard as a master template.
Trace the outline to have a second symmetrical side and then cut this out. 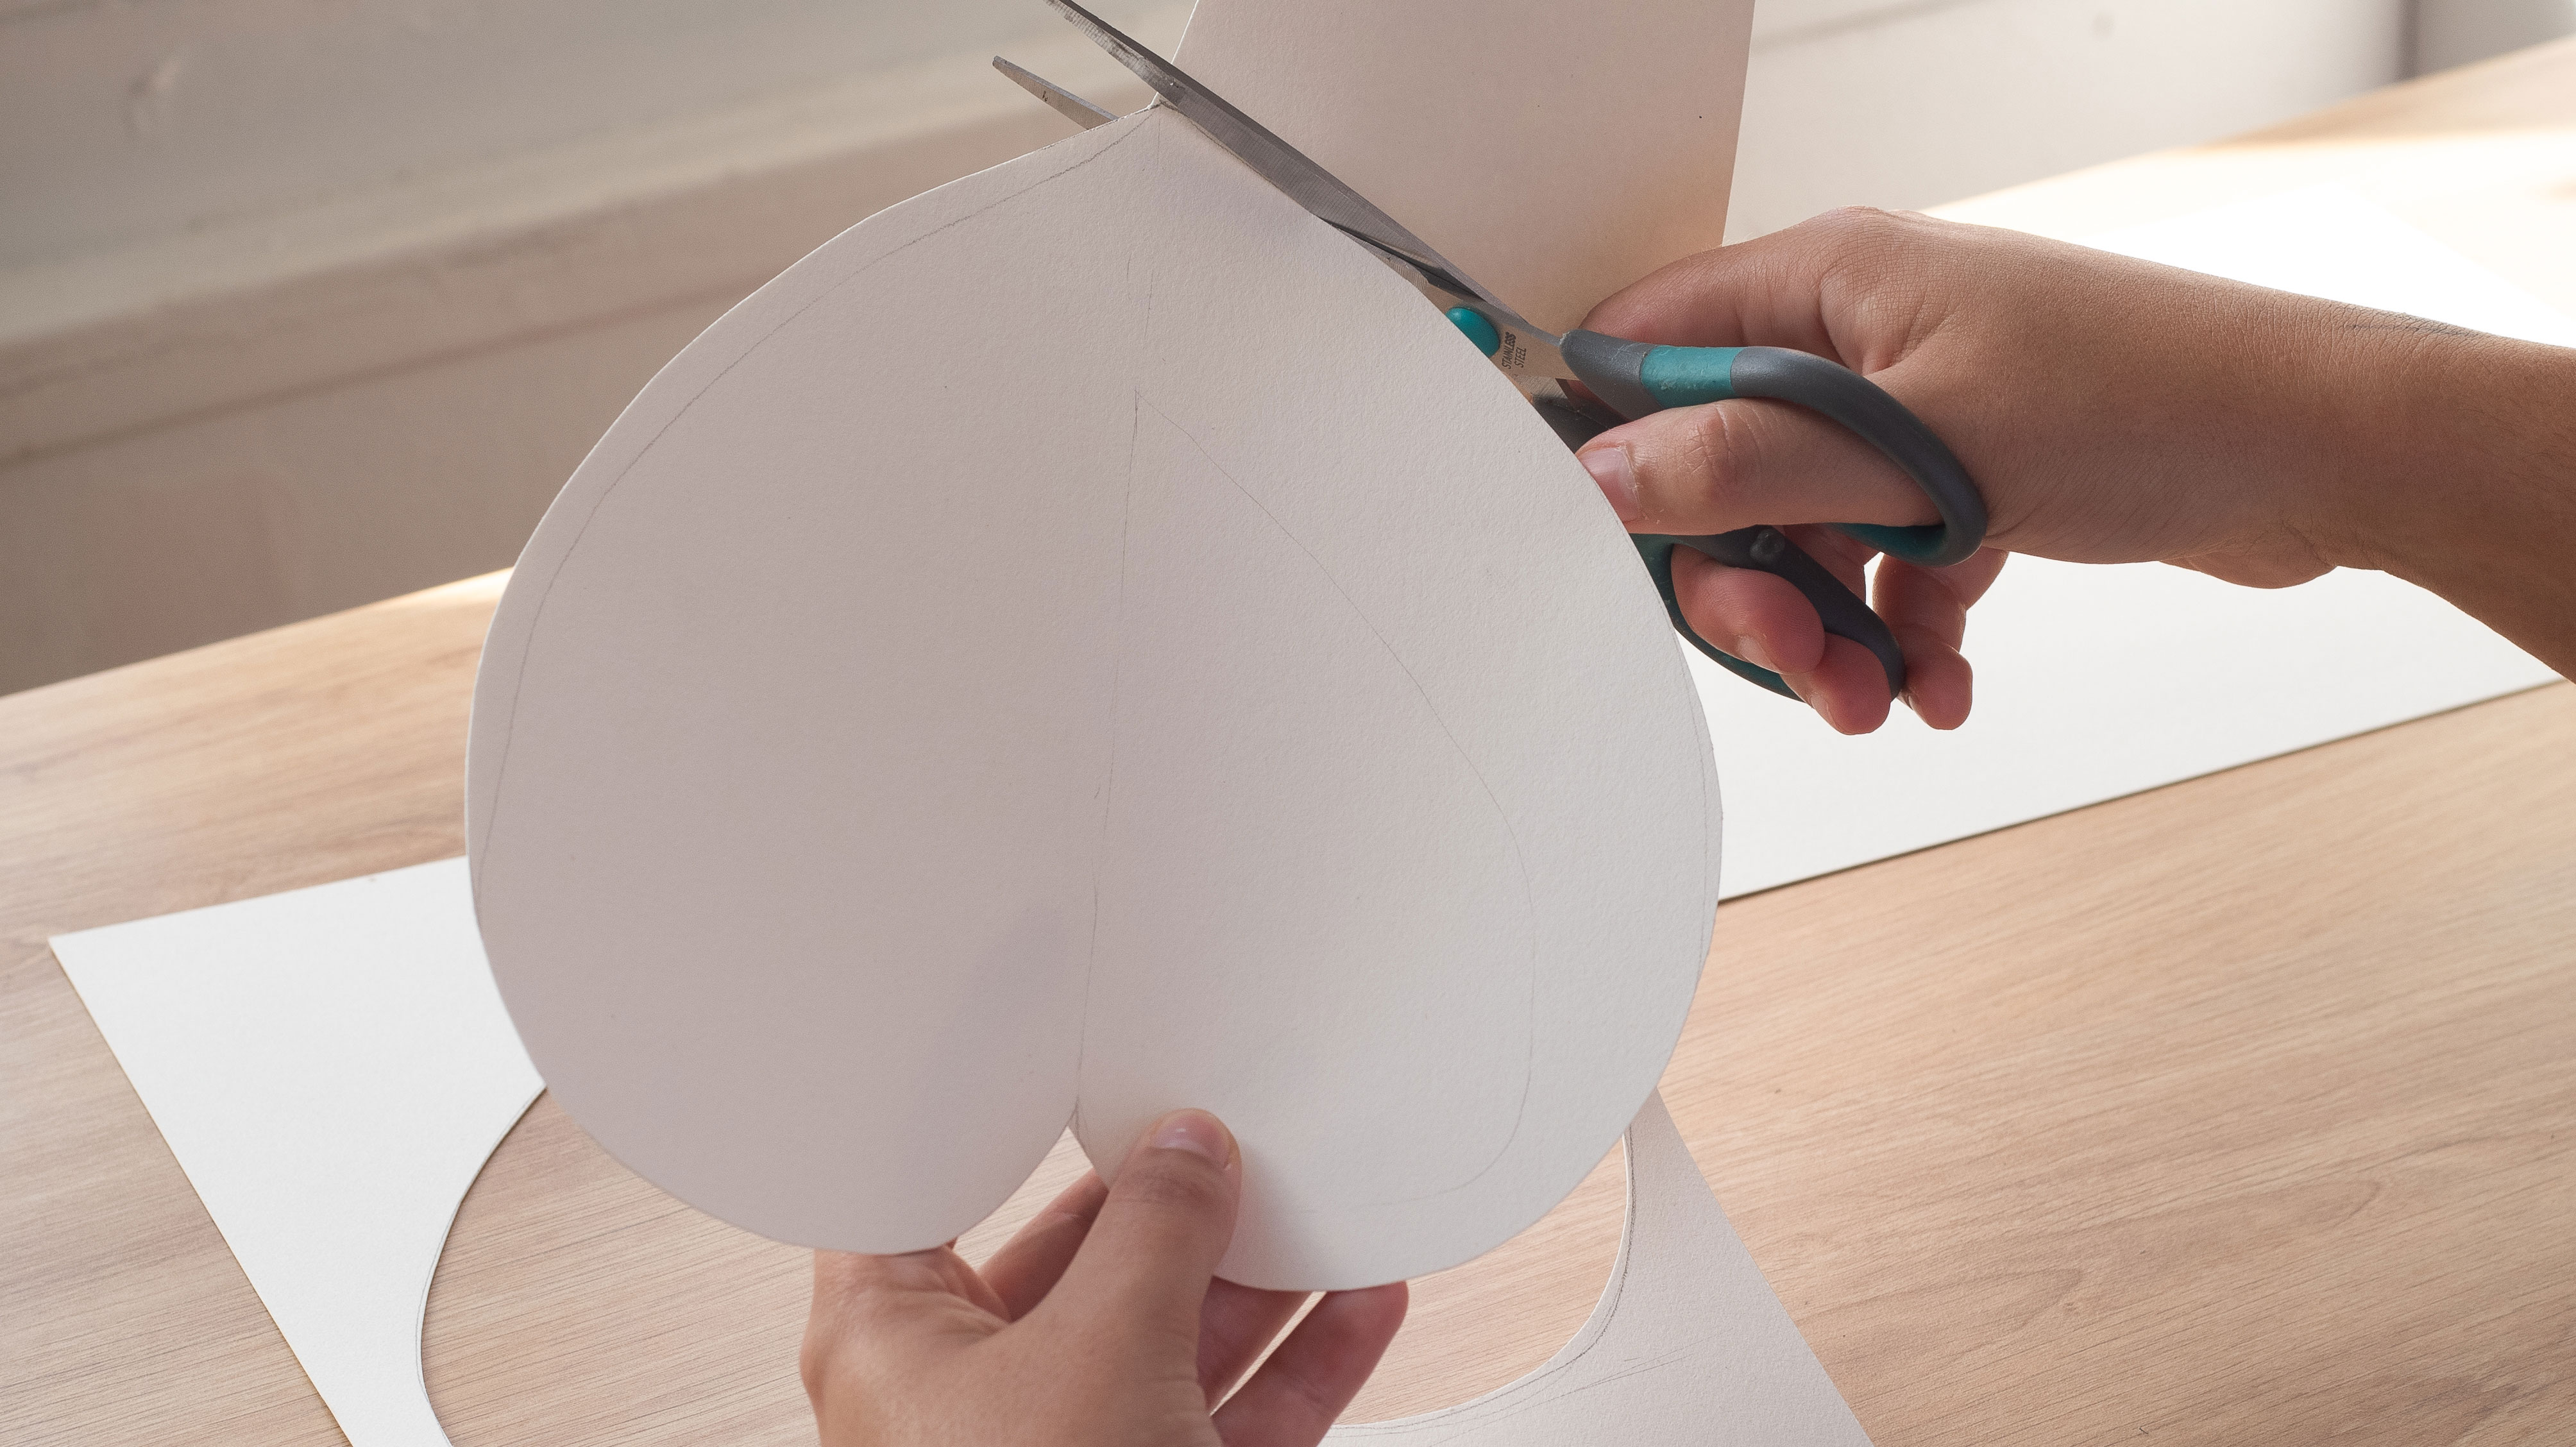
Step 4: Decorate your fan
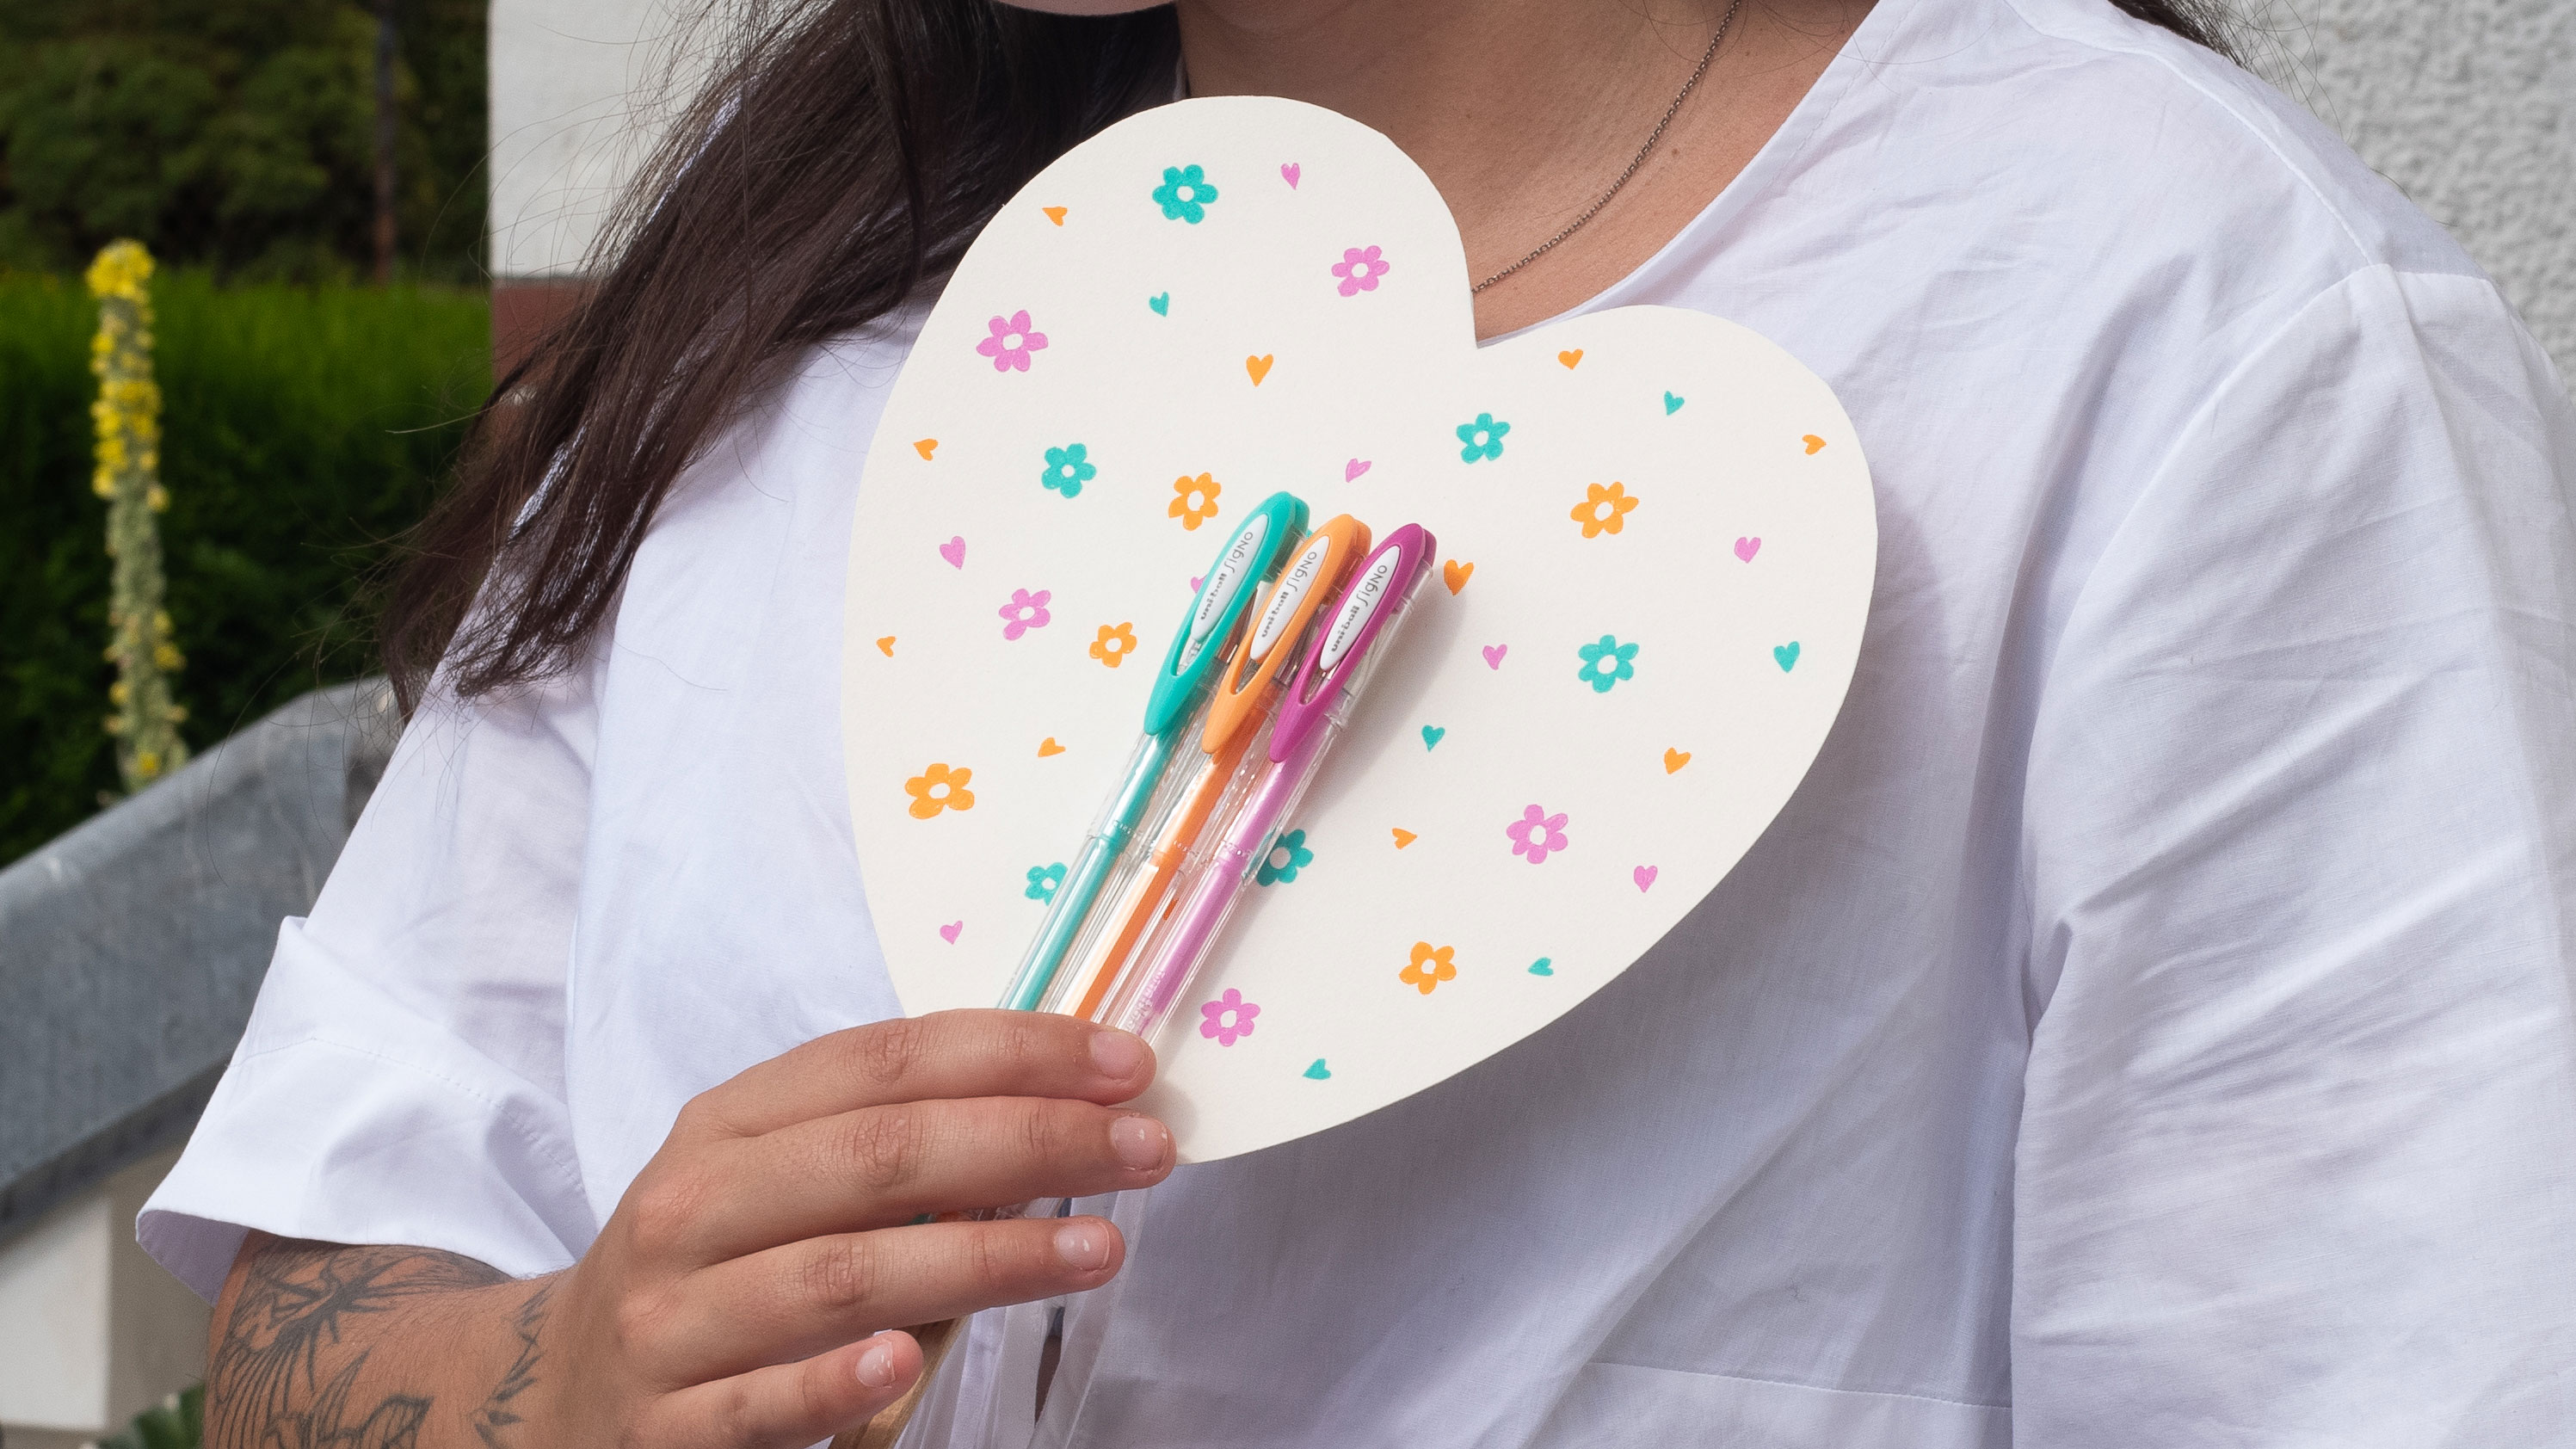
It is now time to personalise your very own fan with your design! Take both sides of your fan, and using Signo rollers with different colours, let your imagination run free.
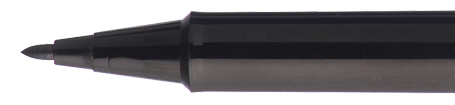
Thanks to their fine tip, these rollers are perfectly suited to fine precision designs. Their quick-dry ink does not fade over time and the colours retain their full intensity.
Draw some flowers, hearts, stars or anything you want to make your fan unique and bursting in colour.
Don’t forget to decorate both sides!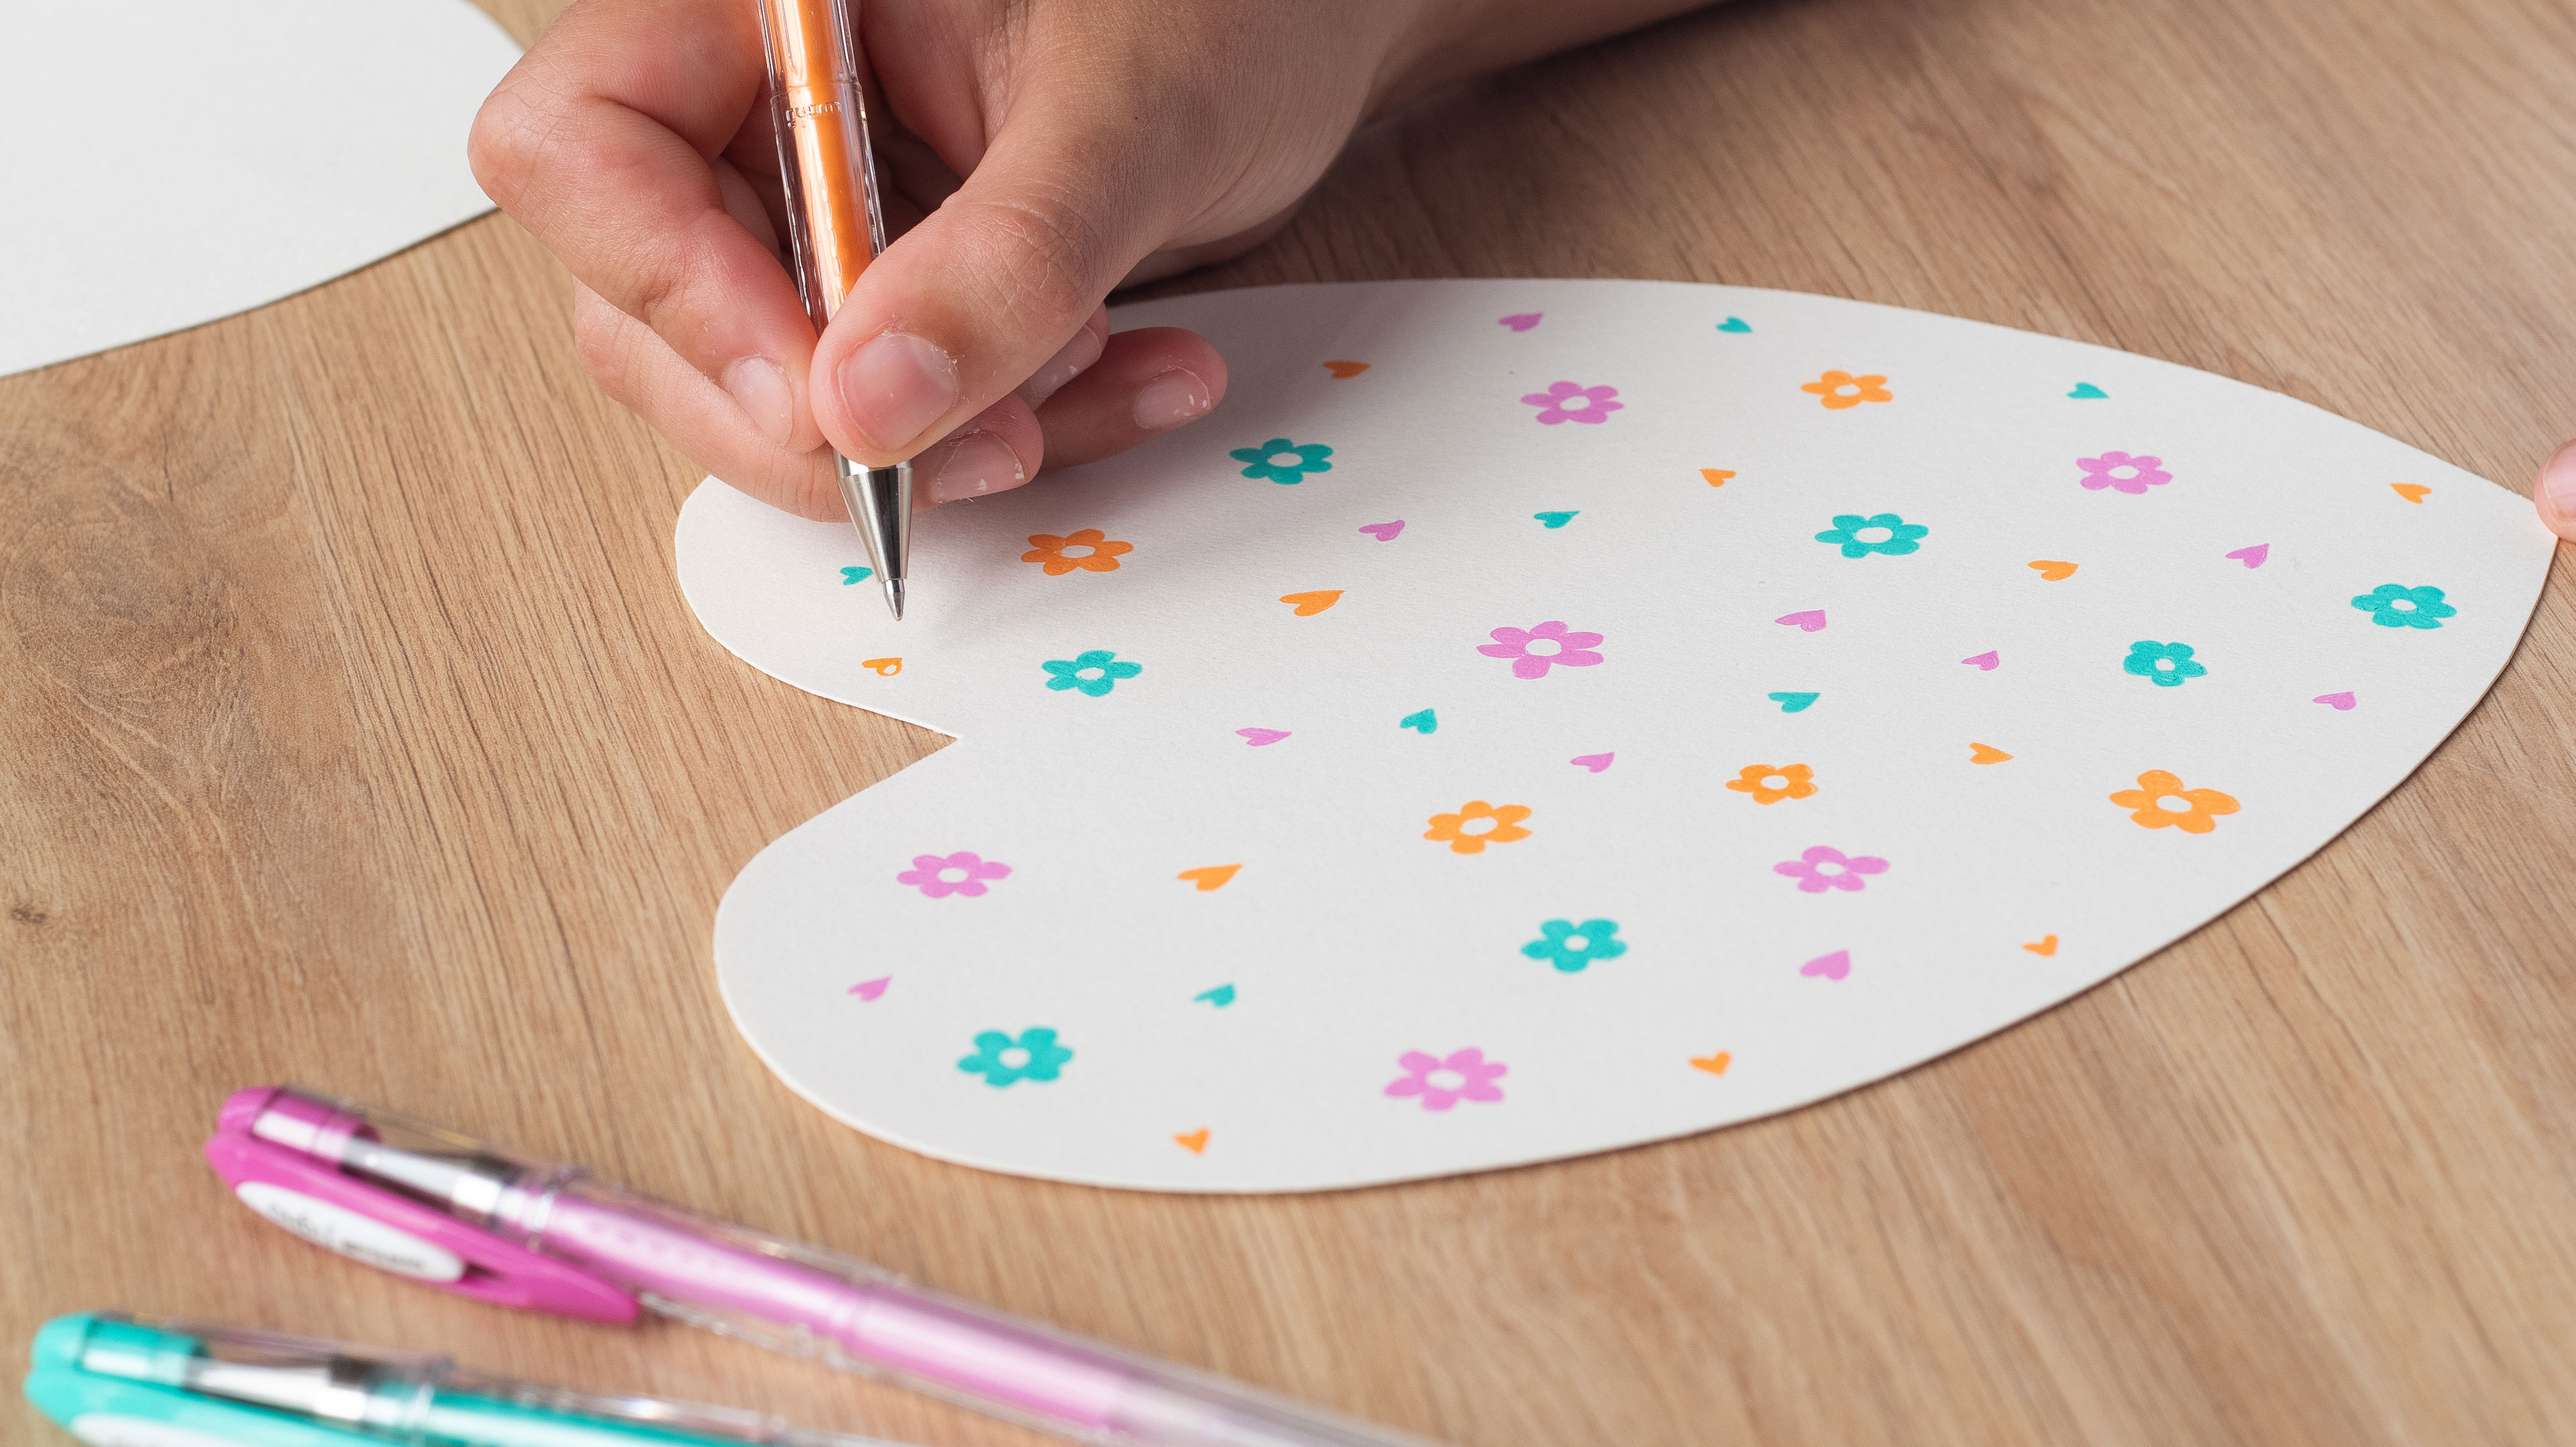
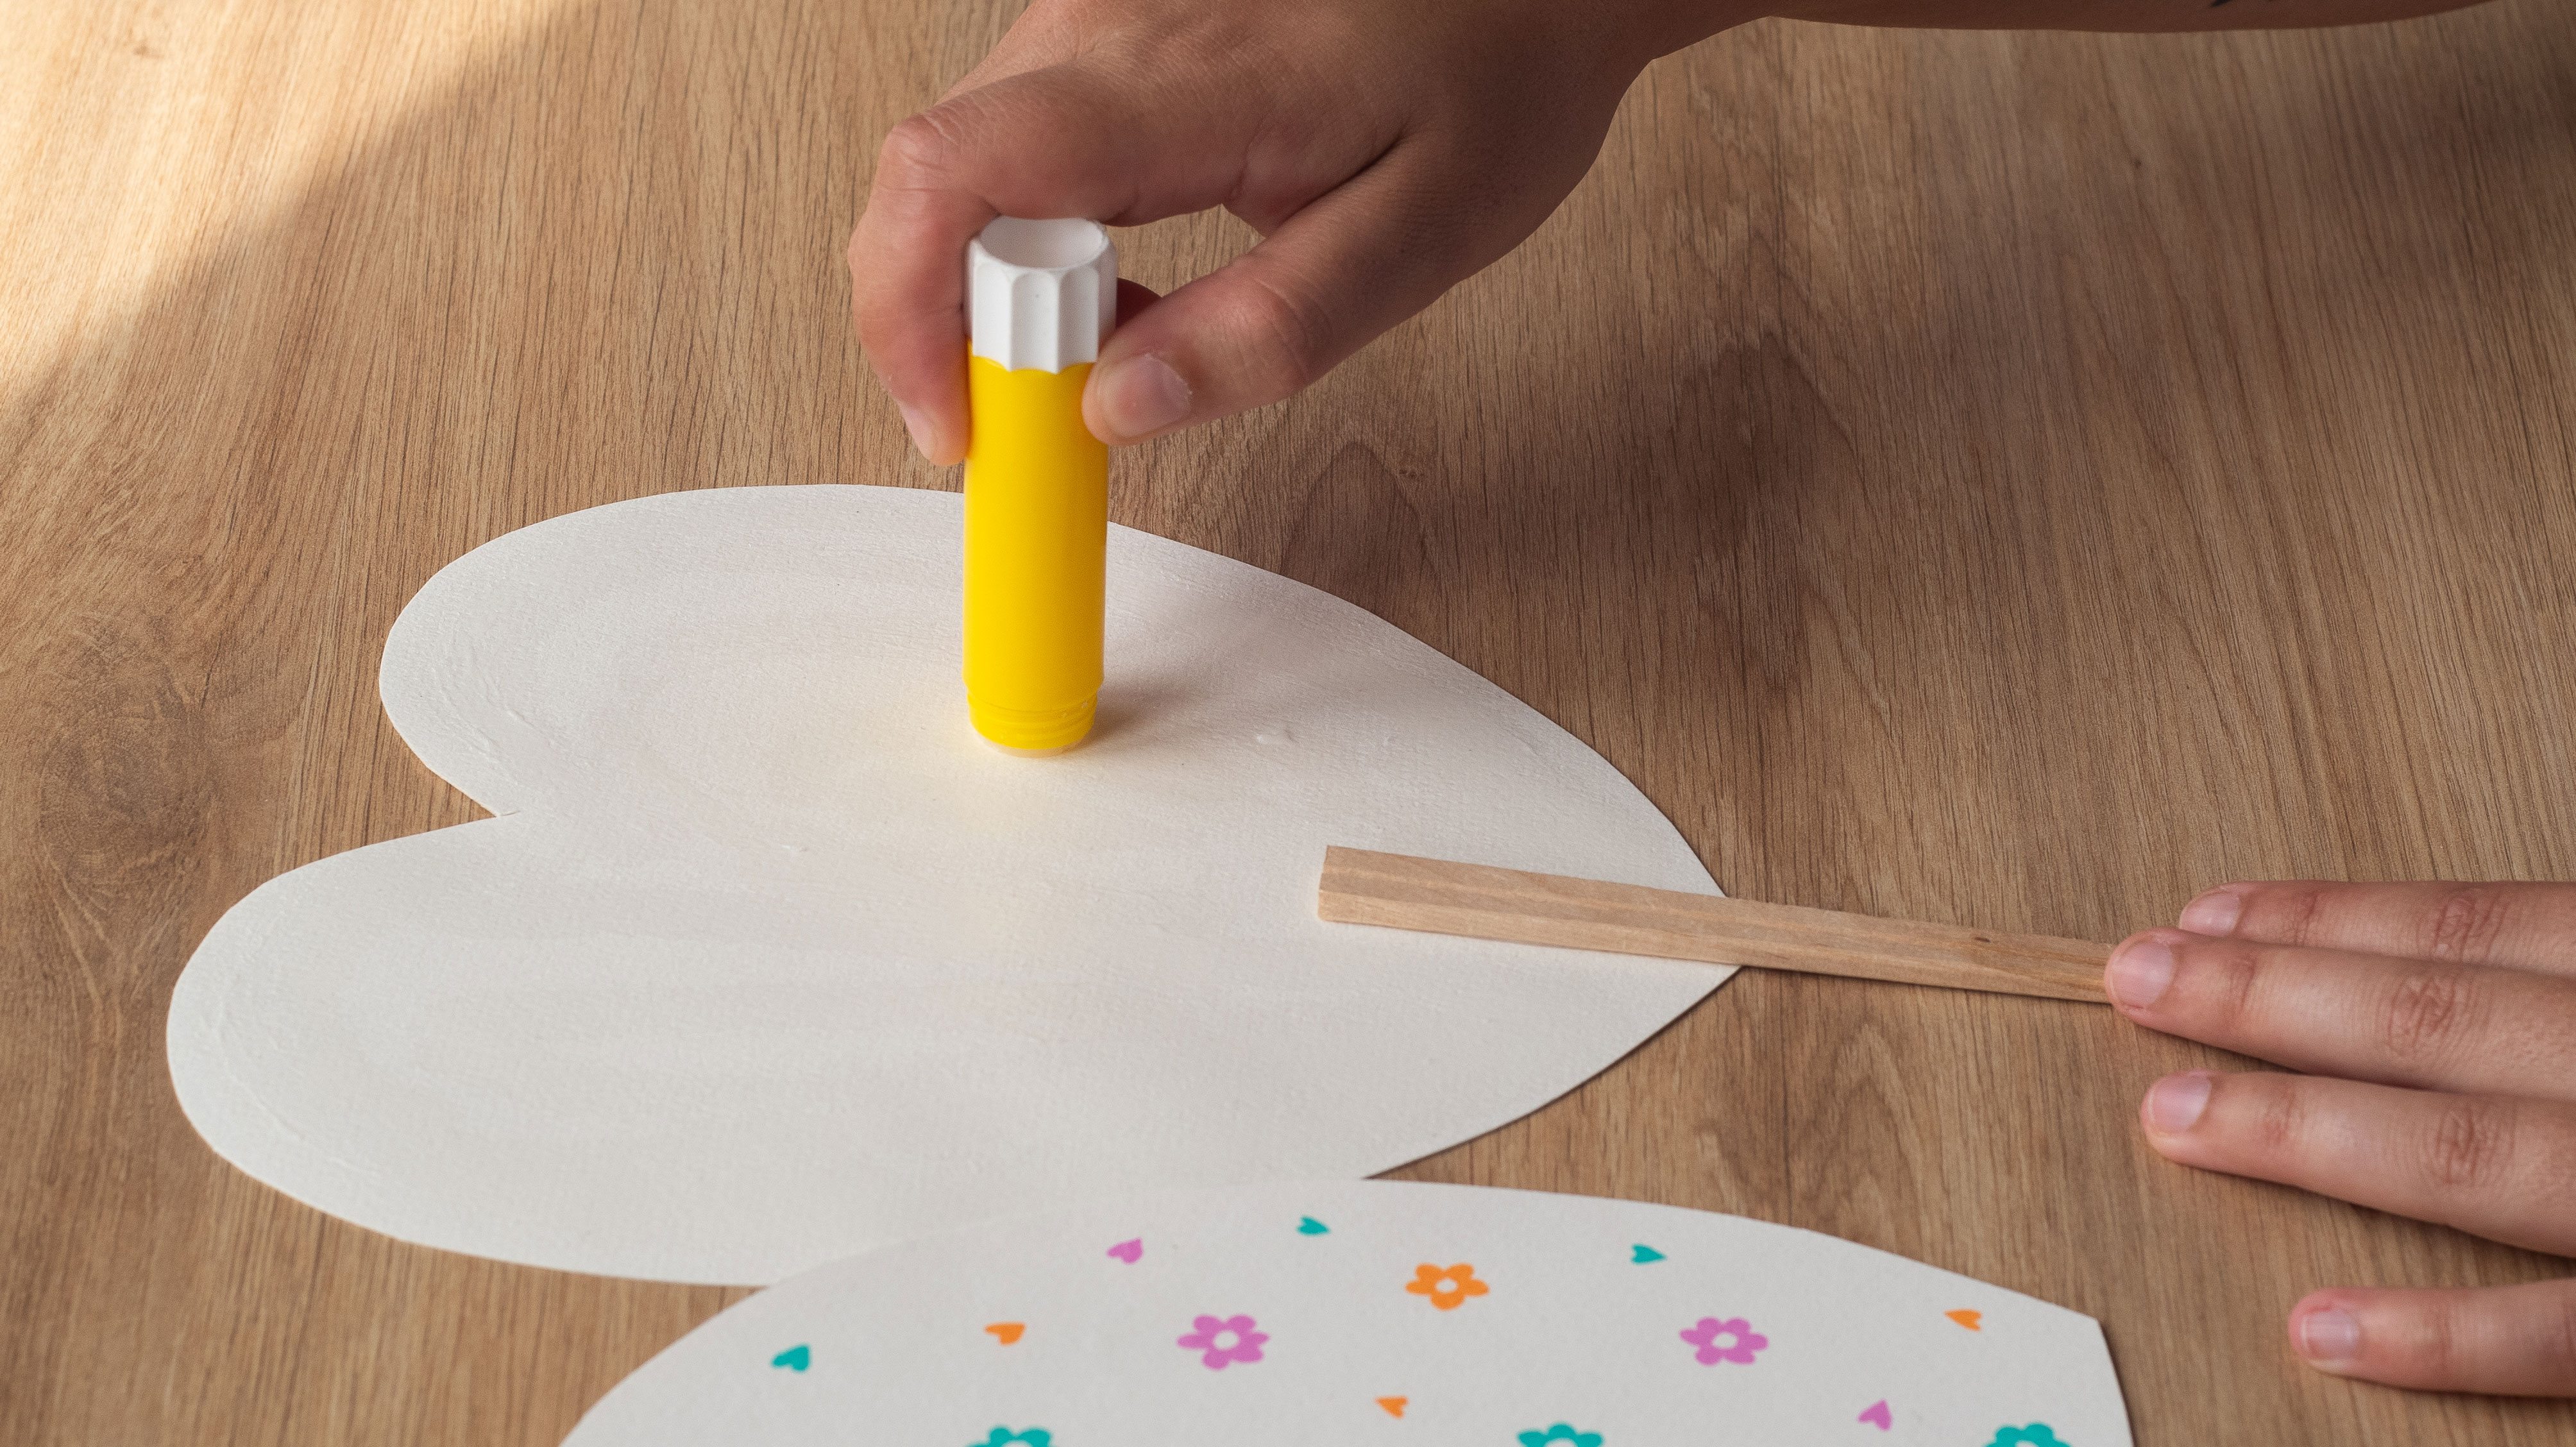
Step 5: Assemble your fan
The time has now come to assemble your fan. Begin by glueing your wooden sticks to the base of one of the two sides.
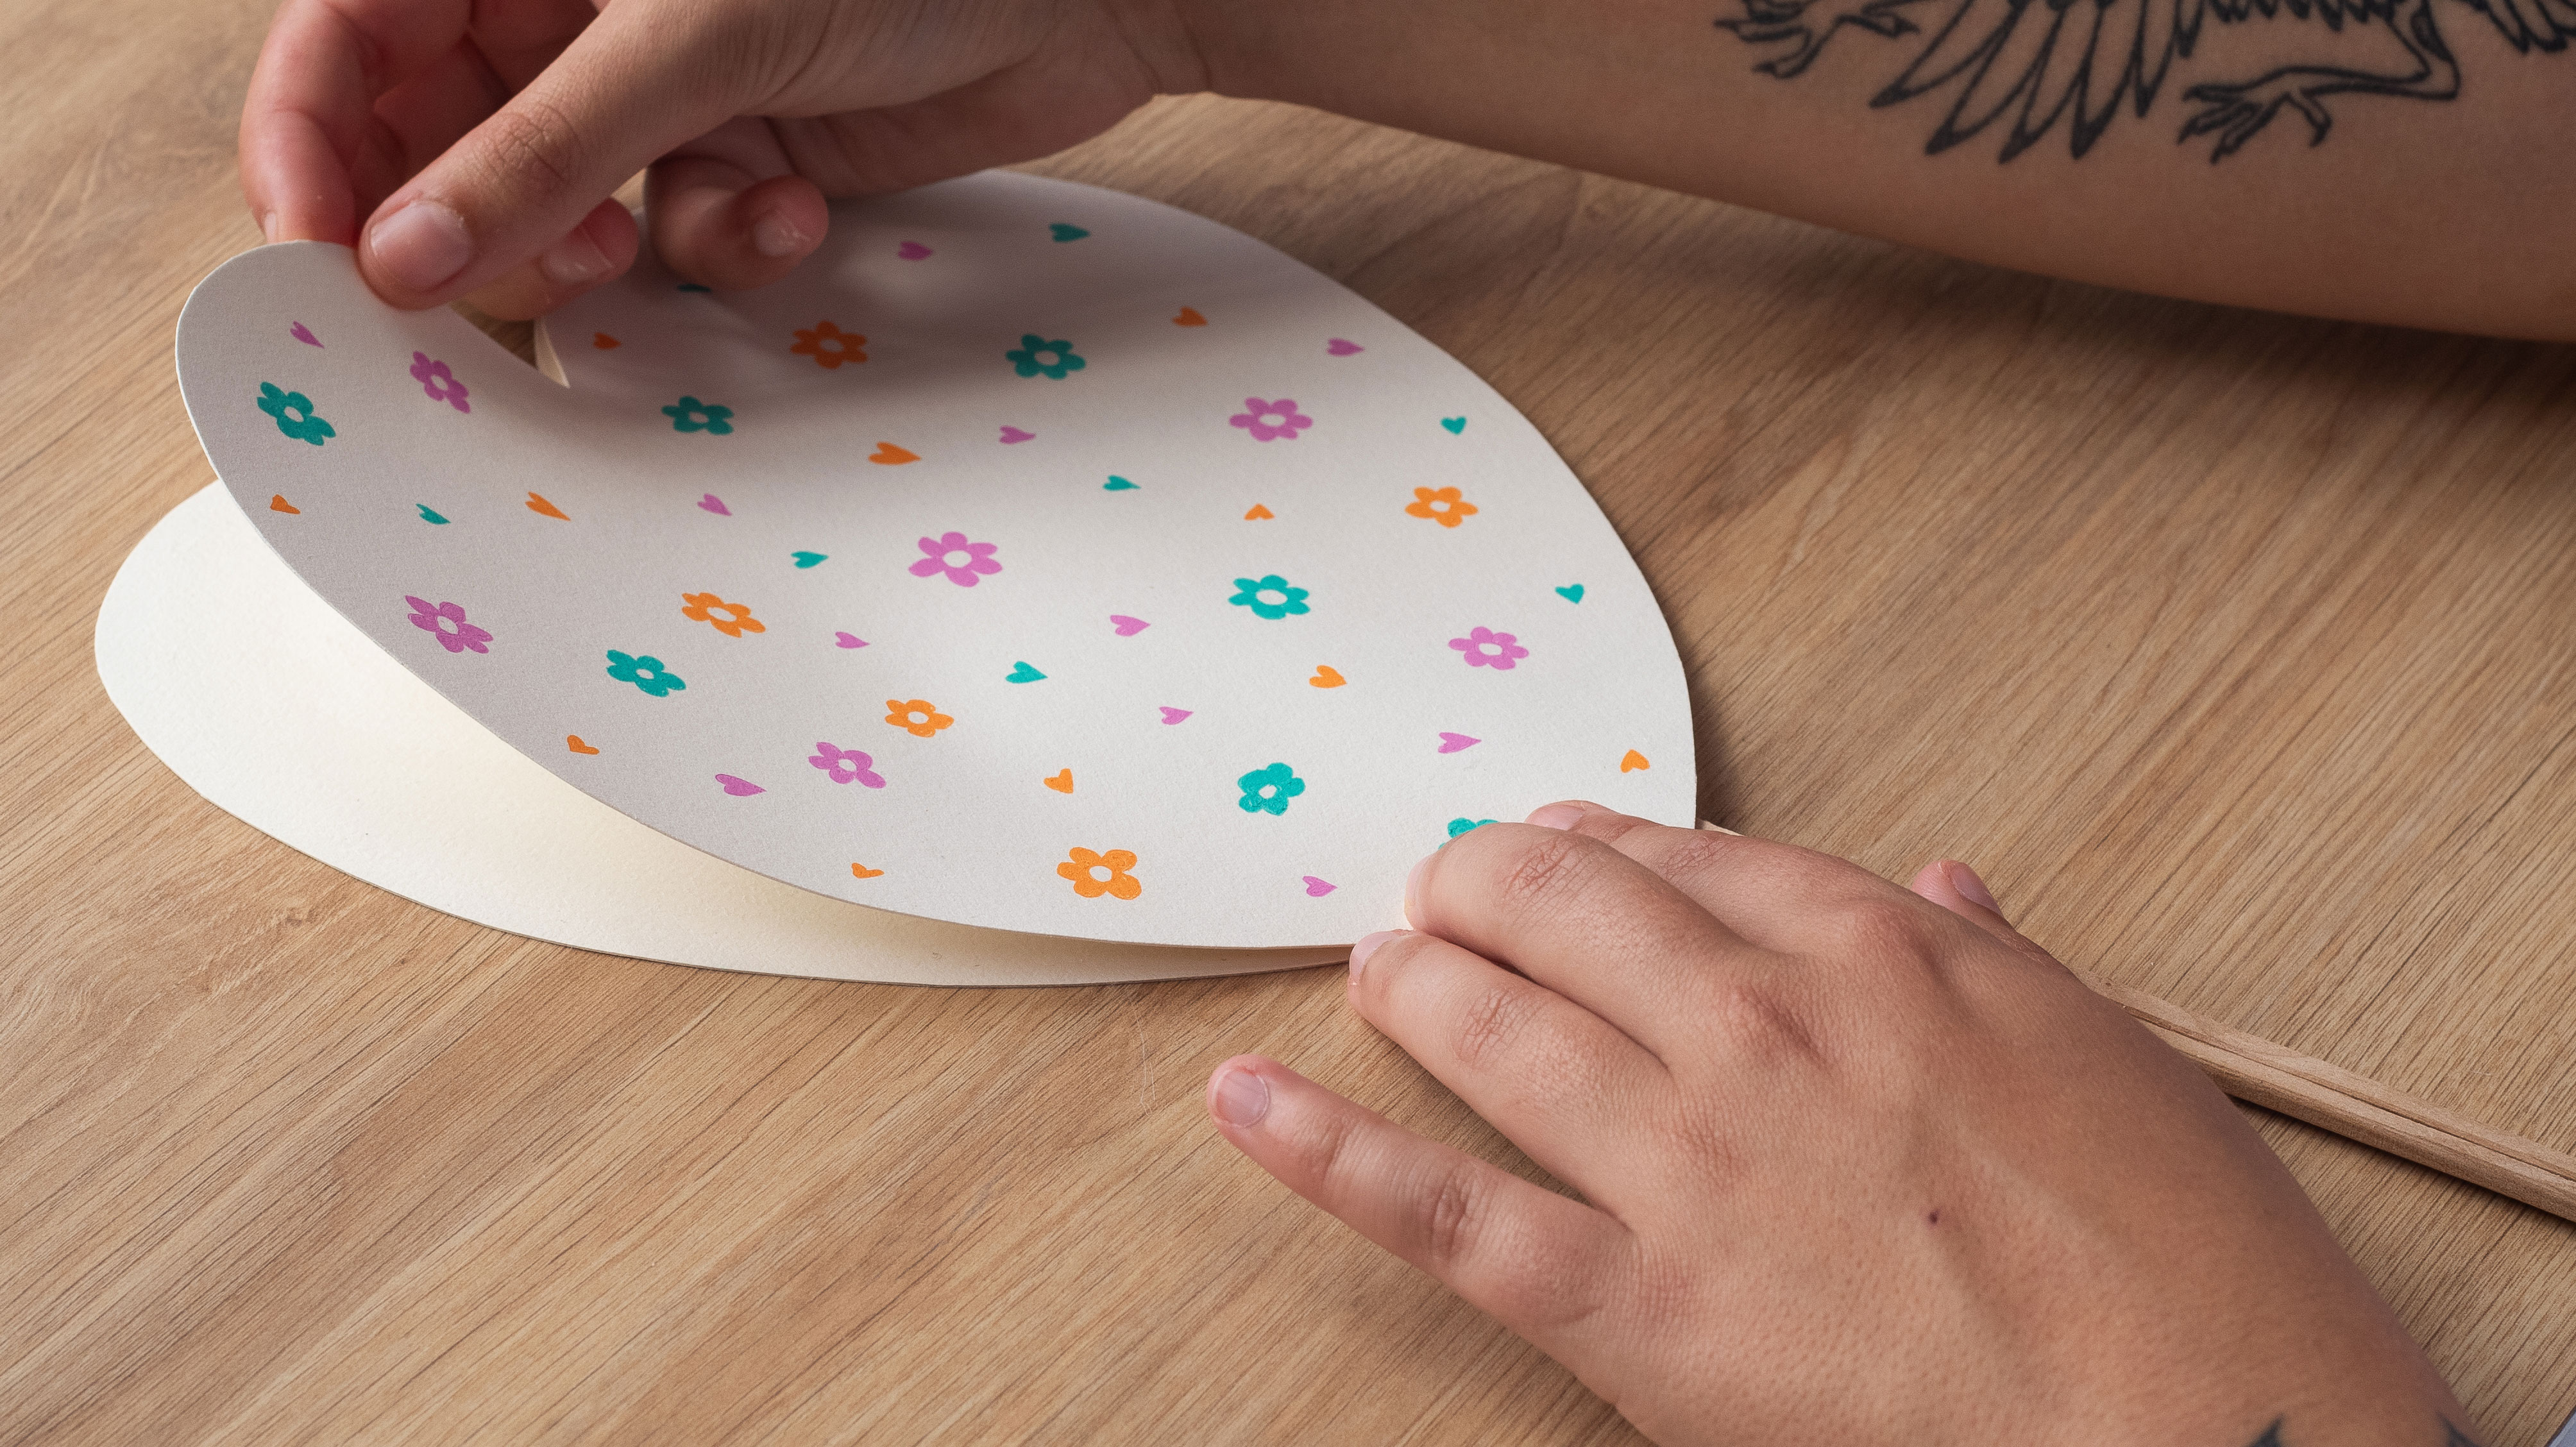
You can then apply some glue to both sides of the fan and place them together with care. Allow the glue to dry for several minutes to make sure your fan is solid.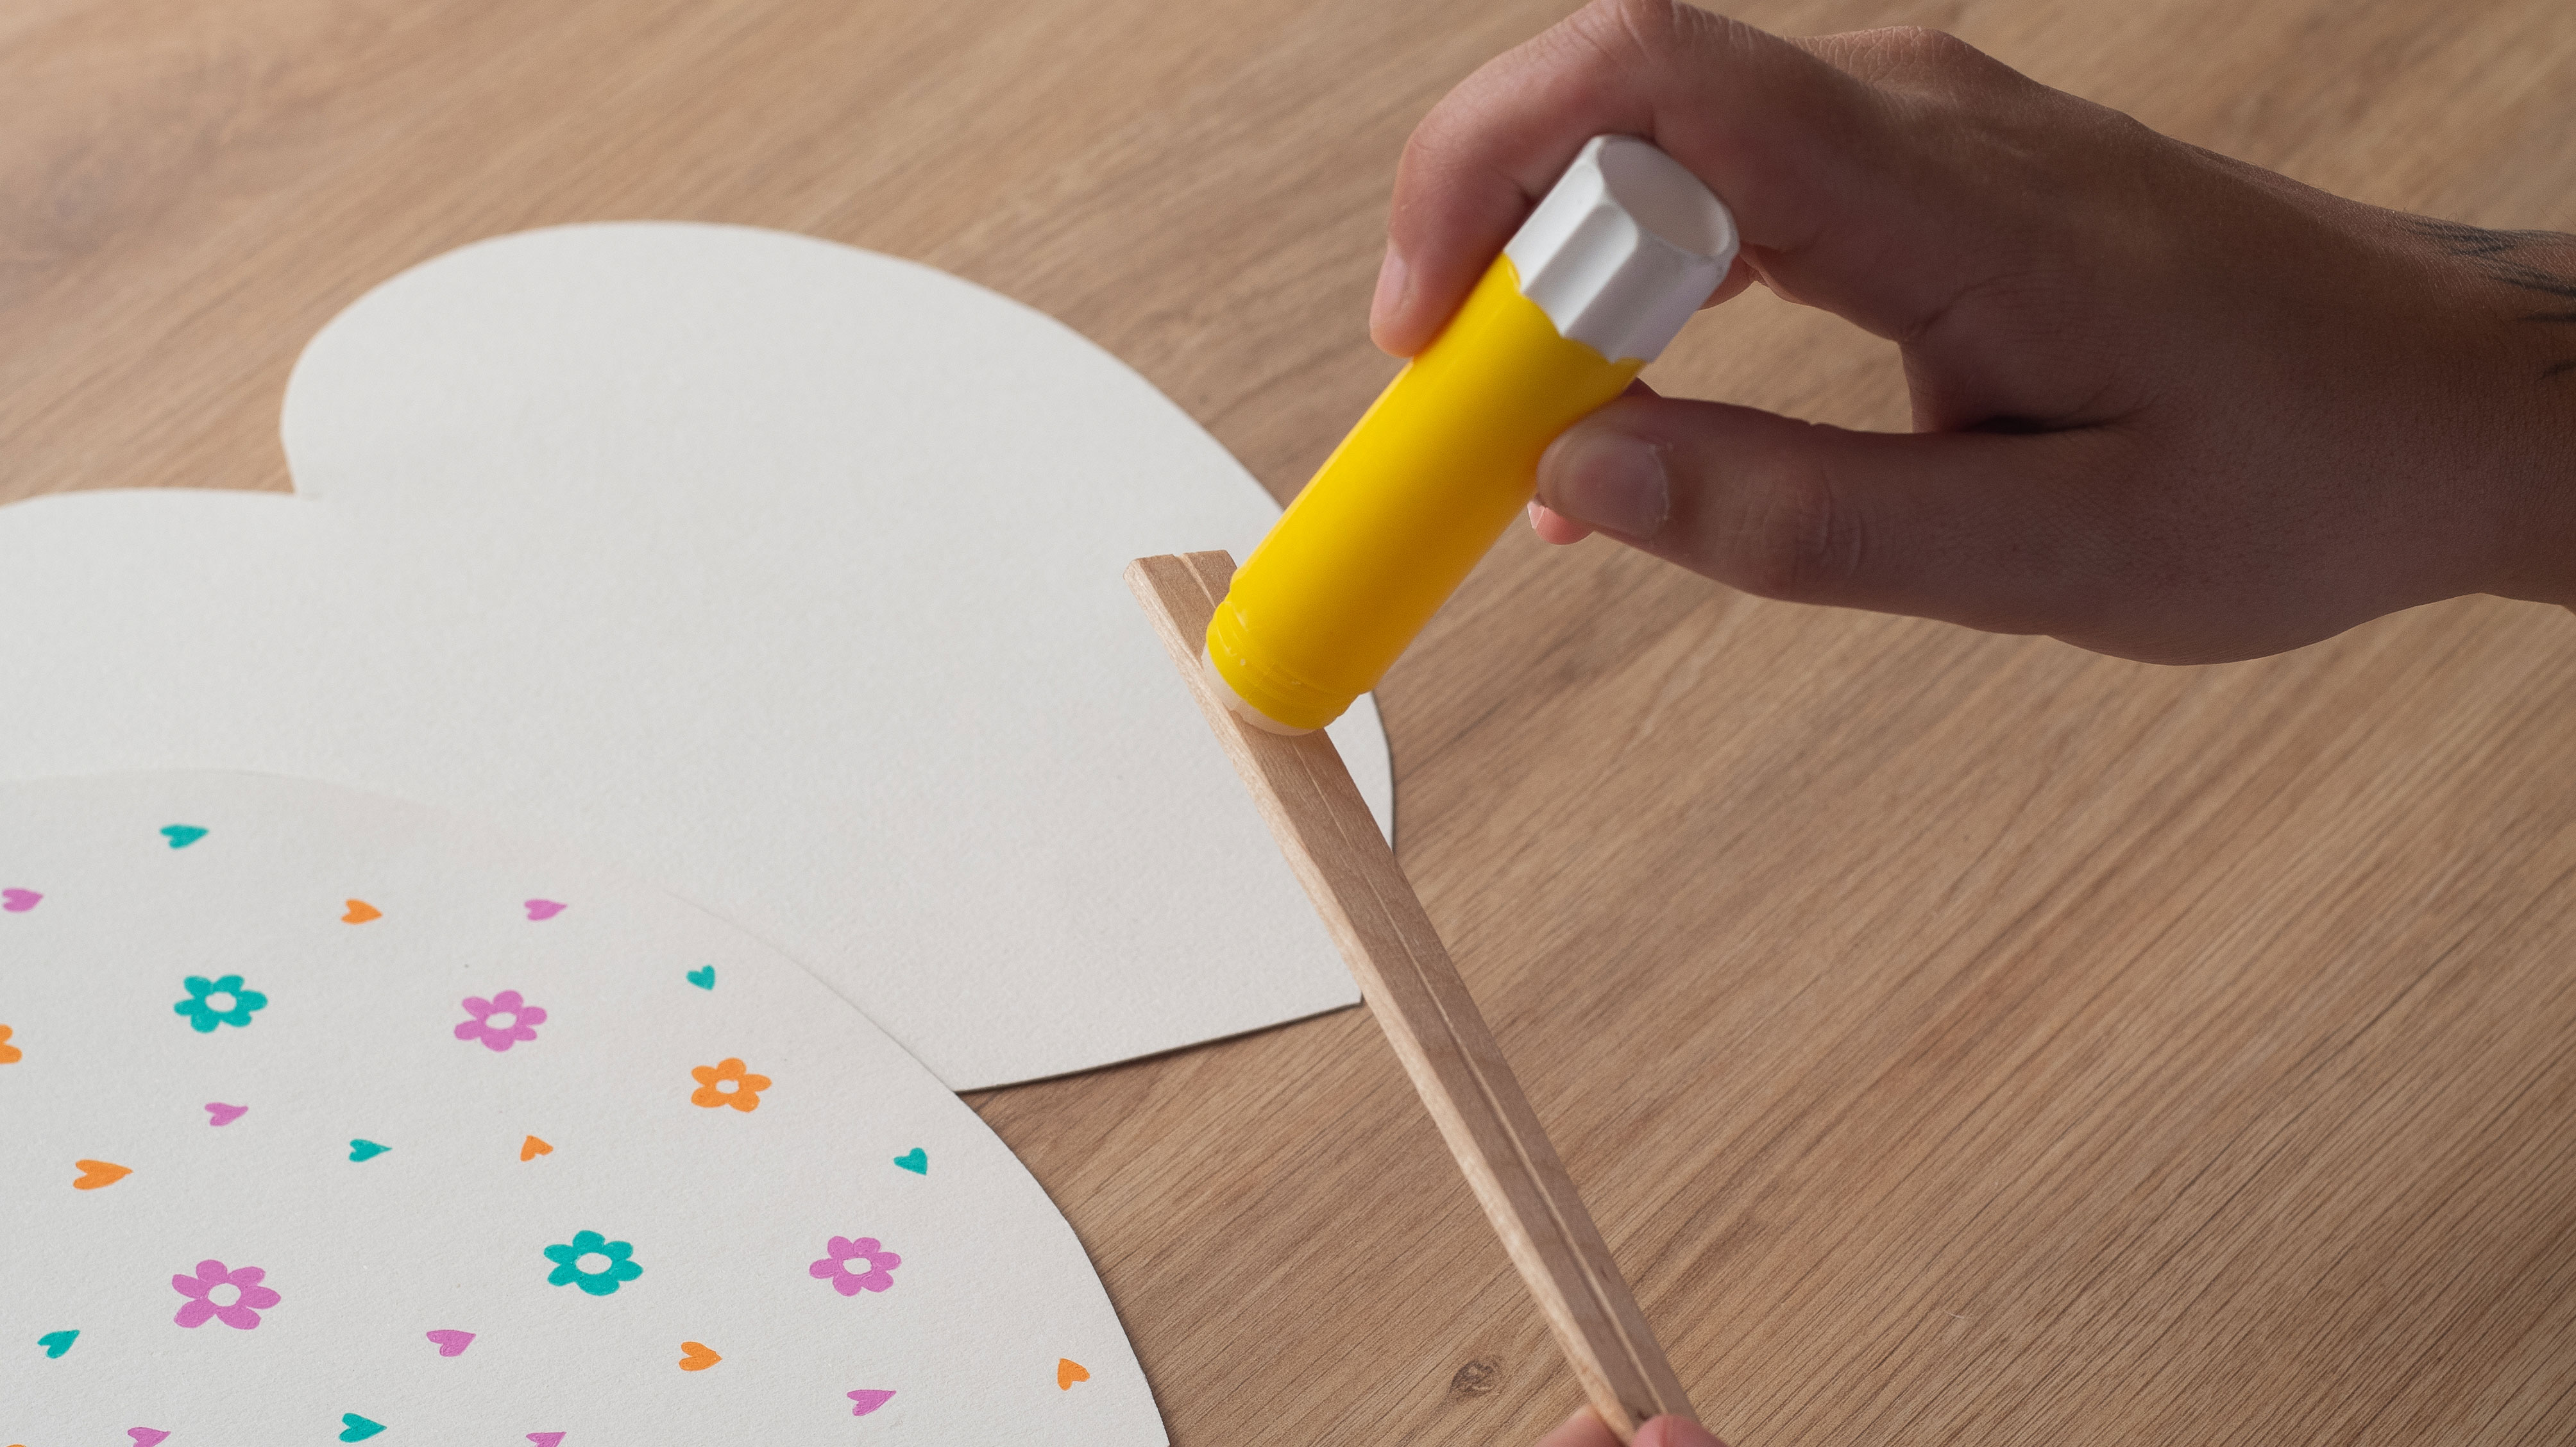
Step 6: The end result
There you have it! Your very own bespoke fan is ready! You can now use it to keep cool during the hot summer days.
Feel free to experiment with different styles and designs and create several fans to offer to friends and family!
Share your creations with us on social media, we can’t wait to see them!