


Tutorial: learn to draw a beautiful peony

Who hasn't dreamed of learning to draw a beautiful flower?
Your wish is our command! Here’s a very complete tutorial to teach you how to draw a wonderful peony. Indeed it’s not the simplest of flowers, but with our advice, even the most inexperienced artists will be surprised with the result. Take your tools and free the illustrator in you!
For this drawing, you will need:
- A sketchbook or a sheet of paper
- A rubber
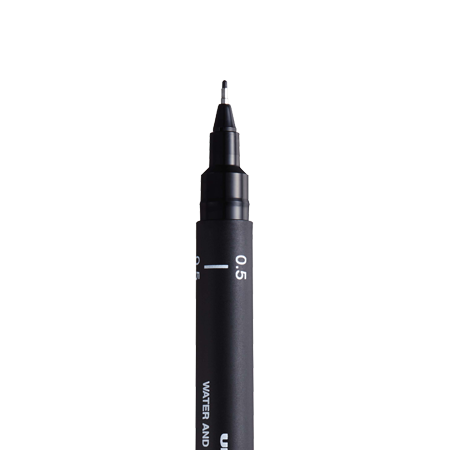
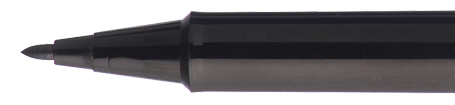
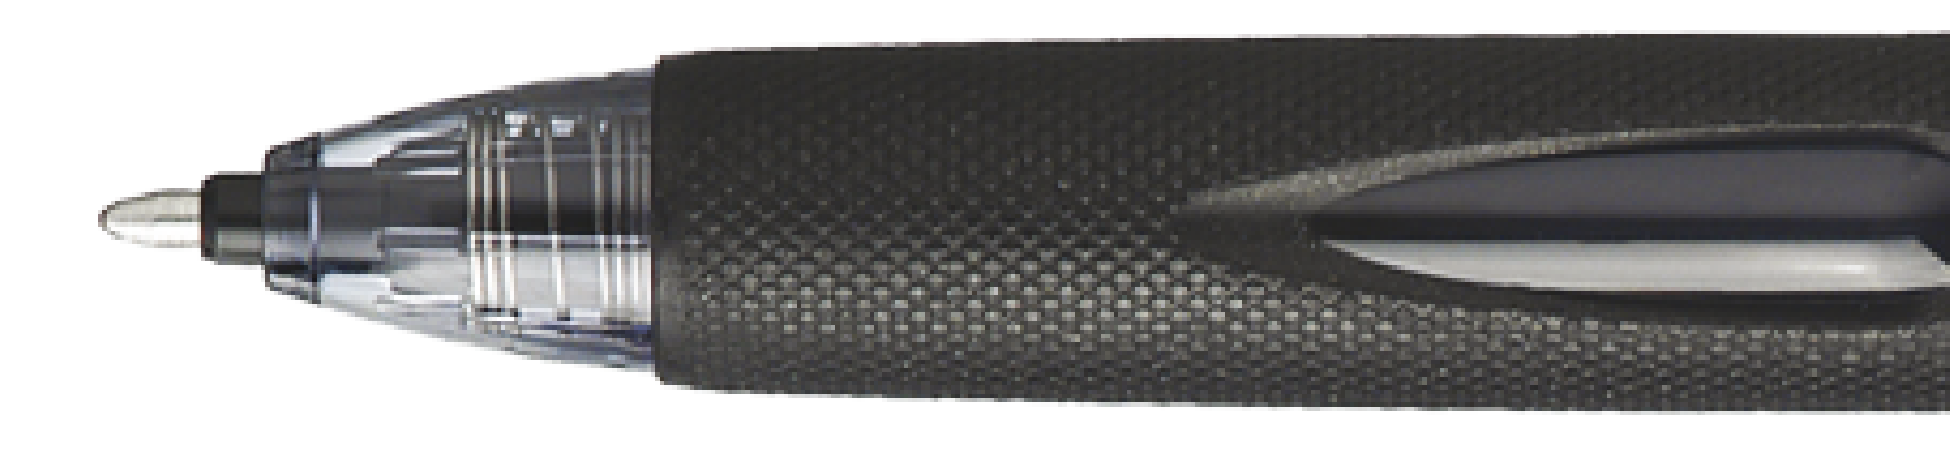
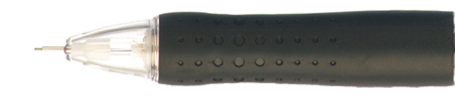
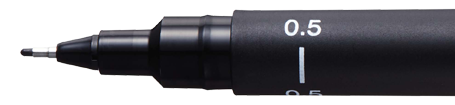
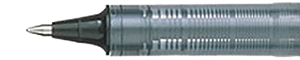
- 3 Uni Pin felt-tip pens, 0.8, 0.1 and 0.05 tips; but of course you can use more tip sizes to maximise the variation of depths in the lines of your drawing
Follow our step by step guide:
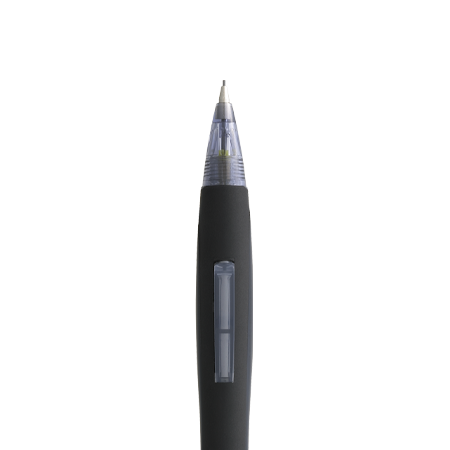
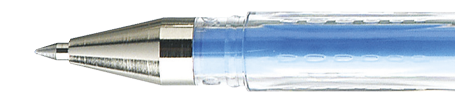
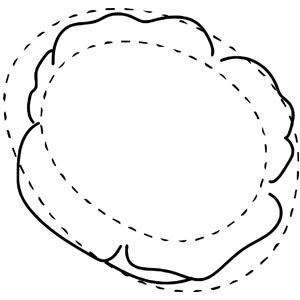
1st step: Create an outline: start by free hand drawing a round shape in the centre surrounded by 2 oval shapes with the help of the Shalaku mechanical pencil.
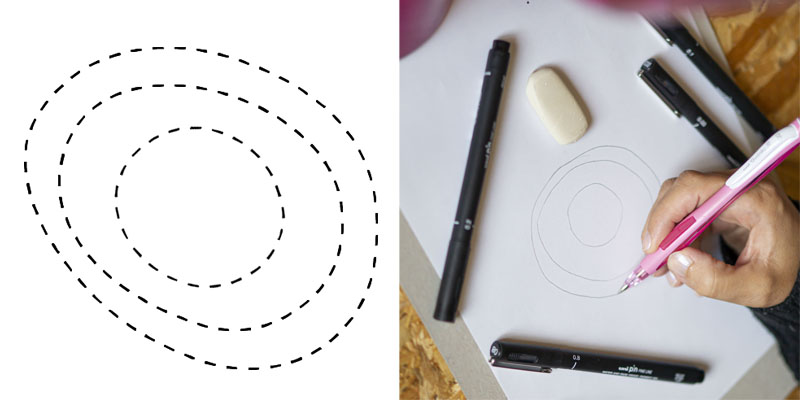
2nd step: Inside each shape, sketch the petals, still using the Shalaku mechanical pencil so you can use the rubber if you make a mistake.
Inside the centre circle:
 Between the medium oval and the centre circle:
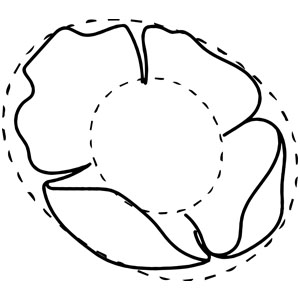 And finally between the large and medium oval:
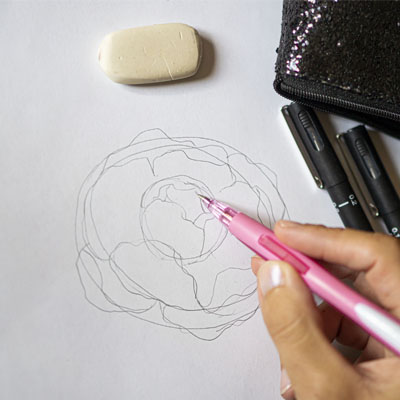
3rd step: Now that your pencil sketch is ready, go back over the lines carefully with the Uni Pin felt-tip pen with a 0.8mm tip.
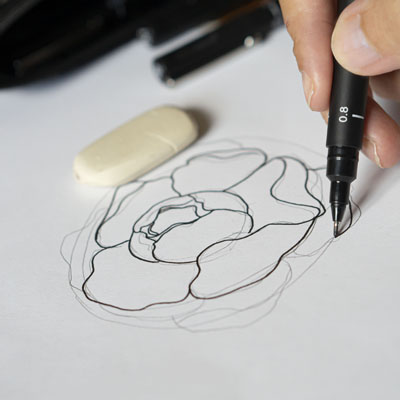
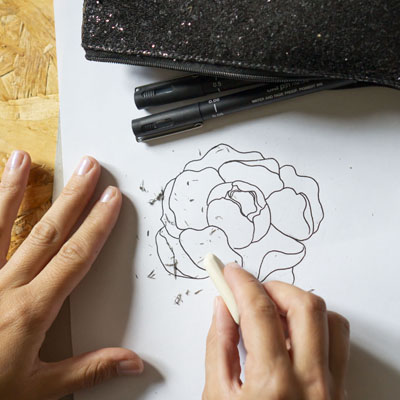
4th step: Let the ink from your black Uni Pin dry for a moment, then rub out the pencil lines.
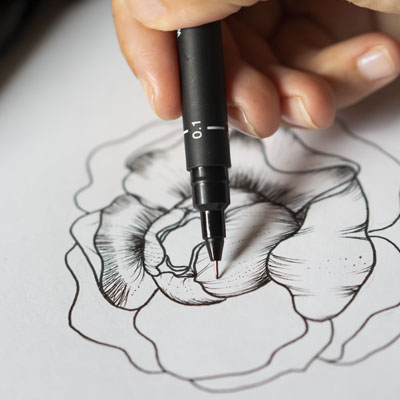
5th step: Add the details inside the petals. The extra thin 0.05 and 0.1mm tips of the Uni Pin felt-tip pen will be perfect to give your drawing to your drawing. For even more subtle details, there’s also an ultra thin 0.03mm tip.
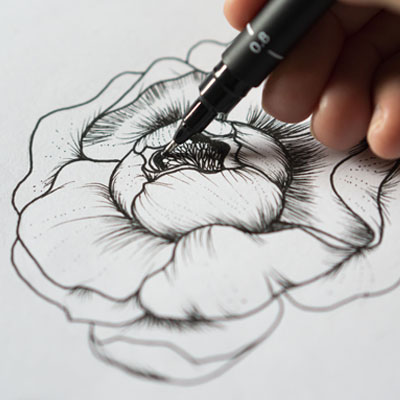
6th step: You can now take your 0.8mm tip to add the missing elements to your drawing, a few leaves around it for example, or even create a shadowy area inside the petals which are more in the centre.
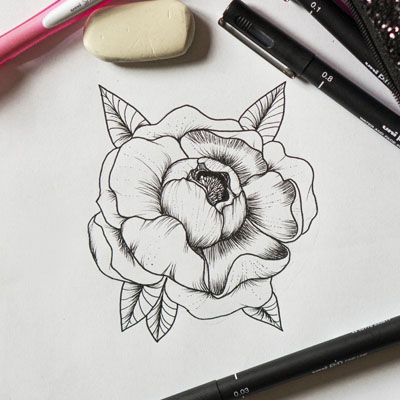
And there you have it, now you can sit back and admire your work!
In case a few things aren’t clear, here’s a video which goes over all the steps!
Over to you!