Upcycle your glass jars thanks to the new Uni Chalk pack


Why buy new when you can upcycle what you already have? For a useful transformation of your kitchen, turn to the new pack of Uni Chalk markers. In addition to four markers, it contains stickers to identify what’s inside your glass jars. You’ve just finished a pot of compote, mustard or jam? It’s ready to receive the full treatment from our markers!
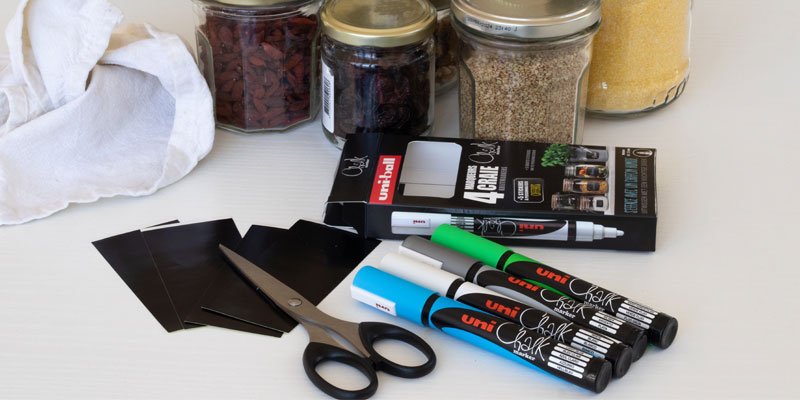
For this tutorial, you will need:
- Glass jars
- The new pack of Uni Chalk markers and its stickers
- A pair of scissors
- A damp cloth
1st step: the materials
You’re familiar with it’s amazing dustless chalk finish on windows outdoors, and on your windows and mirrors indoors, but it’s also the perfect partner for upcycling DIY projects!
In our new pack, you’ll find 4 markers - white, blue, green, silver - with a medium tip (1.8-2.5mm) as well as 5 customisable and reusable stickers! (the marker can be erased in a snap on this surface)
Grab your scissors and a damp cloth in case you want to start again, and here we go!
2nd step: A passion for stickers
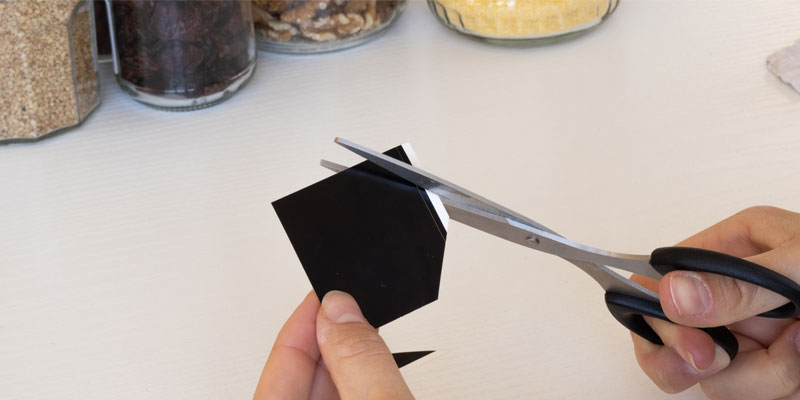
First of all, depending on the size of the pots you’re using, it’s best to cut your stickers in order to stick them down more easily. Of course, you can also give them the shape you want: octagon, circle, diamond, square... The possibilities are endless!
3rd step: Collage
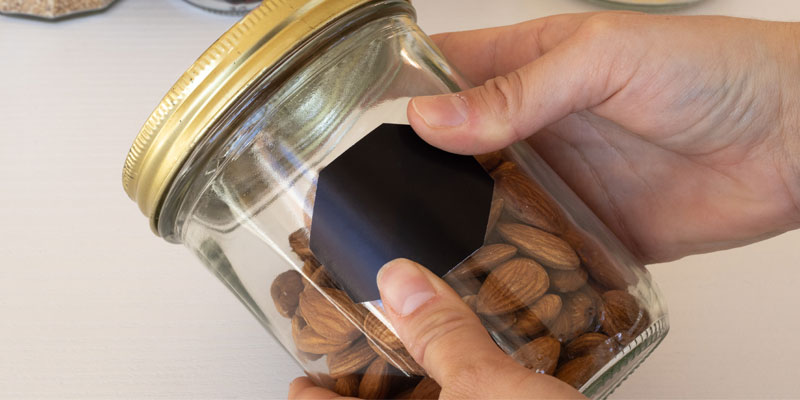
Simply stick your stickers onto the glass pot (ensuring that it’s clean, dry and has no oil or grease etc. to avoid the stickers coming away!).
4th step: Prepare you marker
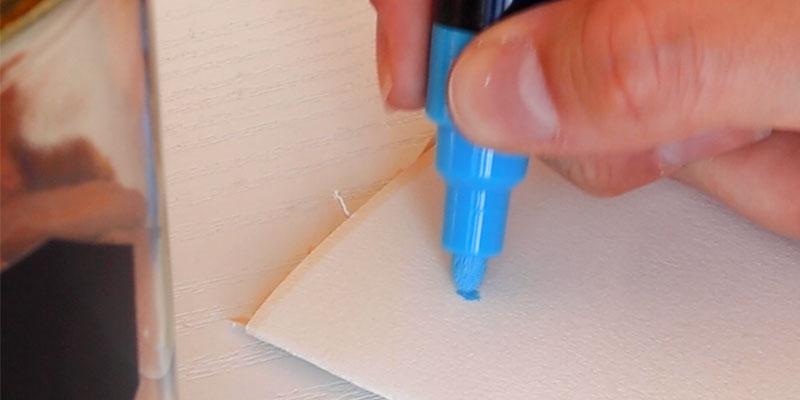
In order to draw beautiful lines from the first try on your surface, you need to prepare its tip by tapping it on a piece of paper or card. This will allow you to bring the ink down and make you familiar with the flow of the Uni Chalk markers if you’ve never used them before.
5th step: What will it contain?
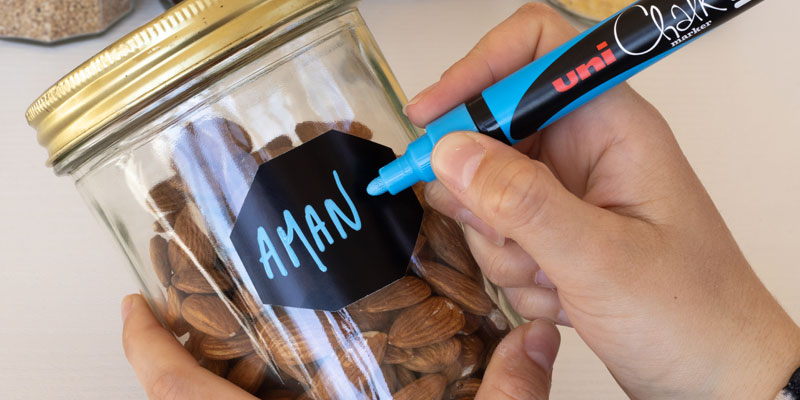
Semolina, quinoa, almonds, pasta... What will your pot contain? Write it on your sticker, legibly.
6th step: Your most beautiful illustration
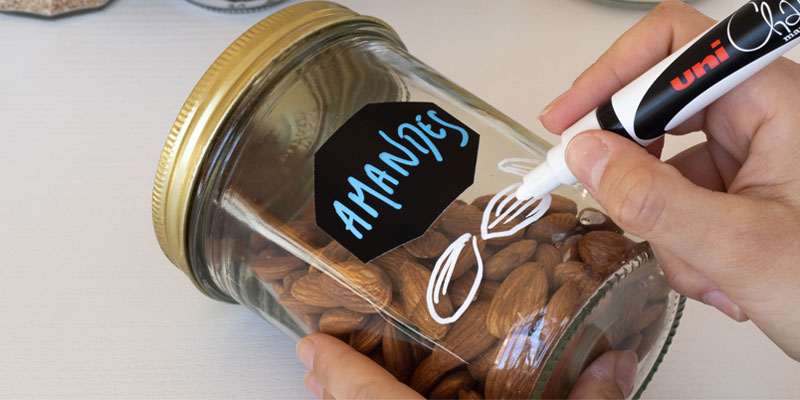
Then, with the help of another colour, we’ve chosen white, decorate your pot with little drawings which will show its content. The advantage? You have the example right in front of you!
For wheat for example, you can draw lovely ears of wheat or even sesame leaves for a jar containing seeds...
7th step: Start again as many times as you want
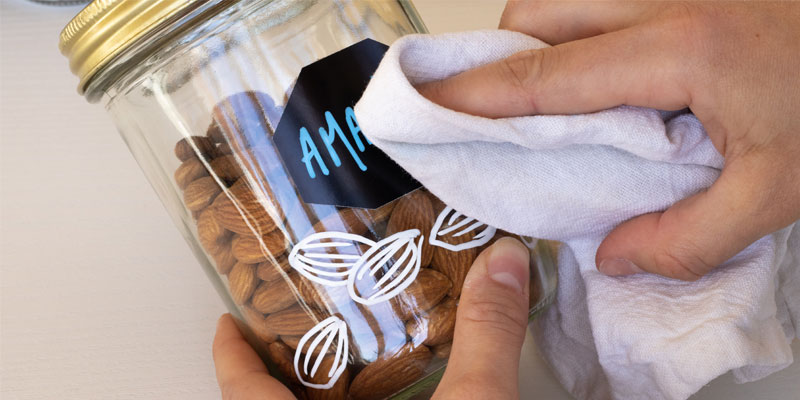
If you want to start again, or reuse your pot when it’s empty, storing something different inside, it’s easy: everything can be erased with a damp cloth!
And there you have it, your pot is ready for a brand new life!
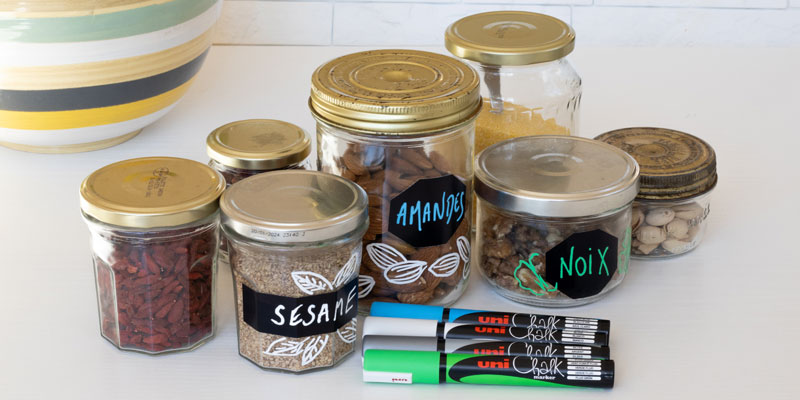
Final result!!
A little gesture for the planet, and a DIY project which is accessible to everyone, don't you agree?
If they start to fill the shelves of your kitchen, don’t forget to send us a photo, to tag us or use the hashtag #uniballfrance!


 Back
Back


