


Make an advent calendar with the Uni Pin pack

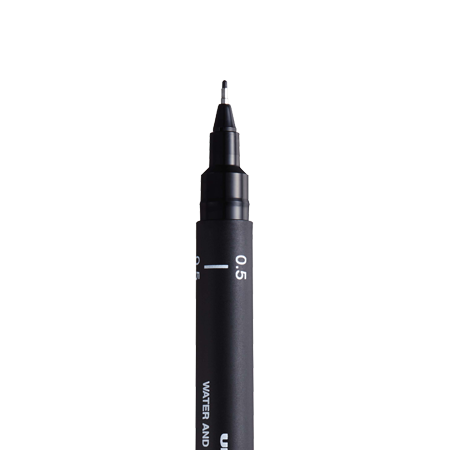
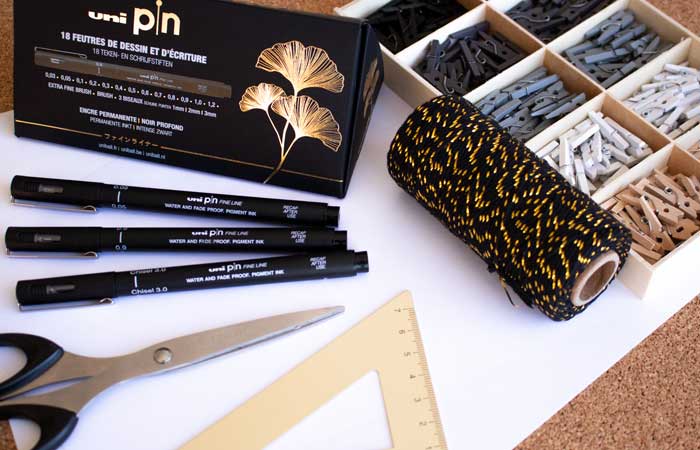
It’s never too early to wait for Christmas! What if we dove into the holiday spirit by making an advent calendar to decorate the house? After the Uni Pin Tube pack, we bring you the new full black pack, this time in a tube-shaped carton, and contains no less than 18 felt-tip pens, including the new extra fine brush tip and the bevelled tips. Everything you need to create a unique and stylish calendar.
Tutorial level: Beginner / Advanced / Expert
For this tutorial, you will need:
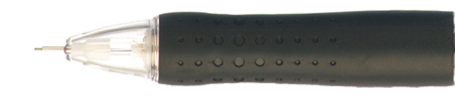
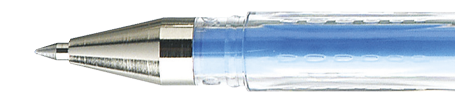
- Uni Pin felt-tip pens (here we’re using the new pack)
- Sheets of paper
- Scissors
- A set square
- String
- Small wooden pegs
- A cork board
- Drawing pins
1st step: the materials
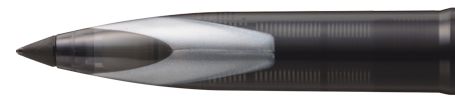
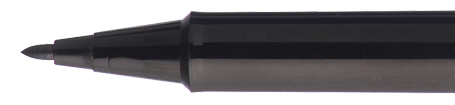
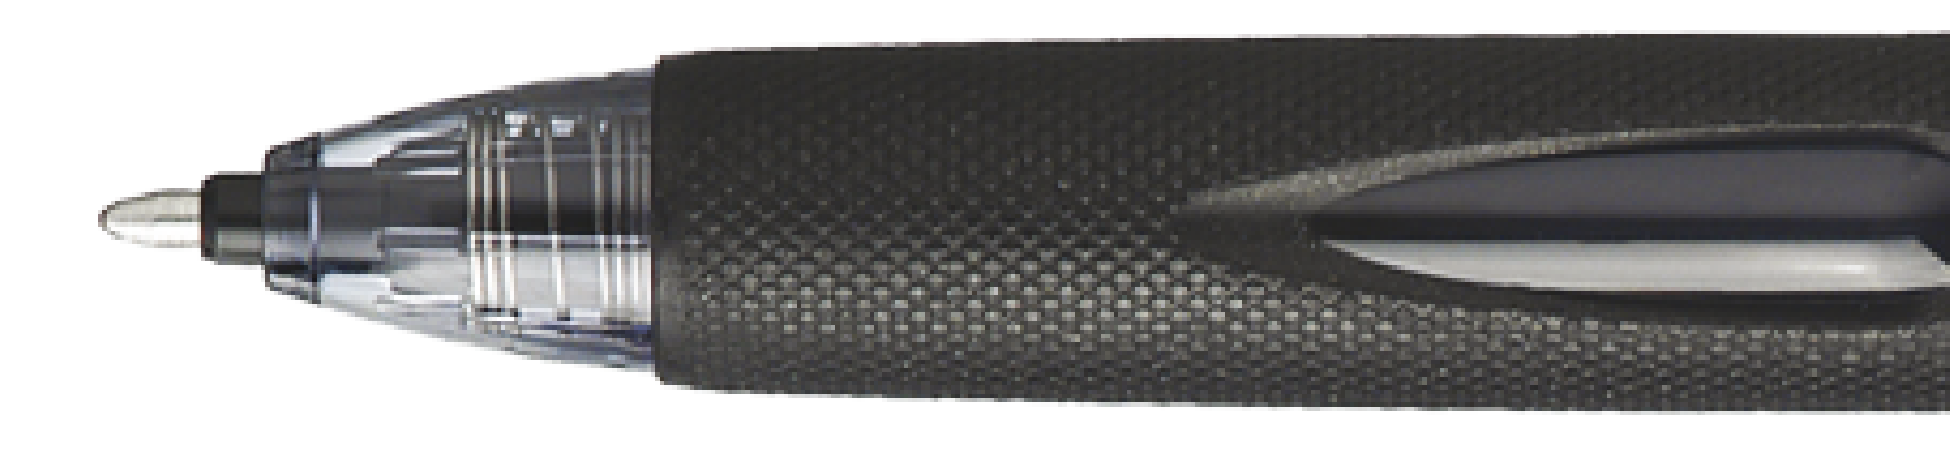
Start by taking out the star of this tutorial: the new Uni Pin pack! A great full selection of 18 tips in an intense black.
Then with some everyday objects, and a cork board, you’re ready to create your very own advent calendar yourself.
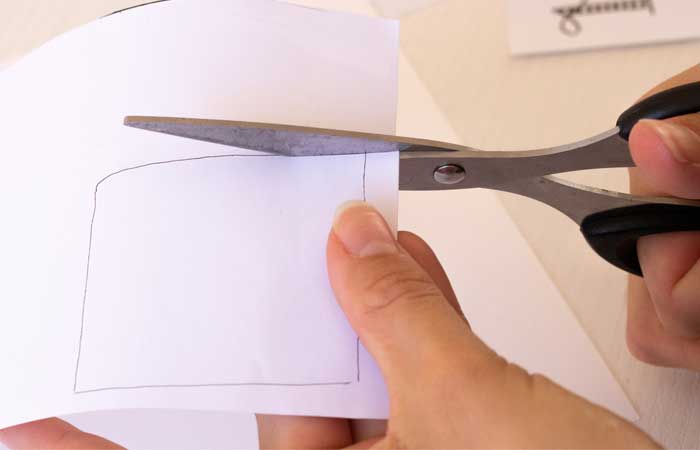
2nd step: Each day has its square
From the 1st of December to the 24th, these 24 days waiting for Christmas can seem so long. For each of them, trace a square, with the help of a Uni Pin thin tip (0.03mm), which you will then carefully cut out.
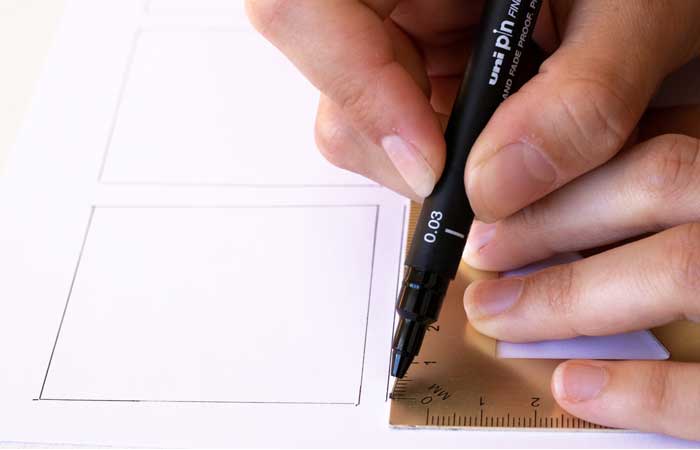
Make sure that the squares are all the same size for a nice finish!
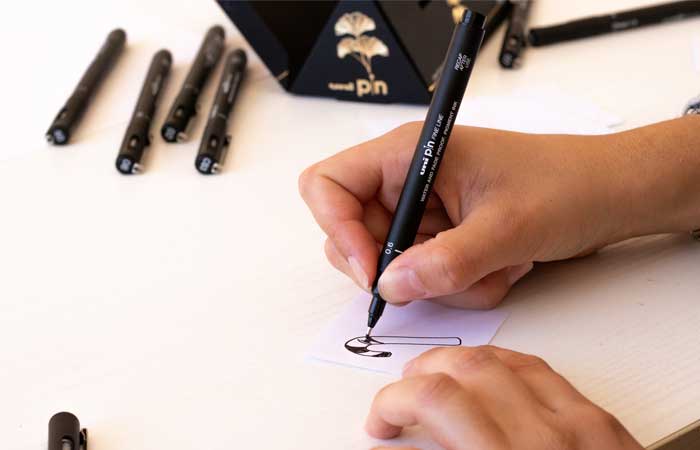
3rd step: Wonderful numbers!
On the front of each square, with the help of an average tip (0.6mm for example) Uni Pin trace the edge of your number.
Then, with the Uni Pin brush tip, fill it in. Always a satisfying step with a deep and precise result.
To vary the effects, you can also work on the patterns, lines with a thinner tip (0.4mm).

4th step: Festive designs!
Candy canes, snowflakes, reindeer, snowman... The possibilities are endless when choosing your designs around the themes of winter and Christmas, which will appear on the other side of each square.
What patterns will you choose? We’re curious to see them all!
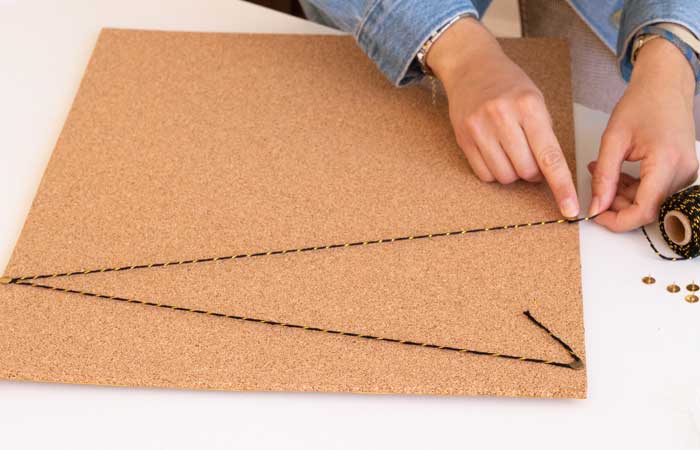
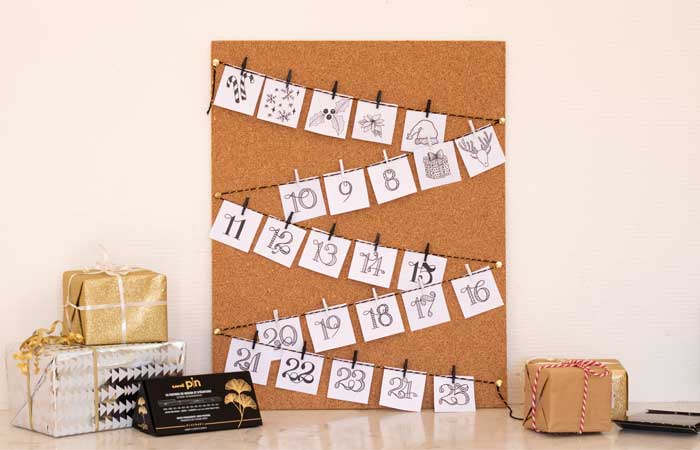
5th step: Preparing the support
The goal is in sight! Now that the 24 squares are ready, take your string and fix it in a zig-zag pattern on the cork board, with the help of the drawing pins.
We’ve chosen to position the board vertically, but of course, the horizontal option is welcome too, it all depends on where you want to put your calendar.
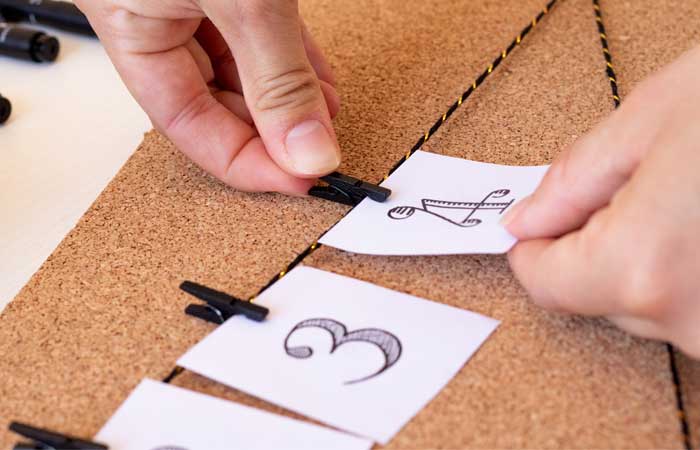
6th step: Each day has its place!
Now you just have to hang each of the 24 squares with little pegs on the string, in increasing and chronological order.
For a uniform result, try to keep the same spacing between all the squares.
7th step: A result which makes waiting fun!
How magnificent is your Uni Pin advent calendar? Every morning, you can turn the square corresponding to that day’s date, and discover the design which is hiding behind. Creative daily gifts while you wait for Christmas!
Share the final result with us using the hashtag #uniballfrance and tag us on Instagram (@uniball_fr) we’d love to admire your work and share them in a story!