


Create your very own place markers using Signo roller ball pens

A wedding is a very special day and every detail counts. Place markers for instance are one of the essential table decorations which help to add a personal touch to your reception. So why not create your very own? It is a simple and fun activity which you can do alone, with friends or family, and can personalise to suit your own taste!
For this tutorial, you will need:
• Sheets of card
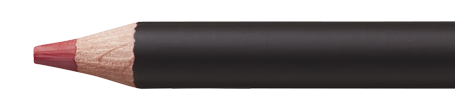
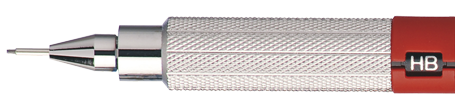
• A premium pencil
• A ruler
• A pair of scissors
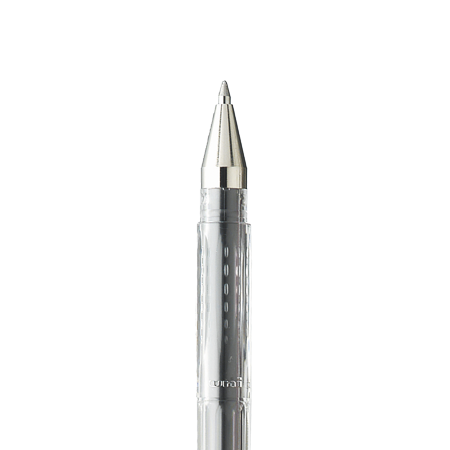
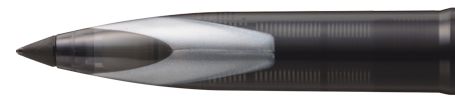
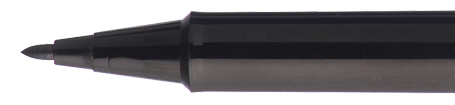
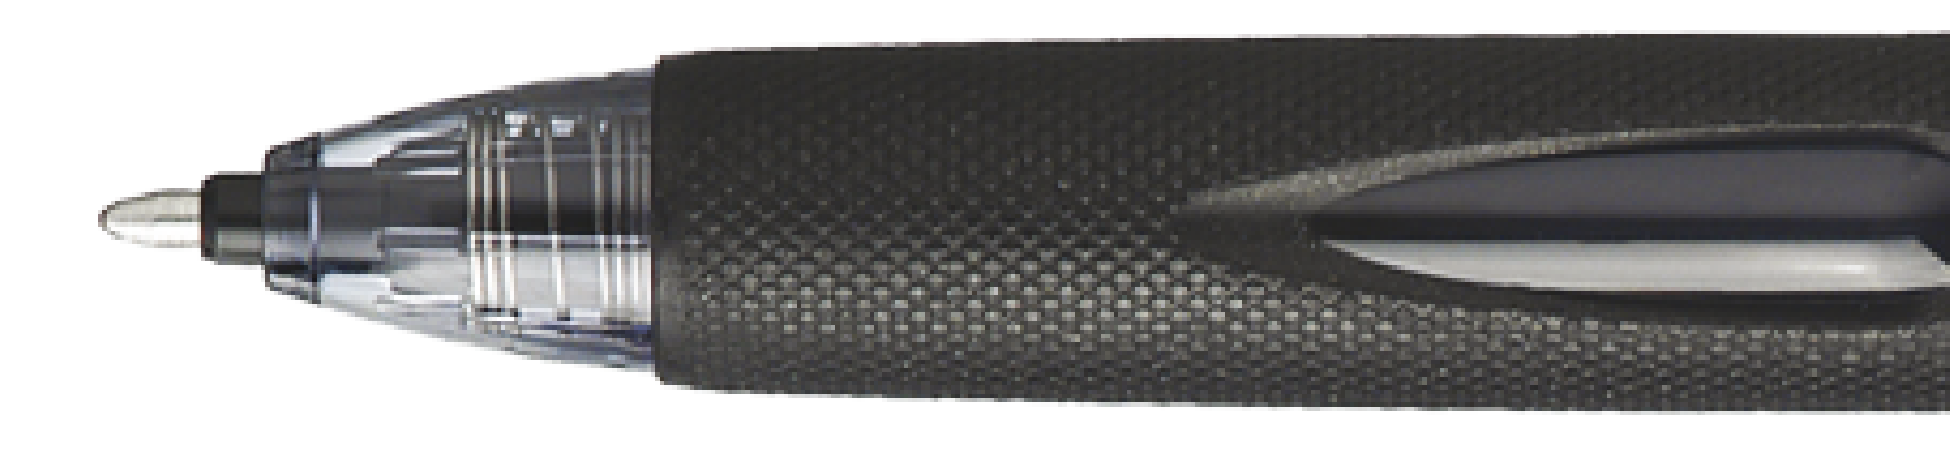
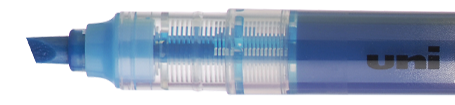
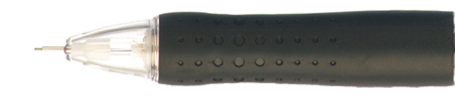
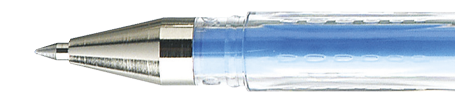
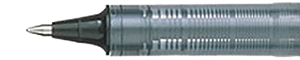
• Signo roller ball pens
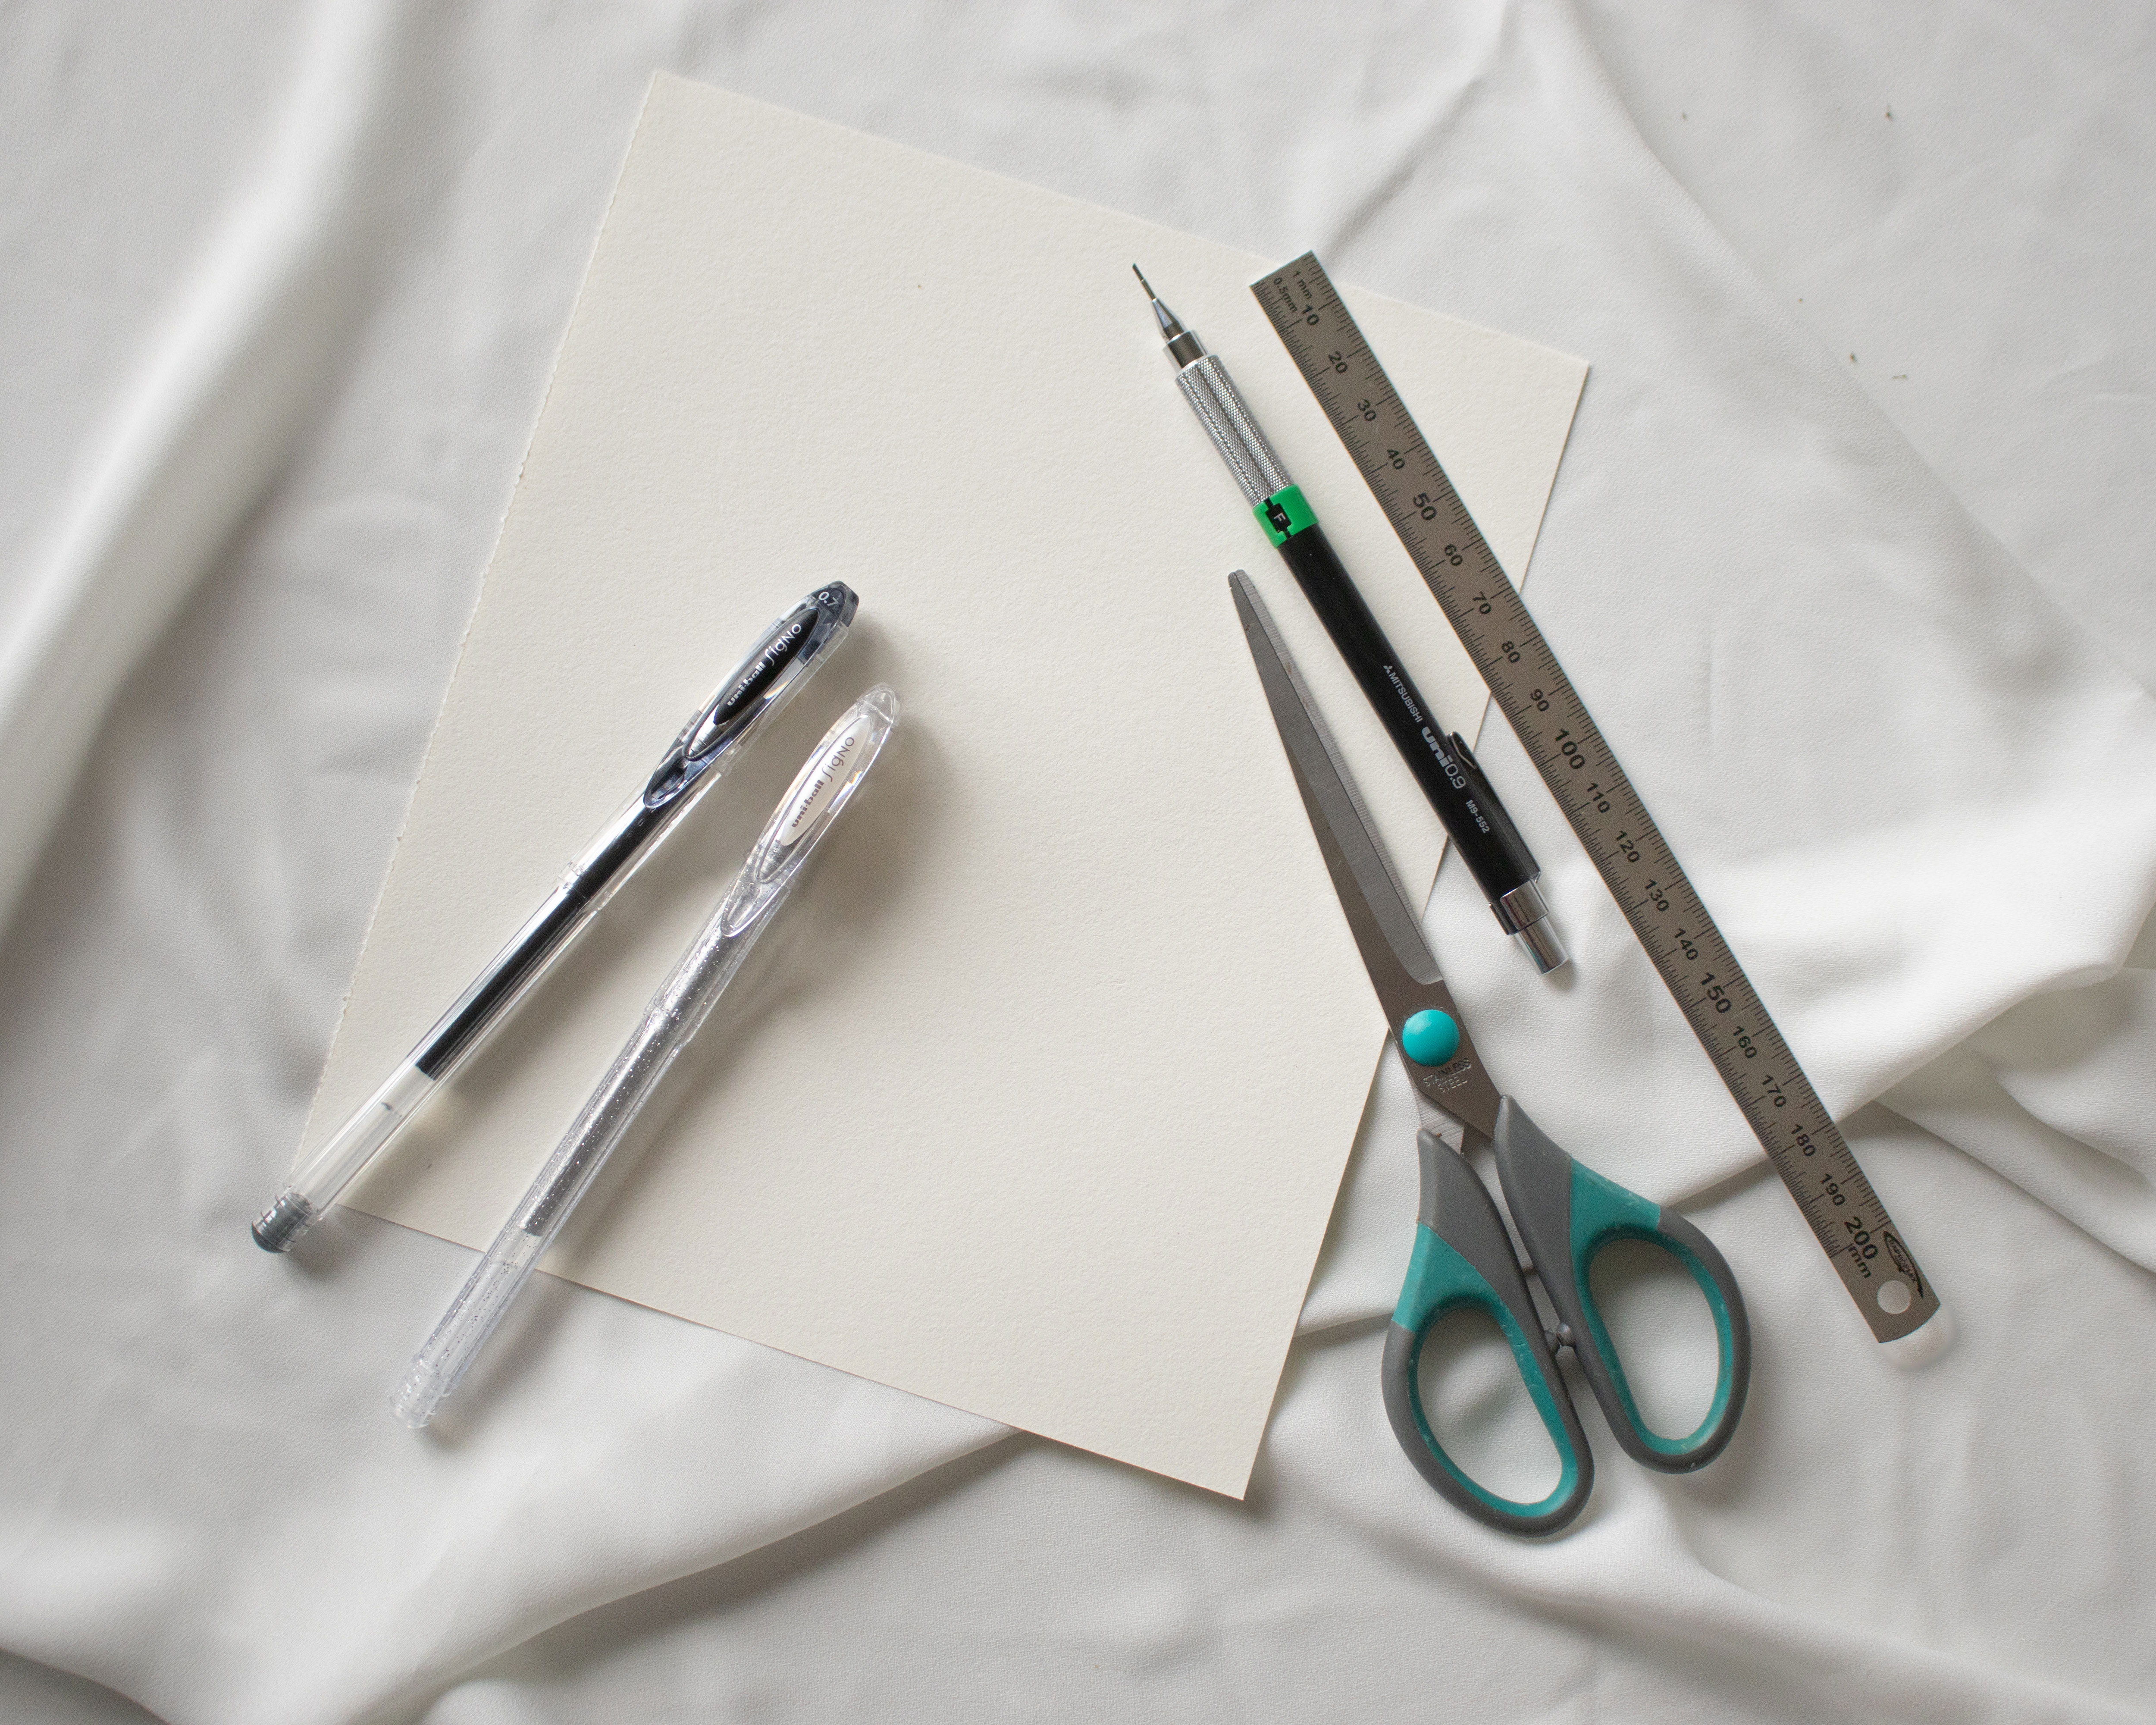
Step 1: What you need
To create your very own place markers, you will need sheets of card (the quantity will depend on the number of guests), a ruler and a pair of scissors.
You can then use a premium pencil to draw your outline and then Signo roller ball pens to carefully write each name. It is up to you to choose neutral or bright colours. You can even opt for metallic or glitter tones! You can also choose white or coloured sheets of card.
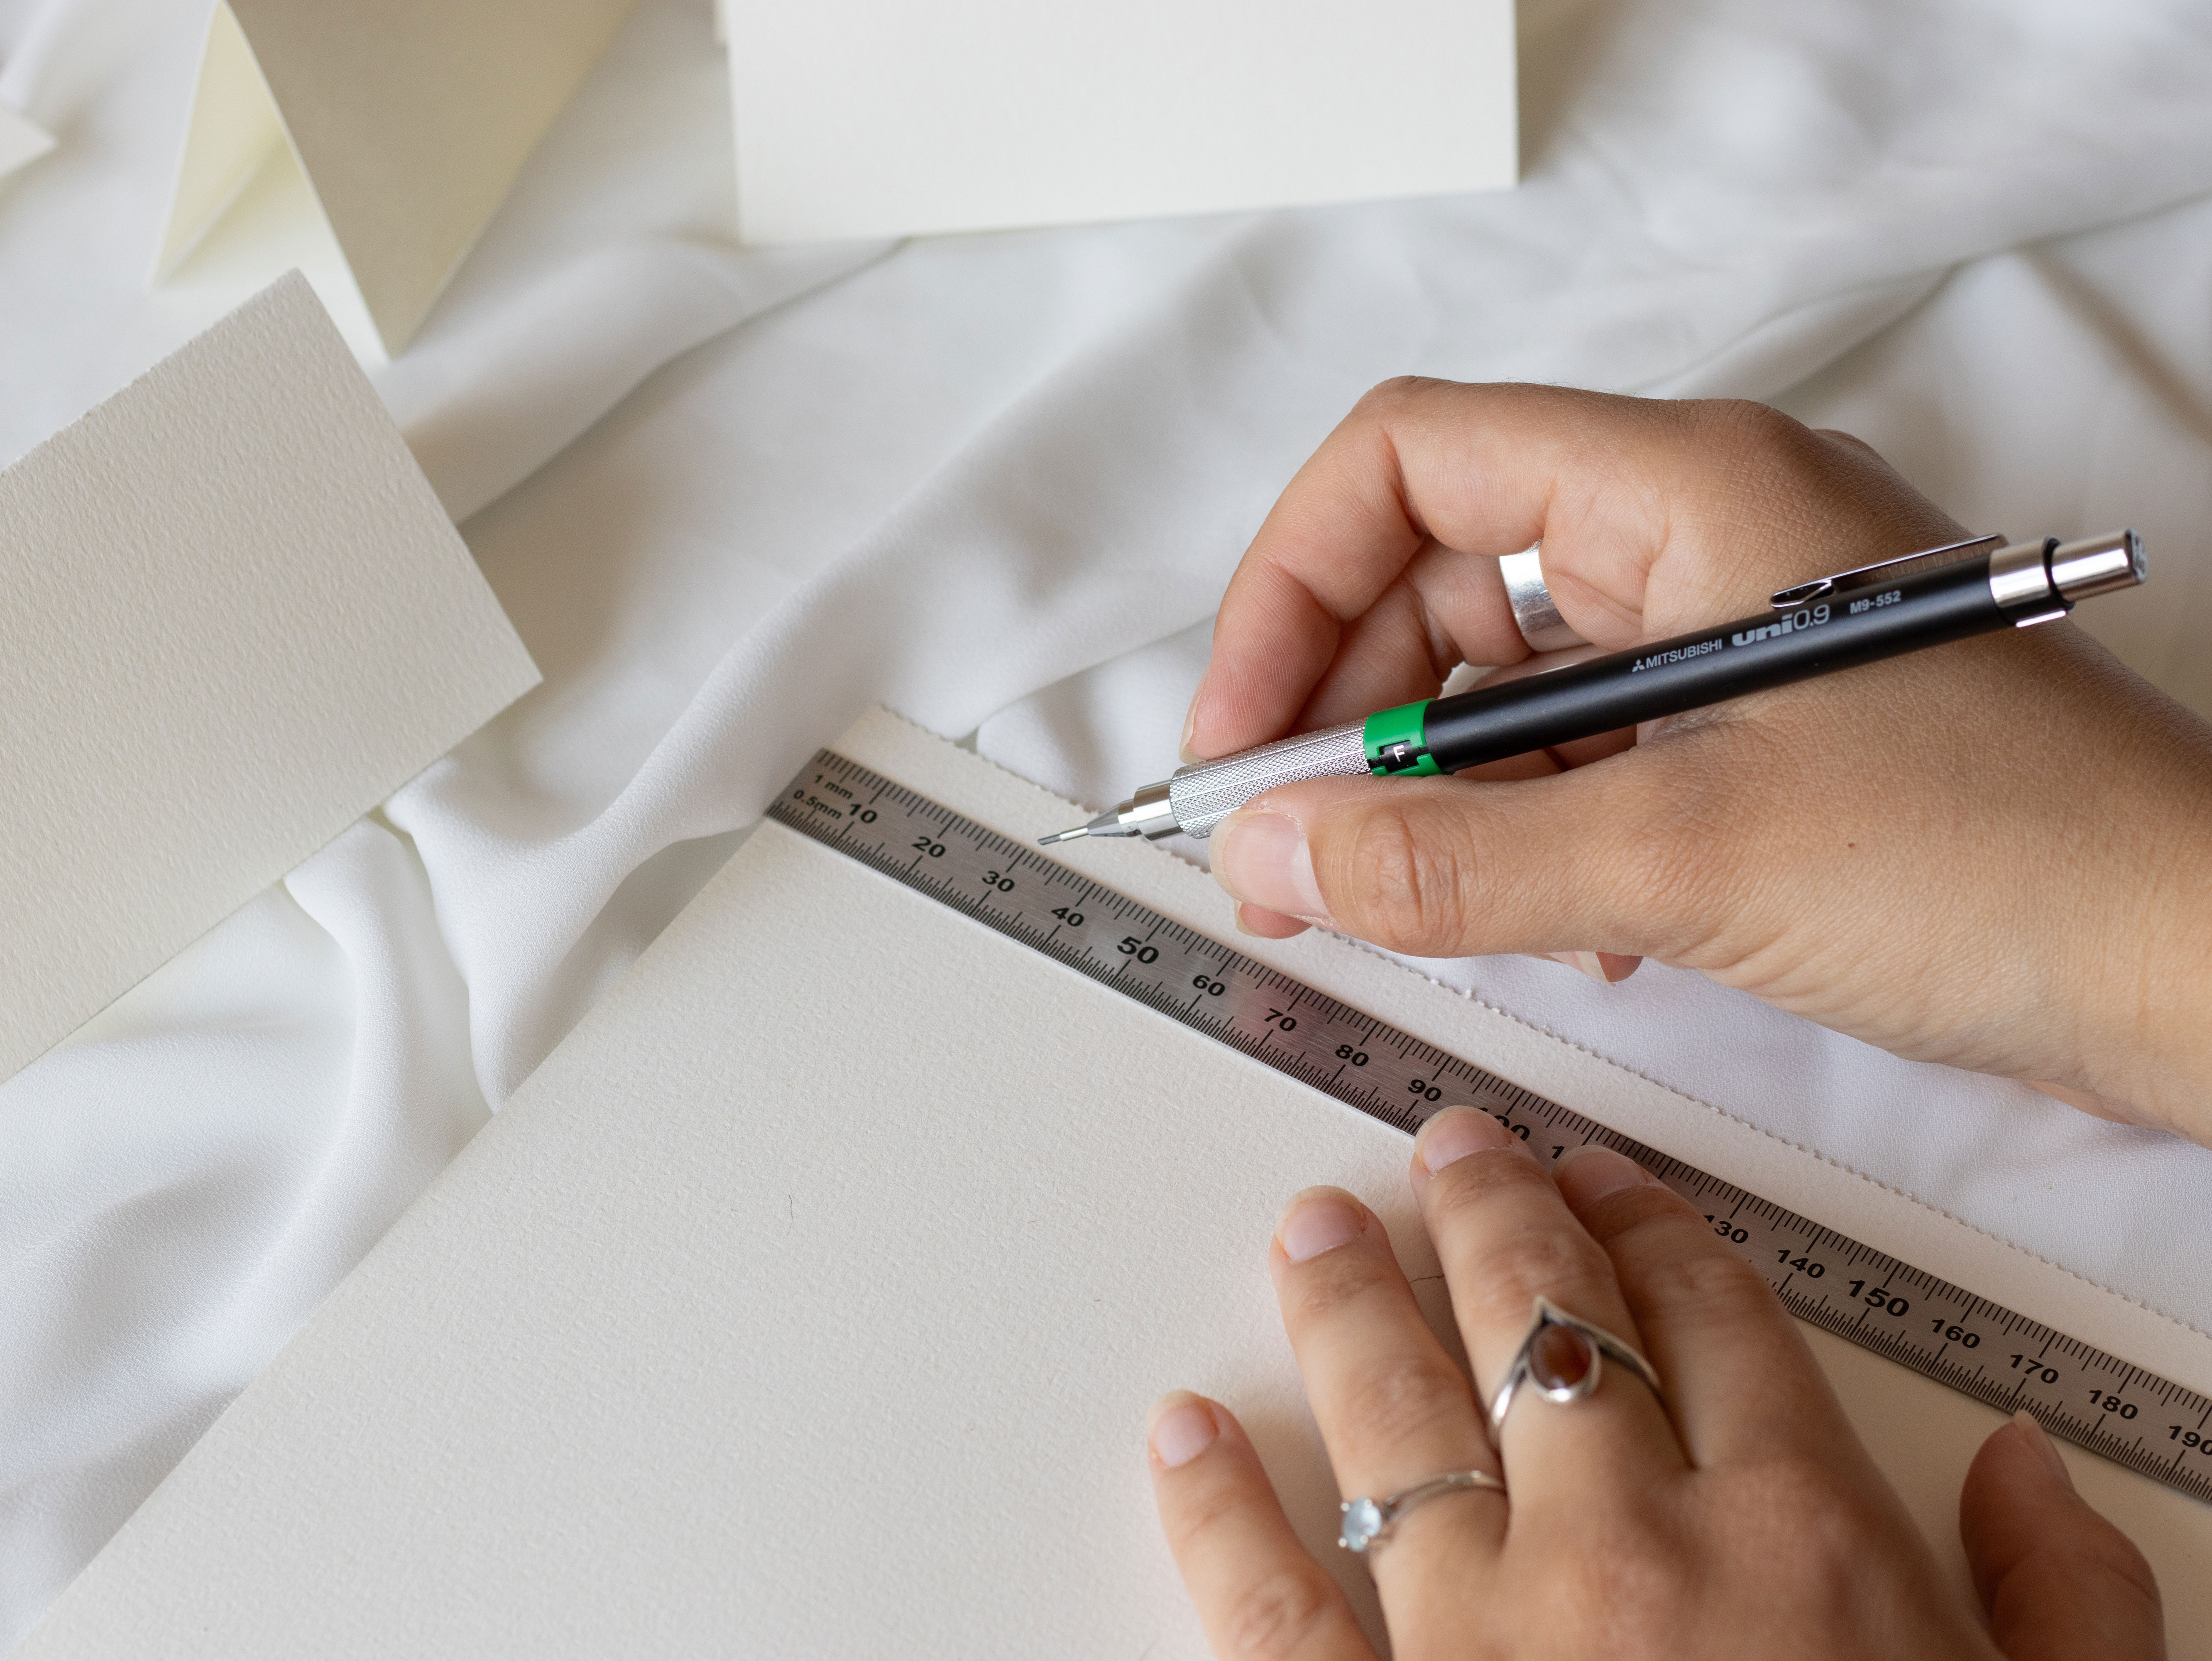
Step 2: Draw clean outlines
Using your premium pencil and a ruler, trace the outlines of your place markers. These outlines will be used to cut out each marker. We have gone for 10.5 cm x 12 cm rectangles.
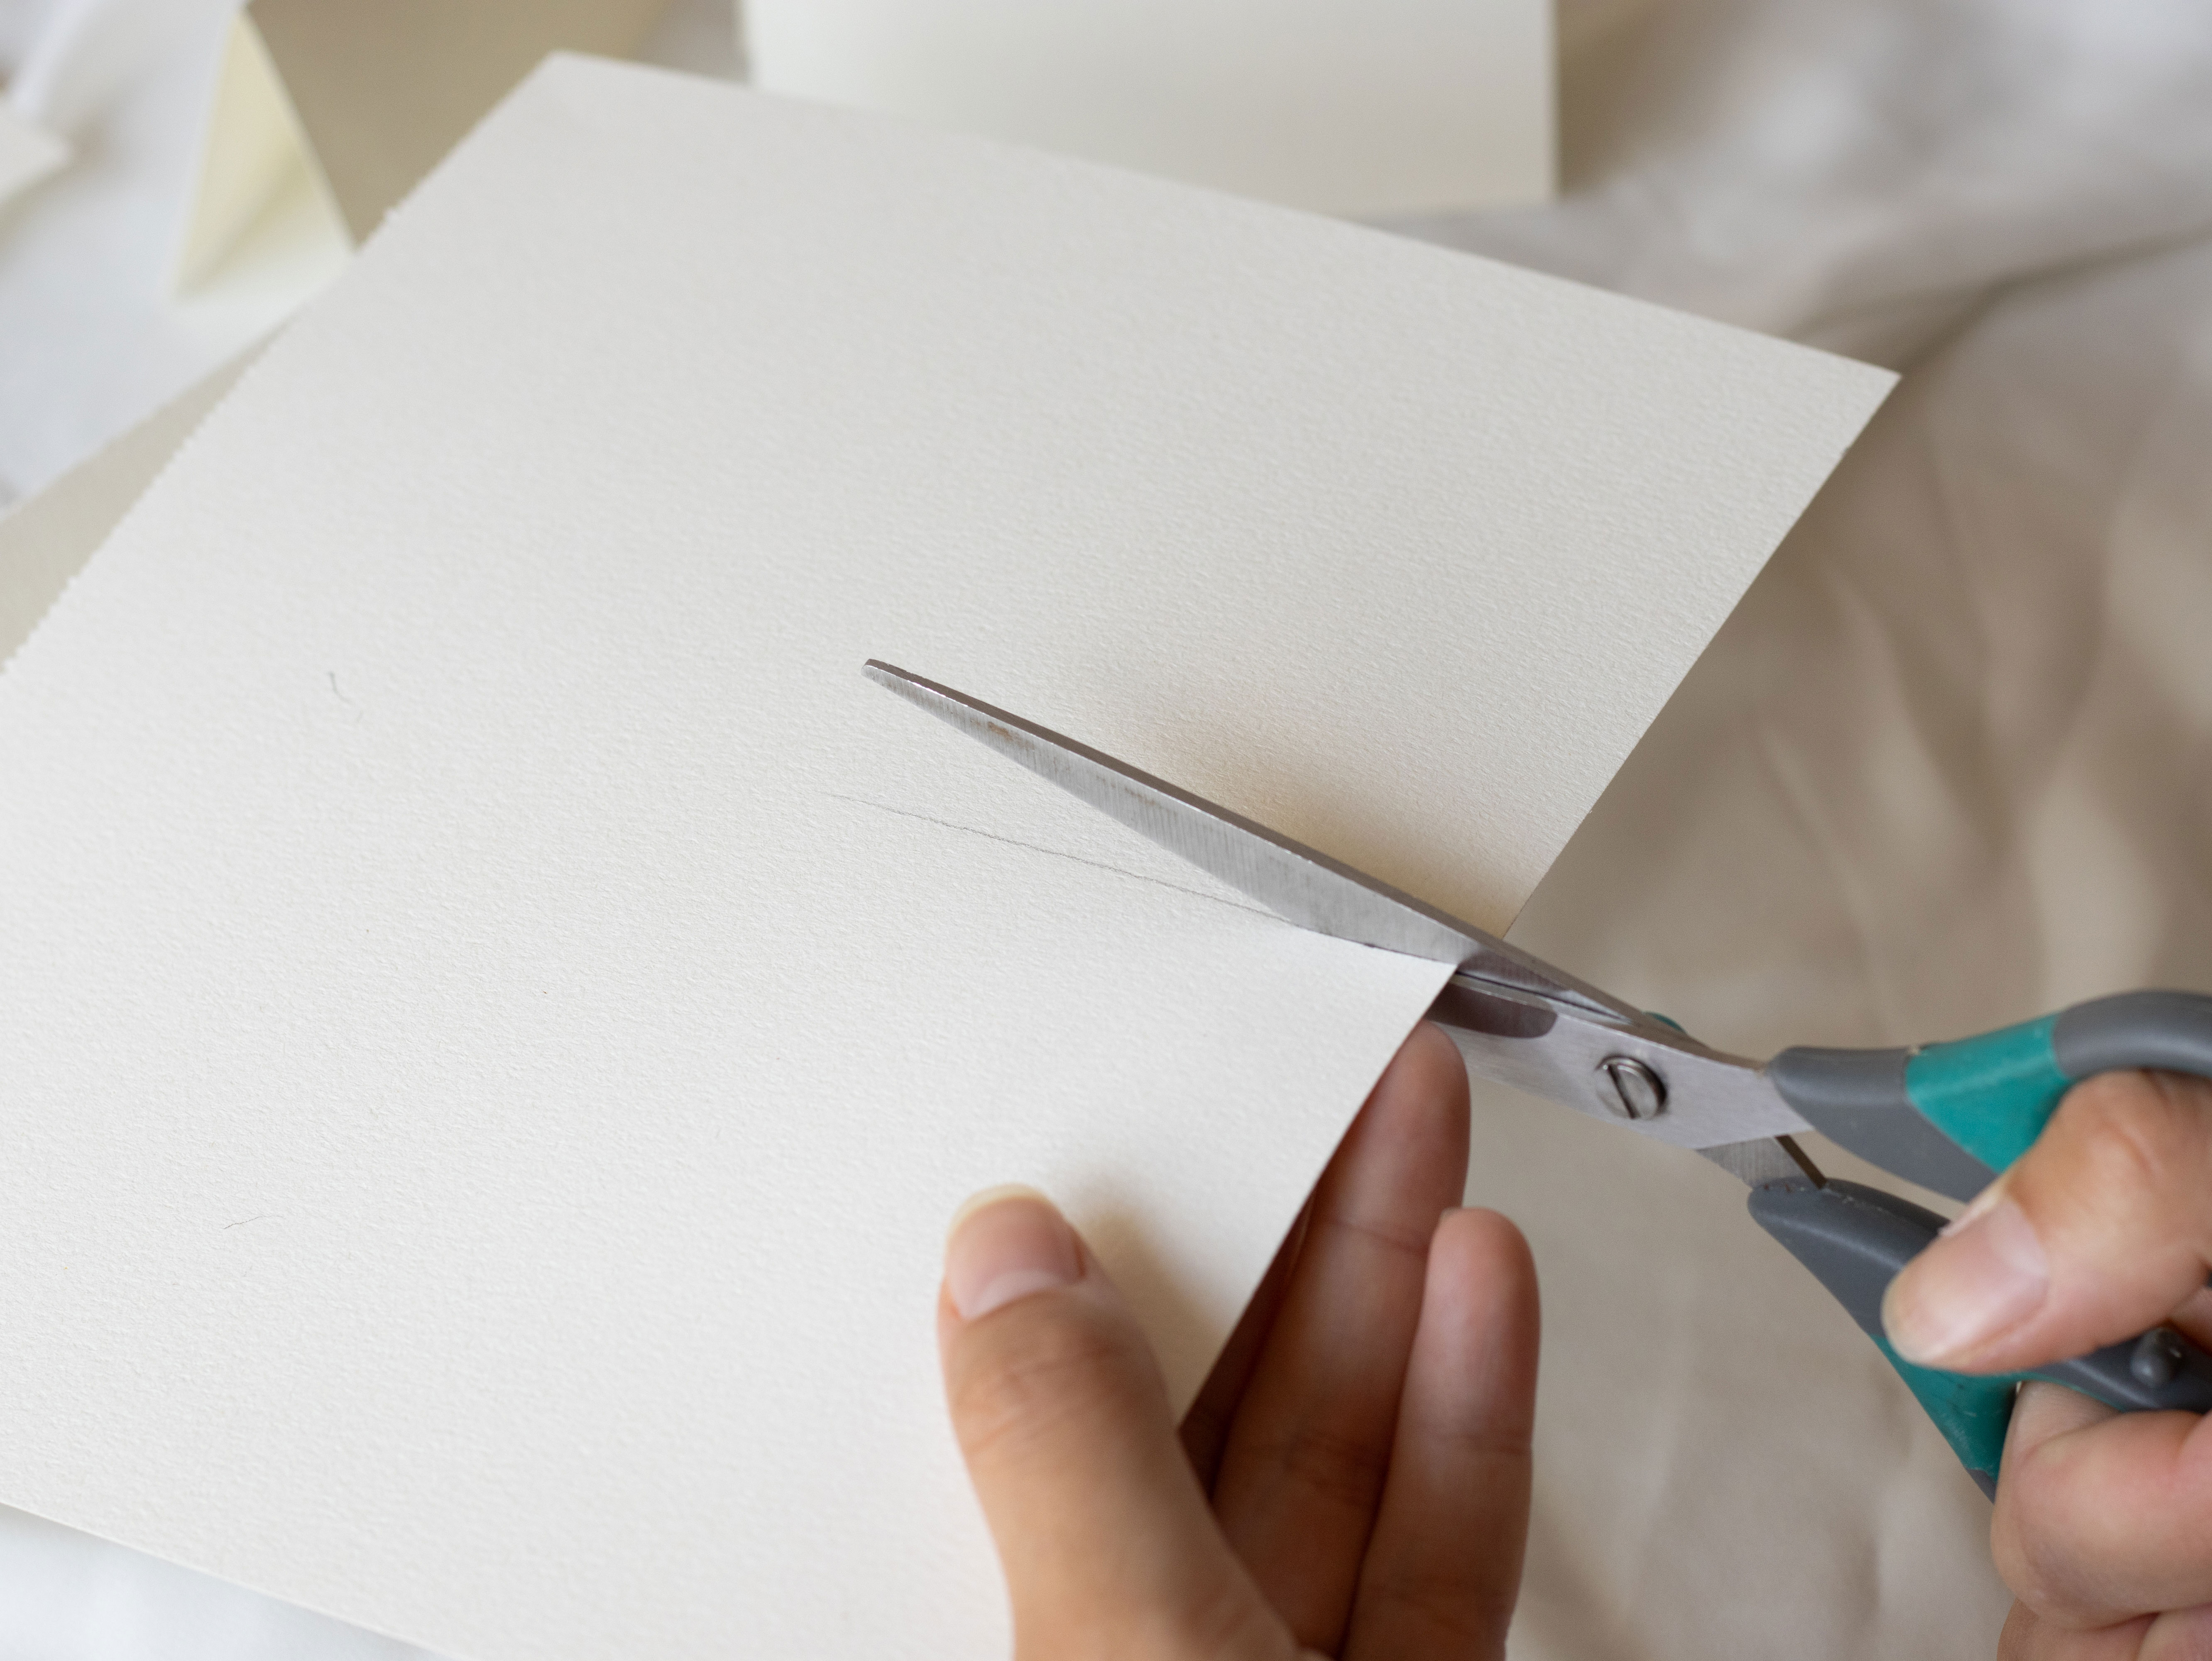
Step 3: Your place markers begin to take shape
You simply then need to cut around the outlines. Then fold each individual rectangle down the middle lengthways. This will then allow your place markers to stand up and be visible by your guests.
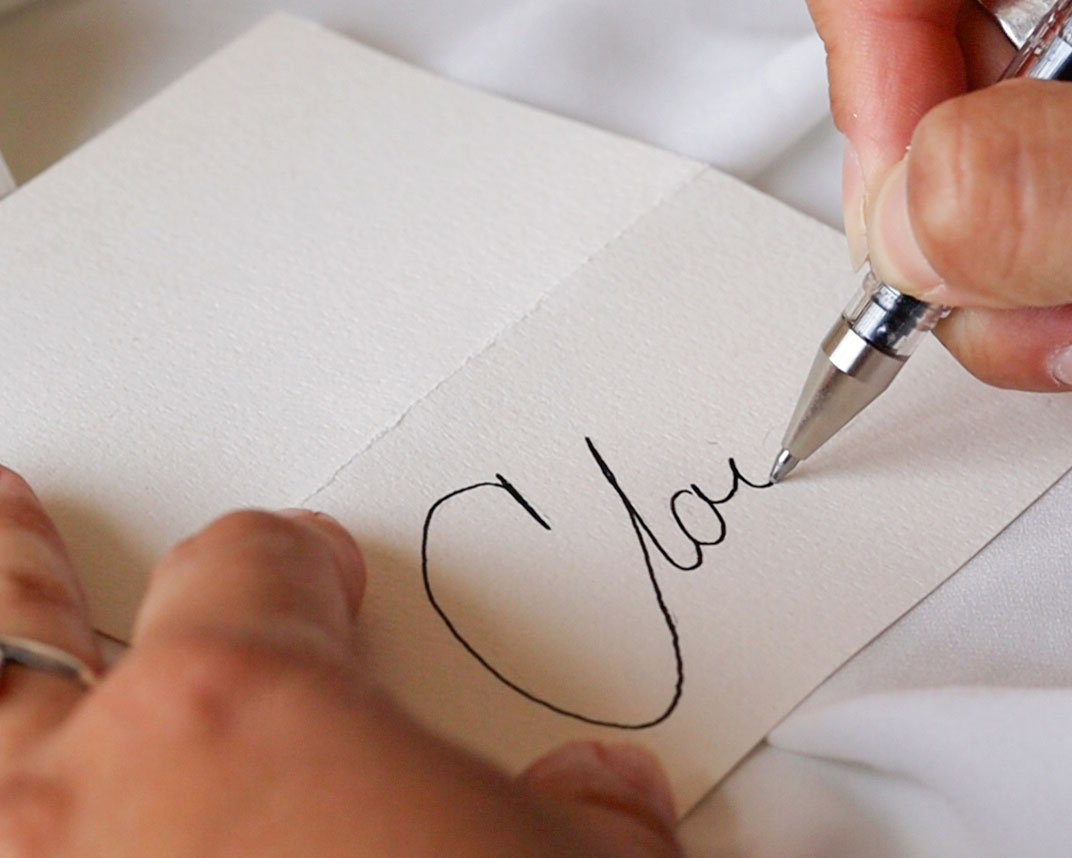
Step 4: Writing the names
Using the Signo roller ball of your choice (ideally the darker of the two colours you have chosen), write the name using clear lines. Do not forget to add an initial if some names are the same.
If you prefer, you can first write the name using the premium pencil to then alter the size and ensure that there is enough room for all of the letters. You can then simply erase the pencil lines after writing the name using your Signo roller ball.
Step 5: Add some depth
To add a touch of depth to your calligraphy, draw some texture over your letters – preferably the downward strokes if possible. To do this, use the same colour as in the previous step. 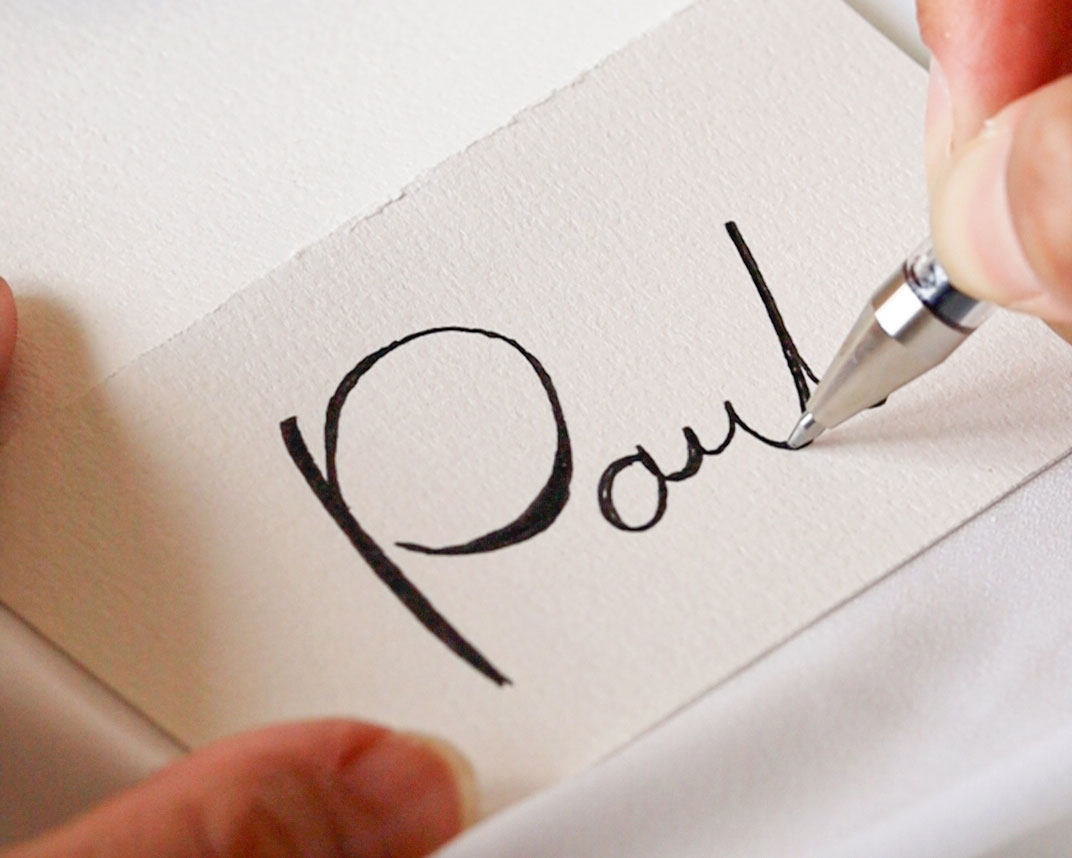
Step 6: Bring the design to life
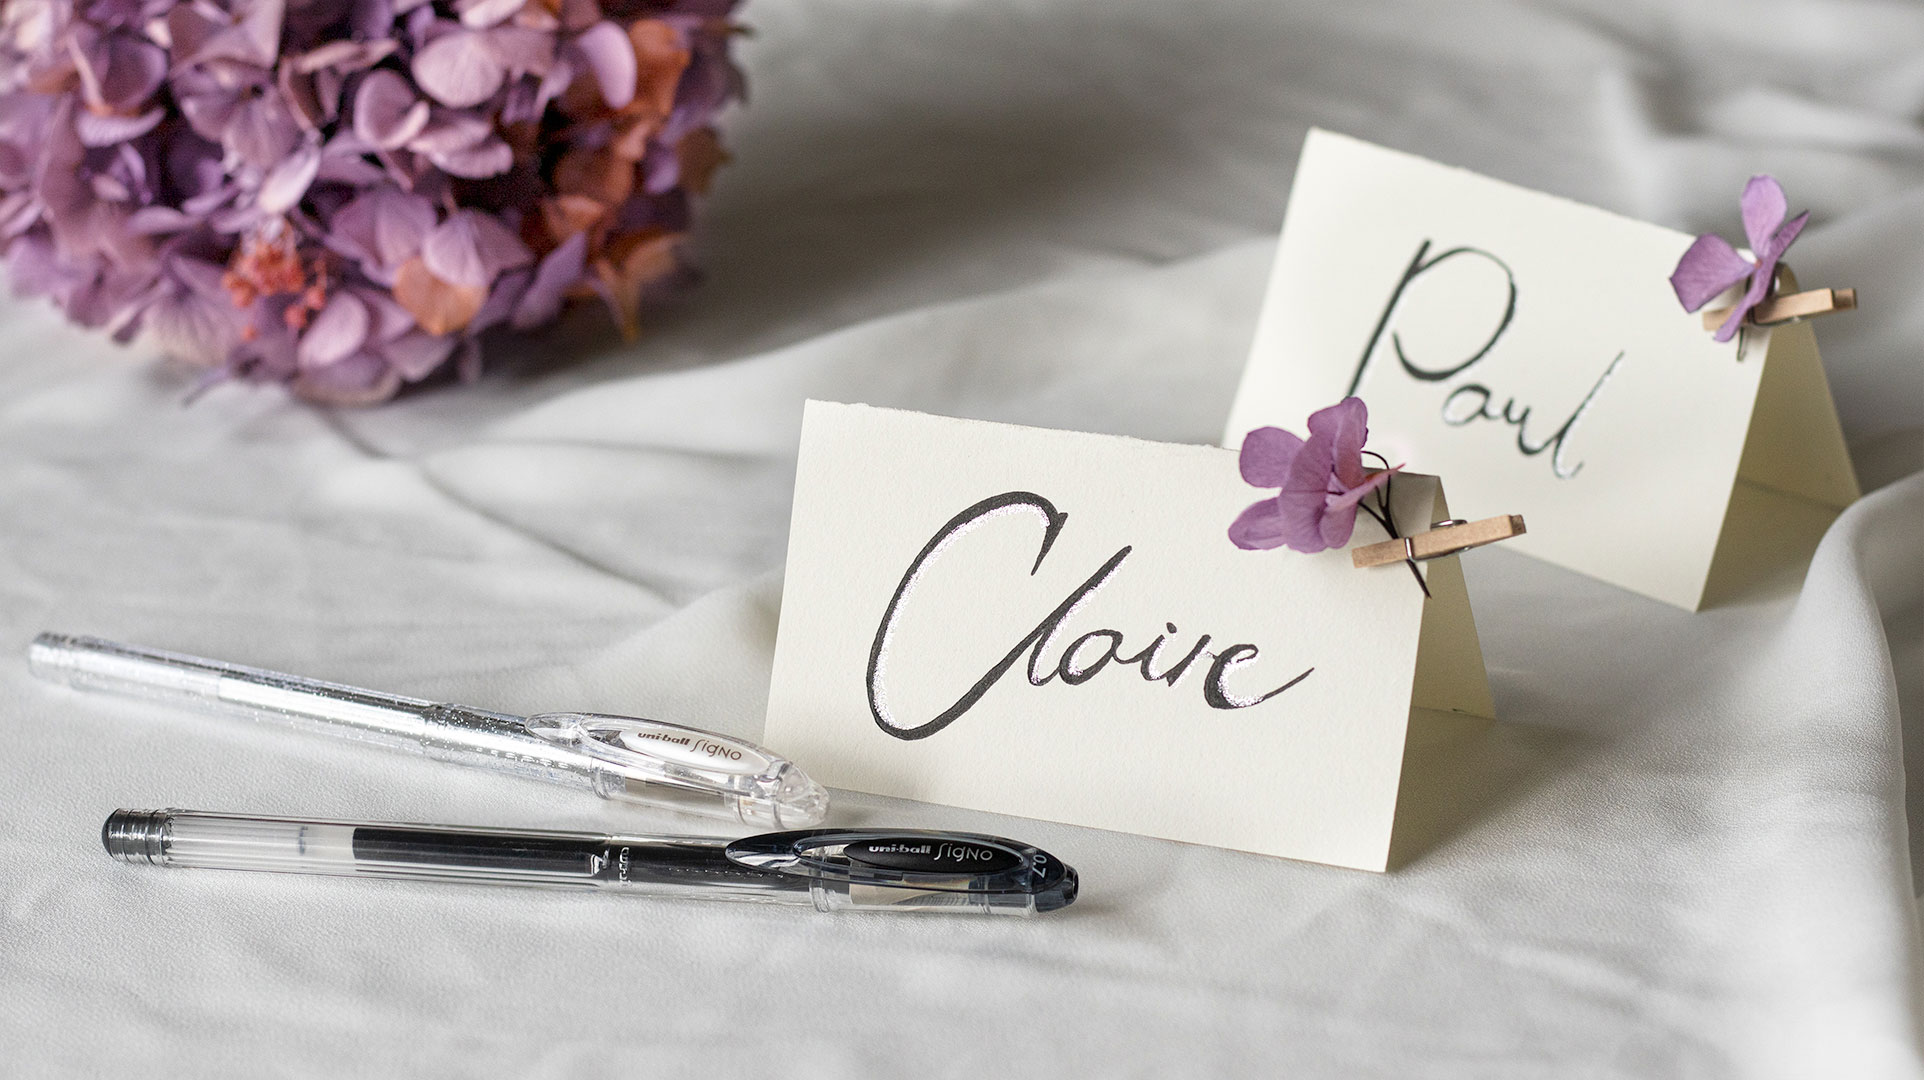
To finish, bring some life to the design by adding “shade” to your thicker lines, using a Signo roller ball, and ideally a metallic or glitter shade to make it stand out! 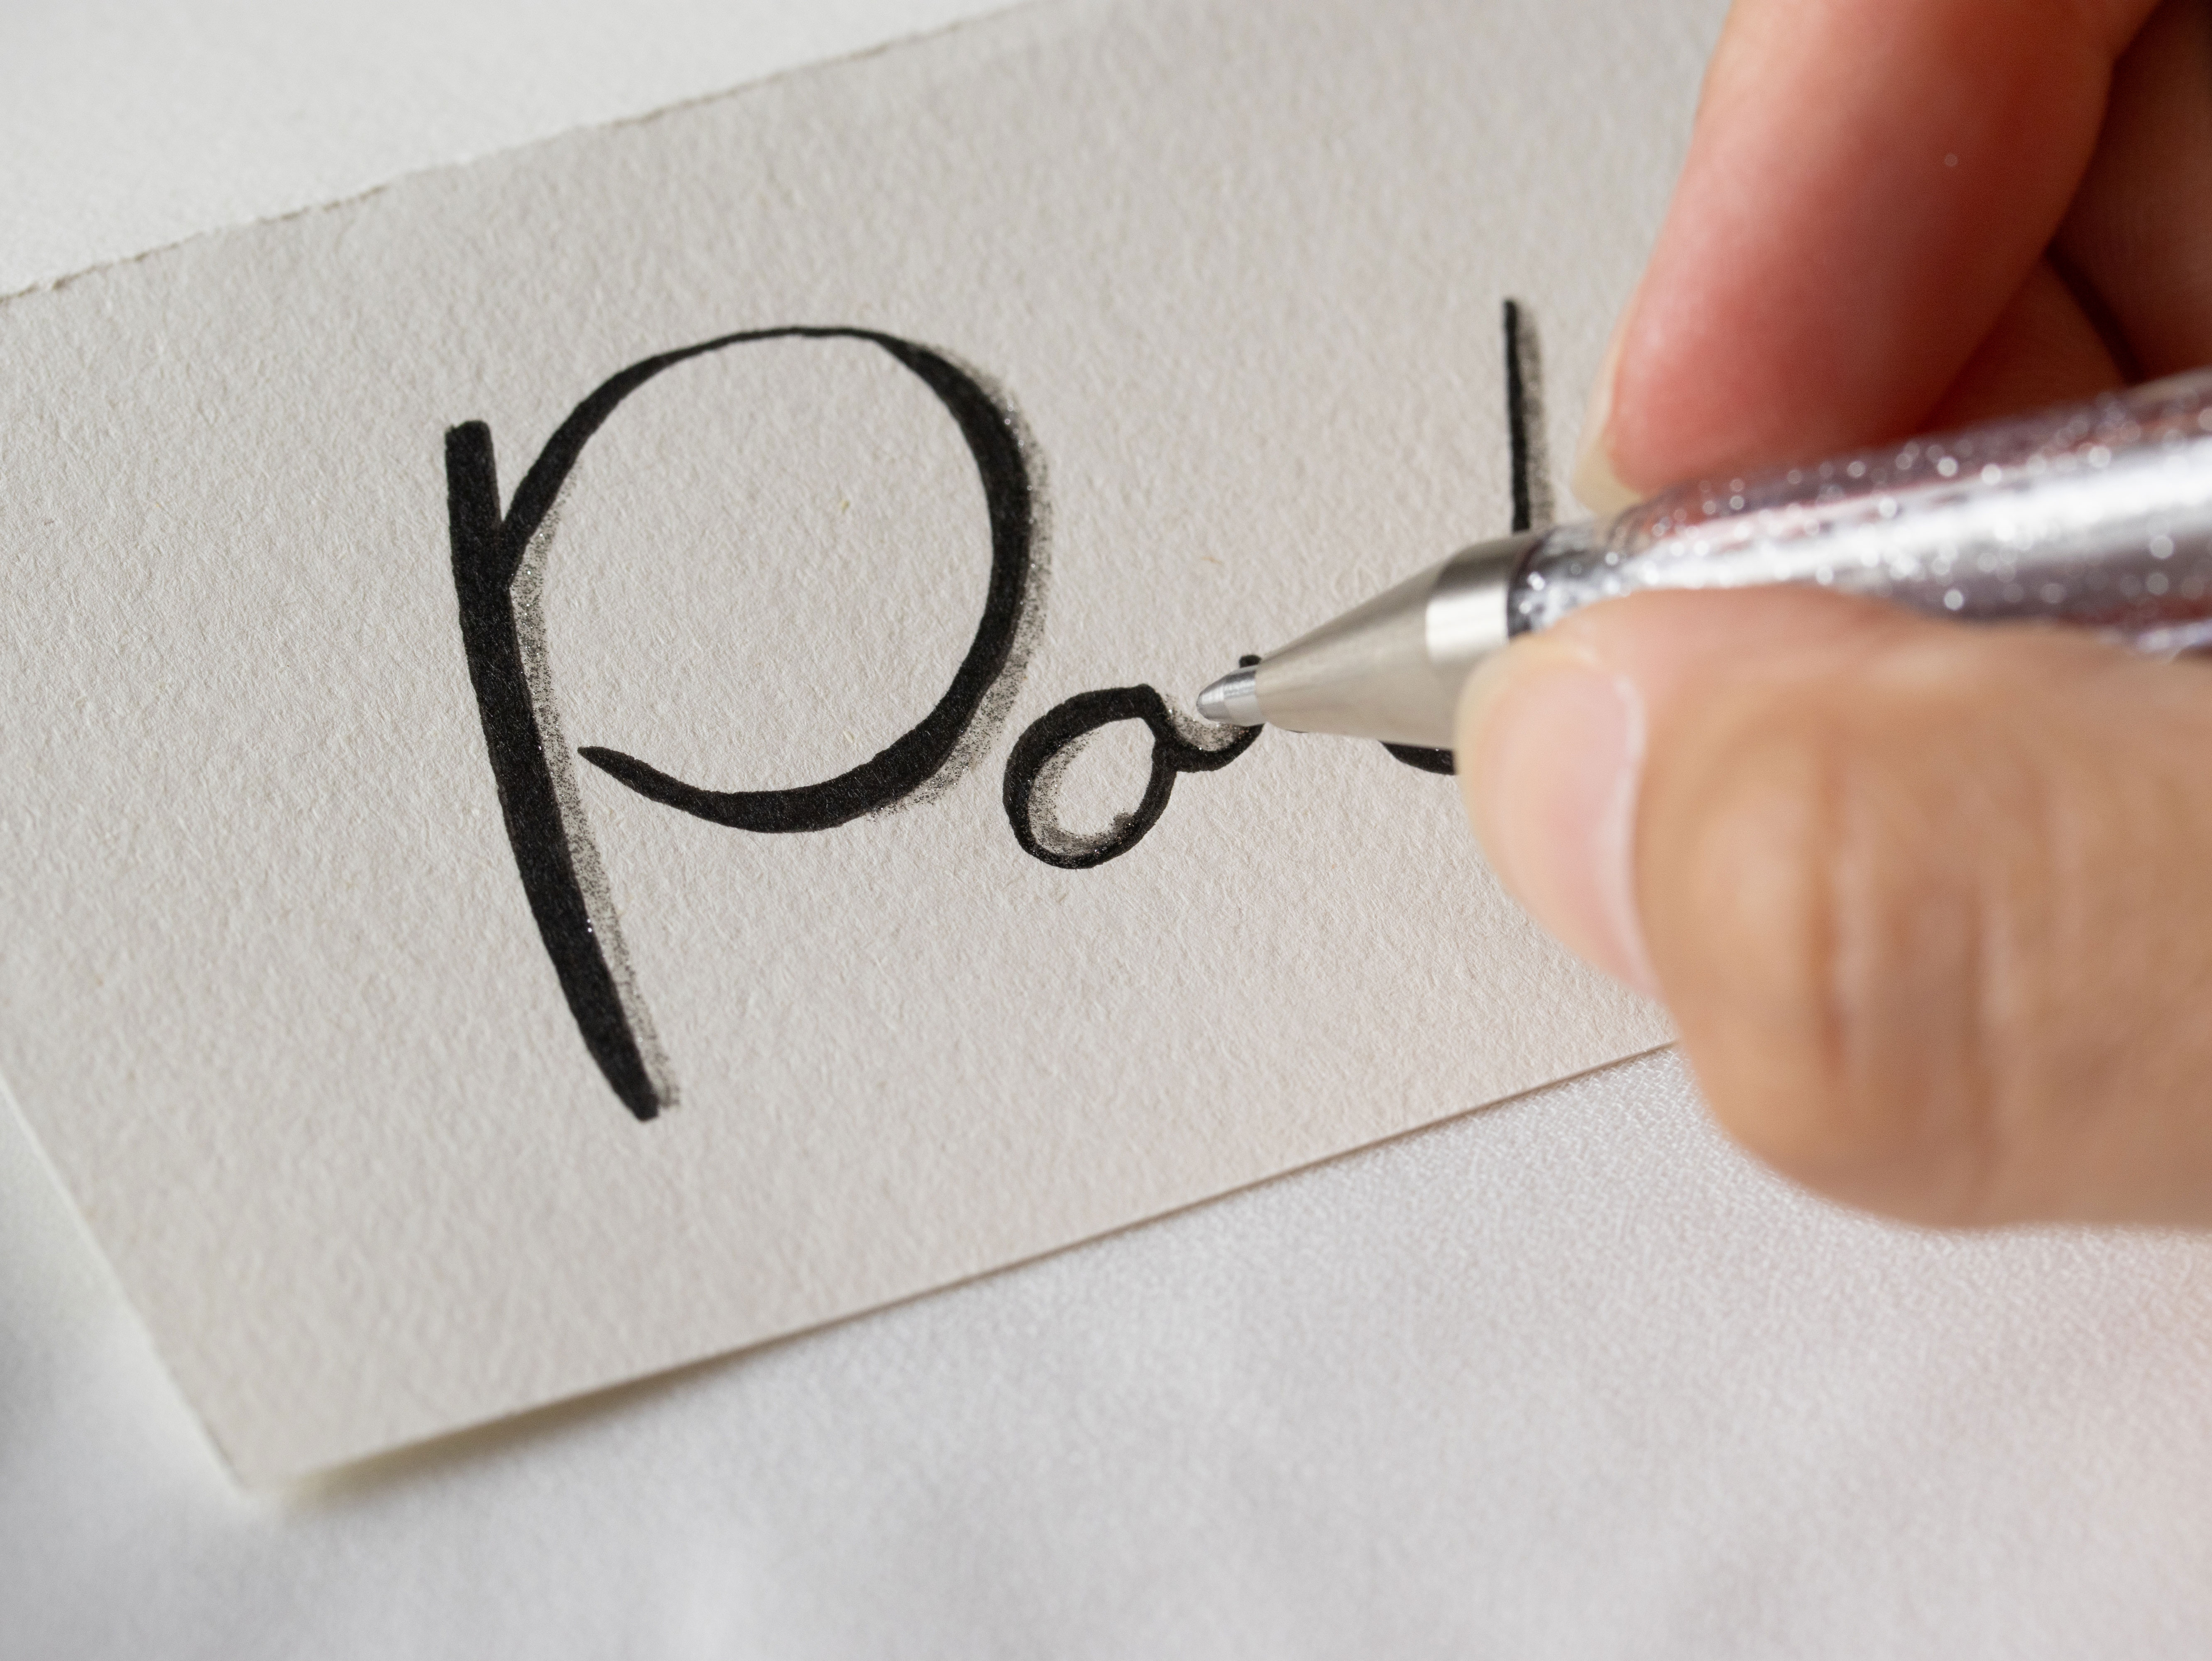
Step 7: Admire the end result
Congratulations! Your very first place marker is now complete, and you can simply repeat the steps for each guest. Feel free to lean on your creative friends to help out. Of course, we would be delighted to see your end result, which you can share with us on social media.
Enjoy the day and may it be unforgettable!