


Poetic DIY tutorial: make your own frame with your favourite quotation

Today we are coming together for a new tutorial using our essential Uni-Pin felt tips!
For the poetic springtime, how about designing a few springtime decorations around your favourite quotation?
With this DIY tutorial, you can bring together poetry and decoration.
If you are inspired by the spring, then follow this guide!
For this tutorial, you will need:
- A frame
- A thick sheet of paper
- Dried flowers
- A glue stick
- A ruler
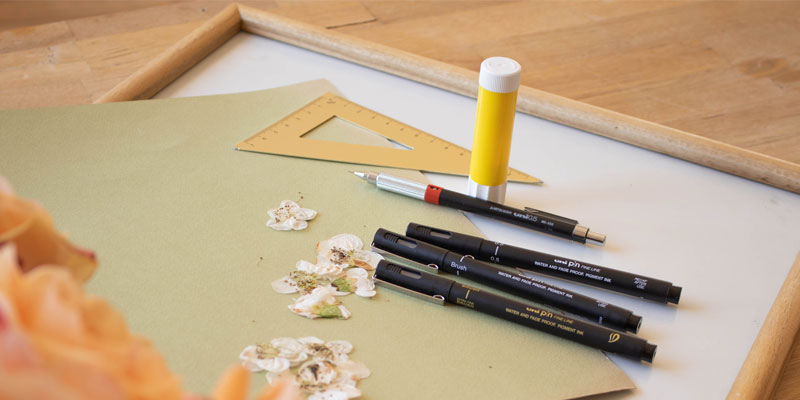
1st step: The materials
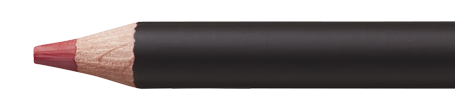
To make your floral quotation, you will need a frame, a thick sheet of paper, dried flowers, a tube of glue, a ruler, and of course your Uni-Pin felt-tip pens and a porte-mines premium.
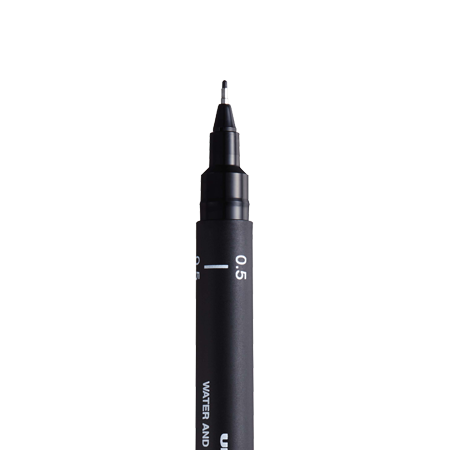
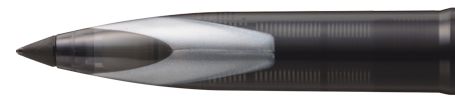
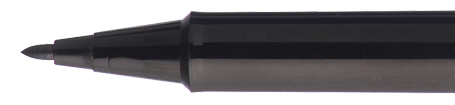
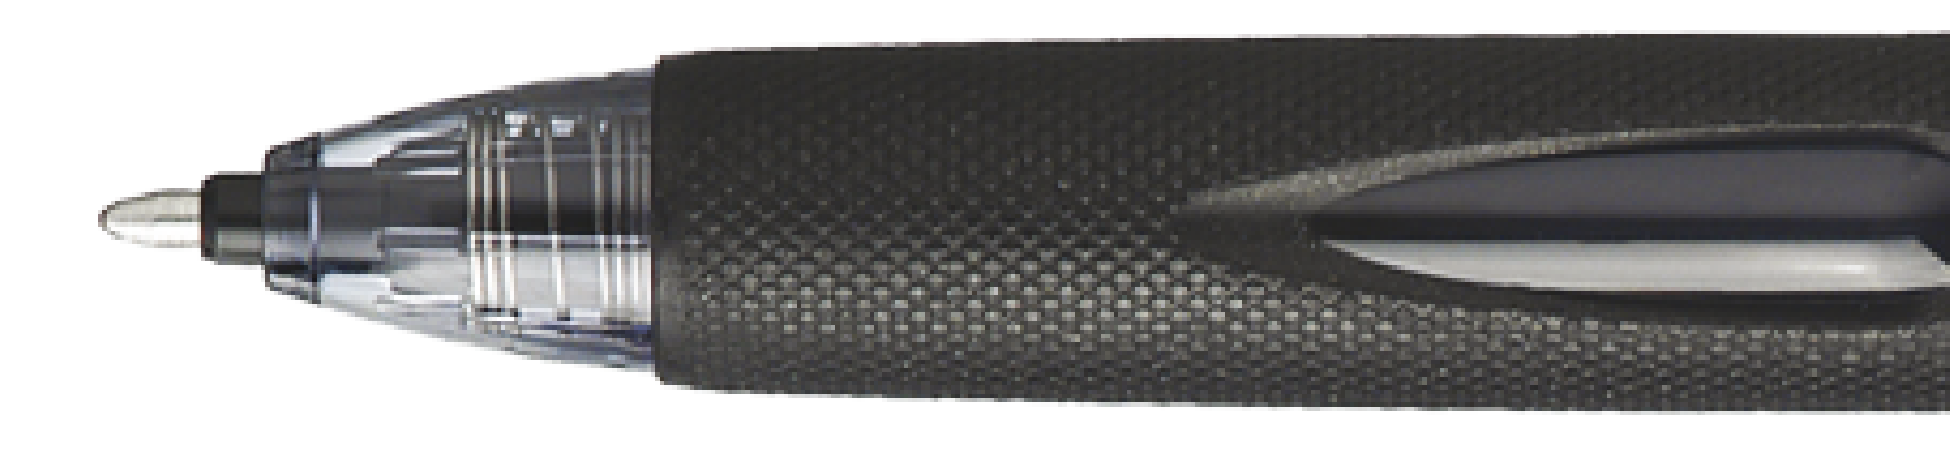
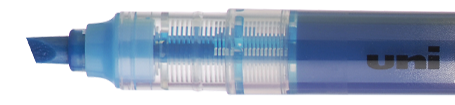
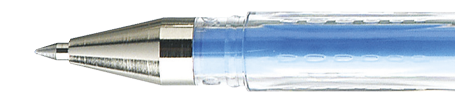
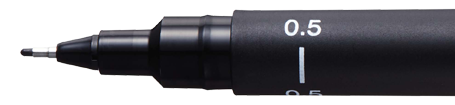
For the size of the tips on our Uni-Pin felt tips, for this tutorial we will use 0.5 mm liners, the brush tip and the extra fine brush tip.
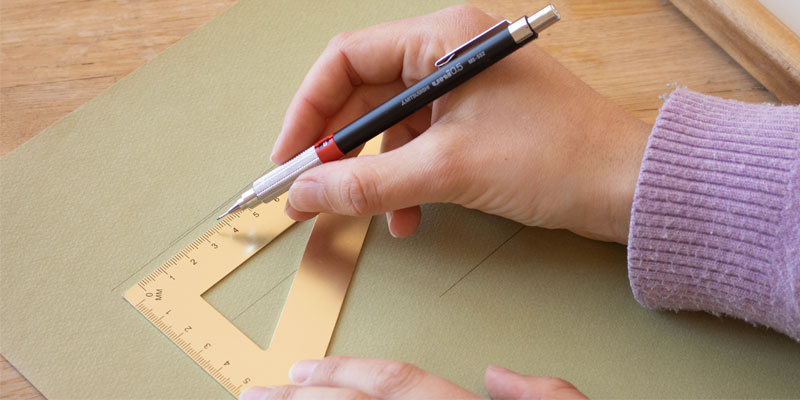
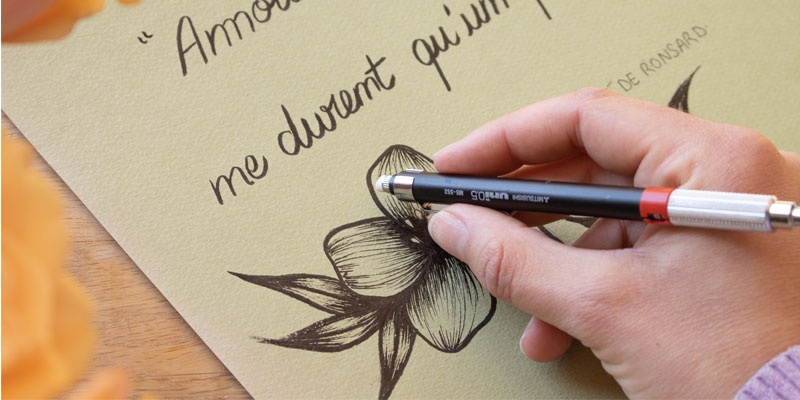
2nd step: Trace your lines
To start with, trace the lines around your quotation.
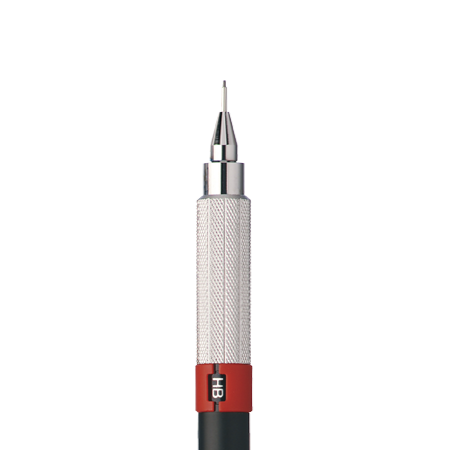
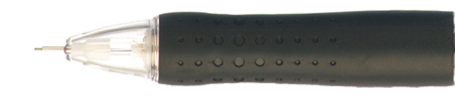
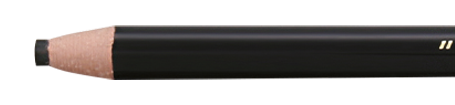
For this step, use your porte-mines premium, a truly remarkable tool. Thanks to its excellent ease of use, your lines will be clear and precise!
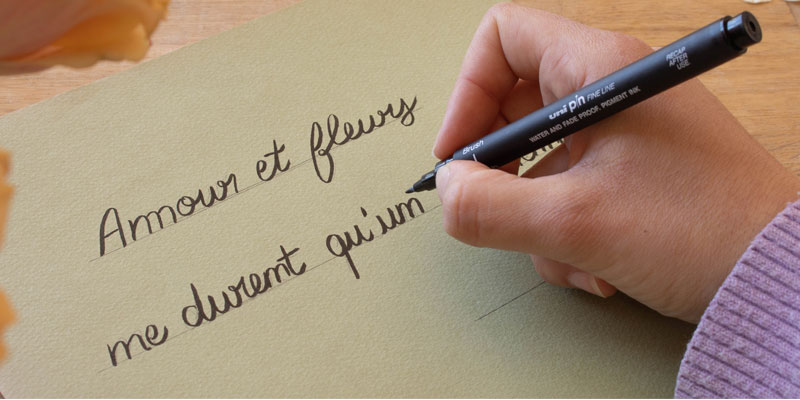
3rd step: Write your quotation
For this step, write your favourite quotation.
We have chosen one by Ronsard: “Love and flowers only last the spring”, to celebrate the arrival of the nice weather!
The Uni-Pen felt tips stand out for writing and drawing both precise and technical lines, and are an essential tool for this DIY tutorial! For a more discrete line, we advise using the brush tip for this step.
4th step: Decorate
Once you have finished your quotation, decorate it with a design of your choice.
Perhaps a stunning magnolia flower? For the edges, use the extra fine brush tip, and then shade in the inside of the flower using the 0.5 mm tip to create areas of shade.
If you need a little help for this step, feel free to read our tutorial entitled “Learn how to draw a magnolia flower with Emott felt tips”!

5th step: Erase the outline
Using the rubber tip on your porte-mines premium, erase any still-visible outlines. Don’t worry, it won’t smudge!
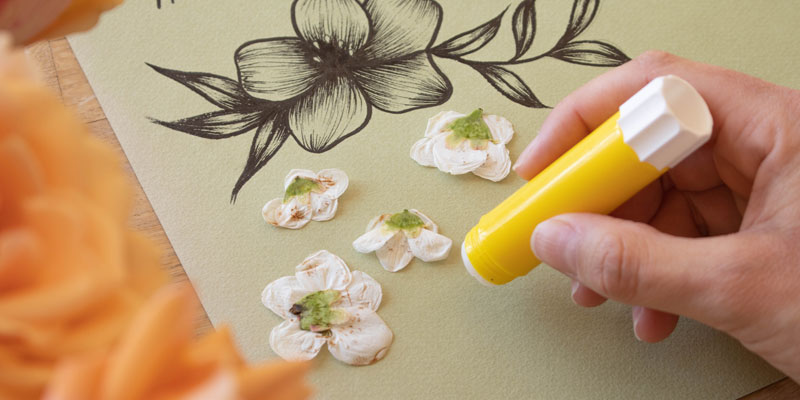
6th step: Get sticking
Finally, using your glue stick, you can stick the dried flowers to decorate the rest of your paper.
The combination of drawing and real dried flowers will bring a touch of real-lift to your design, don’t you agree?
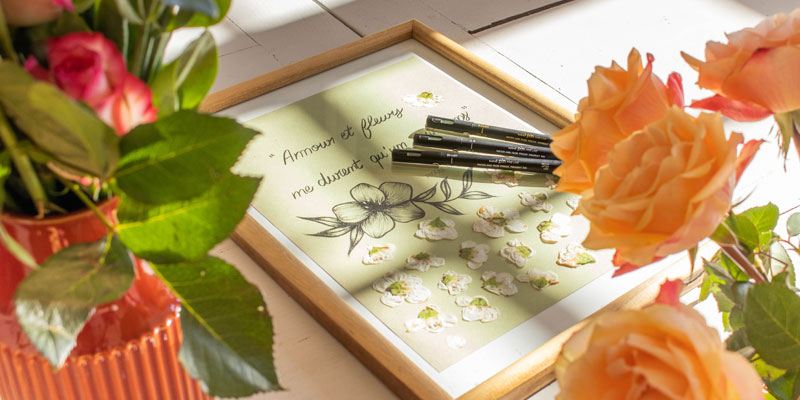
7th step: The final result!
Your floral quotation is now ready to be framed! Put it where you like on display, this home-made decorative frame will certainly impress. A real hat-tip to the spring around the corner...
How about sharing your results on Instagram with the hashtag #uniballfrance or in the comments of our Facebook page, we will be happy to admire your stunning quotations!